Alphabet photography – How to create your own
Want to create your own alphabet photography? Here we’ll teach you how to create fantastic photography showing letters of the alphabet and how you to present and print your artwork in a grid. From getting ideas to taking the pictures to displaying your alphabet, this tutorial has it all!
Plus, you can download our free alphabet grid template to make your creation easy! Download this towards the bottom of this page.
What is Alphabet Photography?
Alphabet photography, in its simplest form, is finding letters of the alphabet in the world around you and photographing them. You’ll be amazed at what you can find in ordinary everyday objects when you look hard enough. Then you put all the photographed letters together to create an alphabet. They make really good artwork for your walls, they are great for children’s learning and really fun to create. And who doesn’t want to point at a picture on the wall and say ‘I did that’ 😊.
Photography showing the letter A
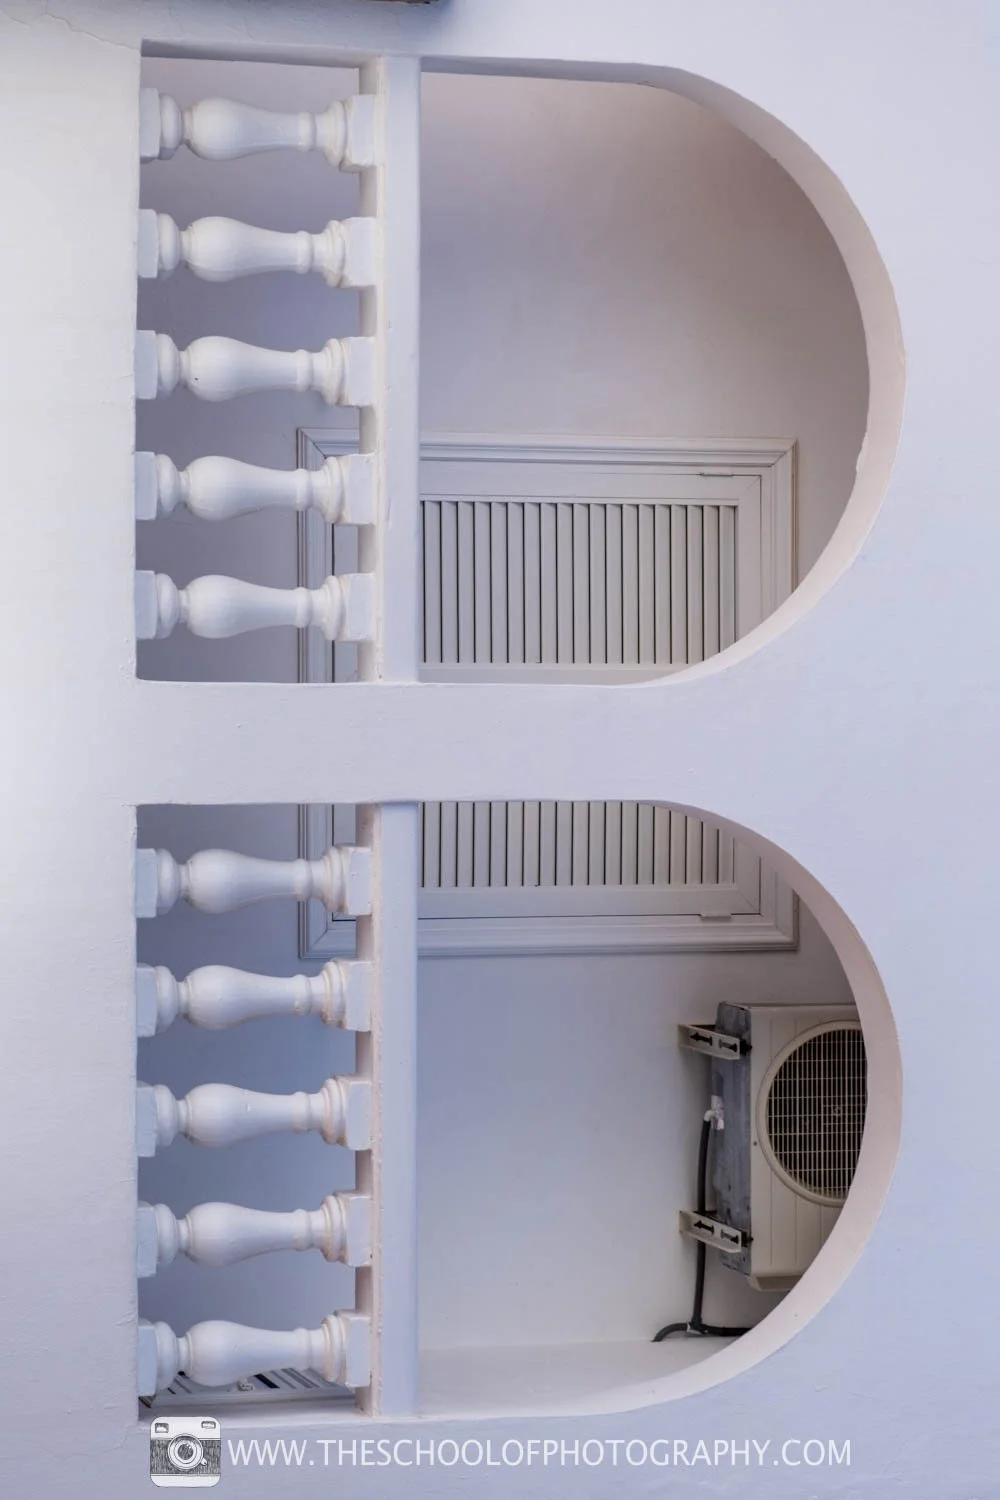
Photography showing the letter B
Photography showing the letter C
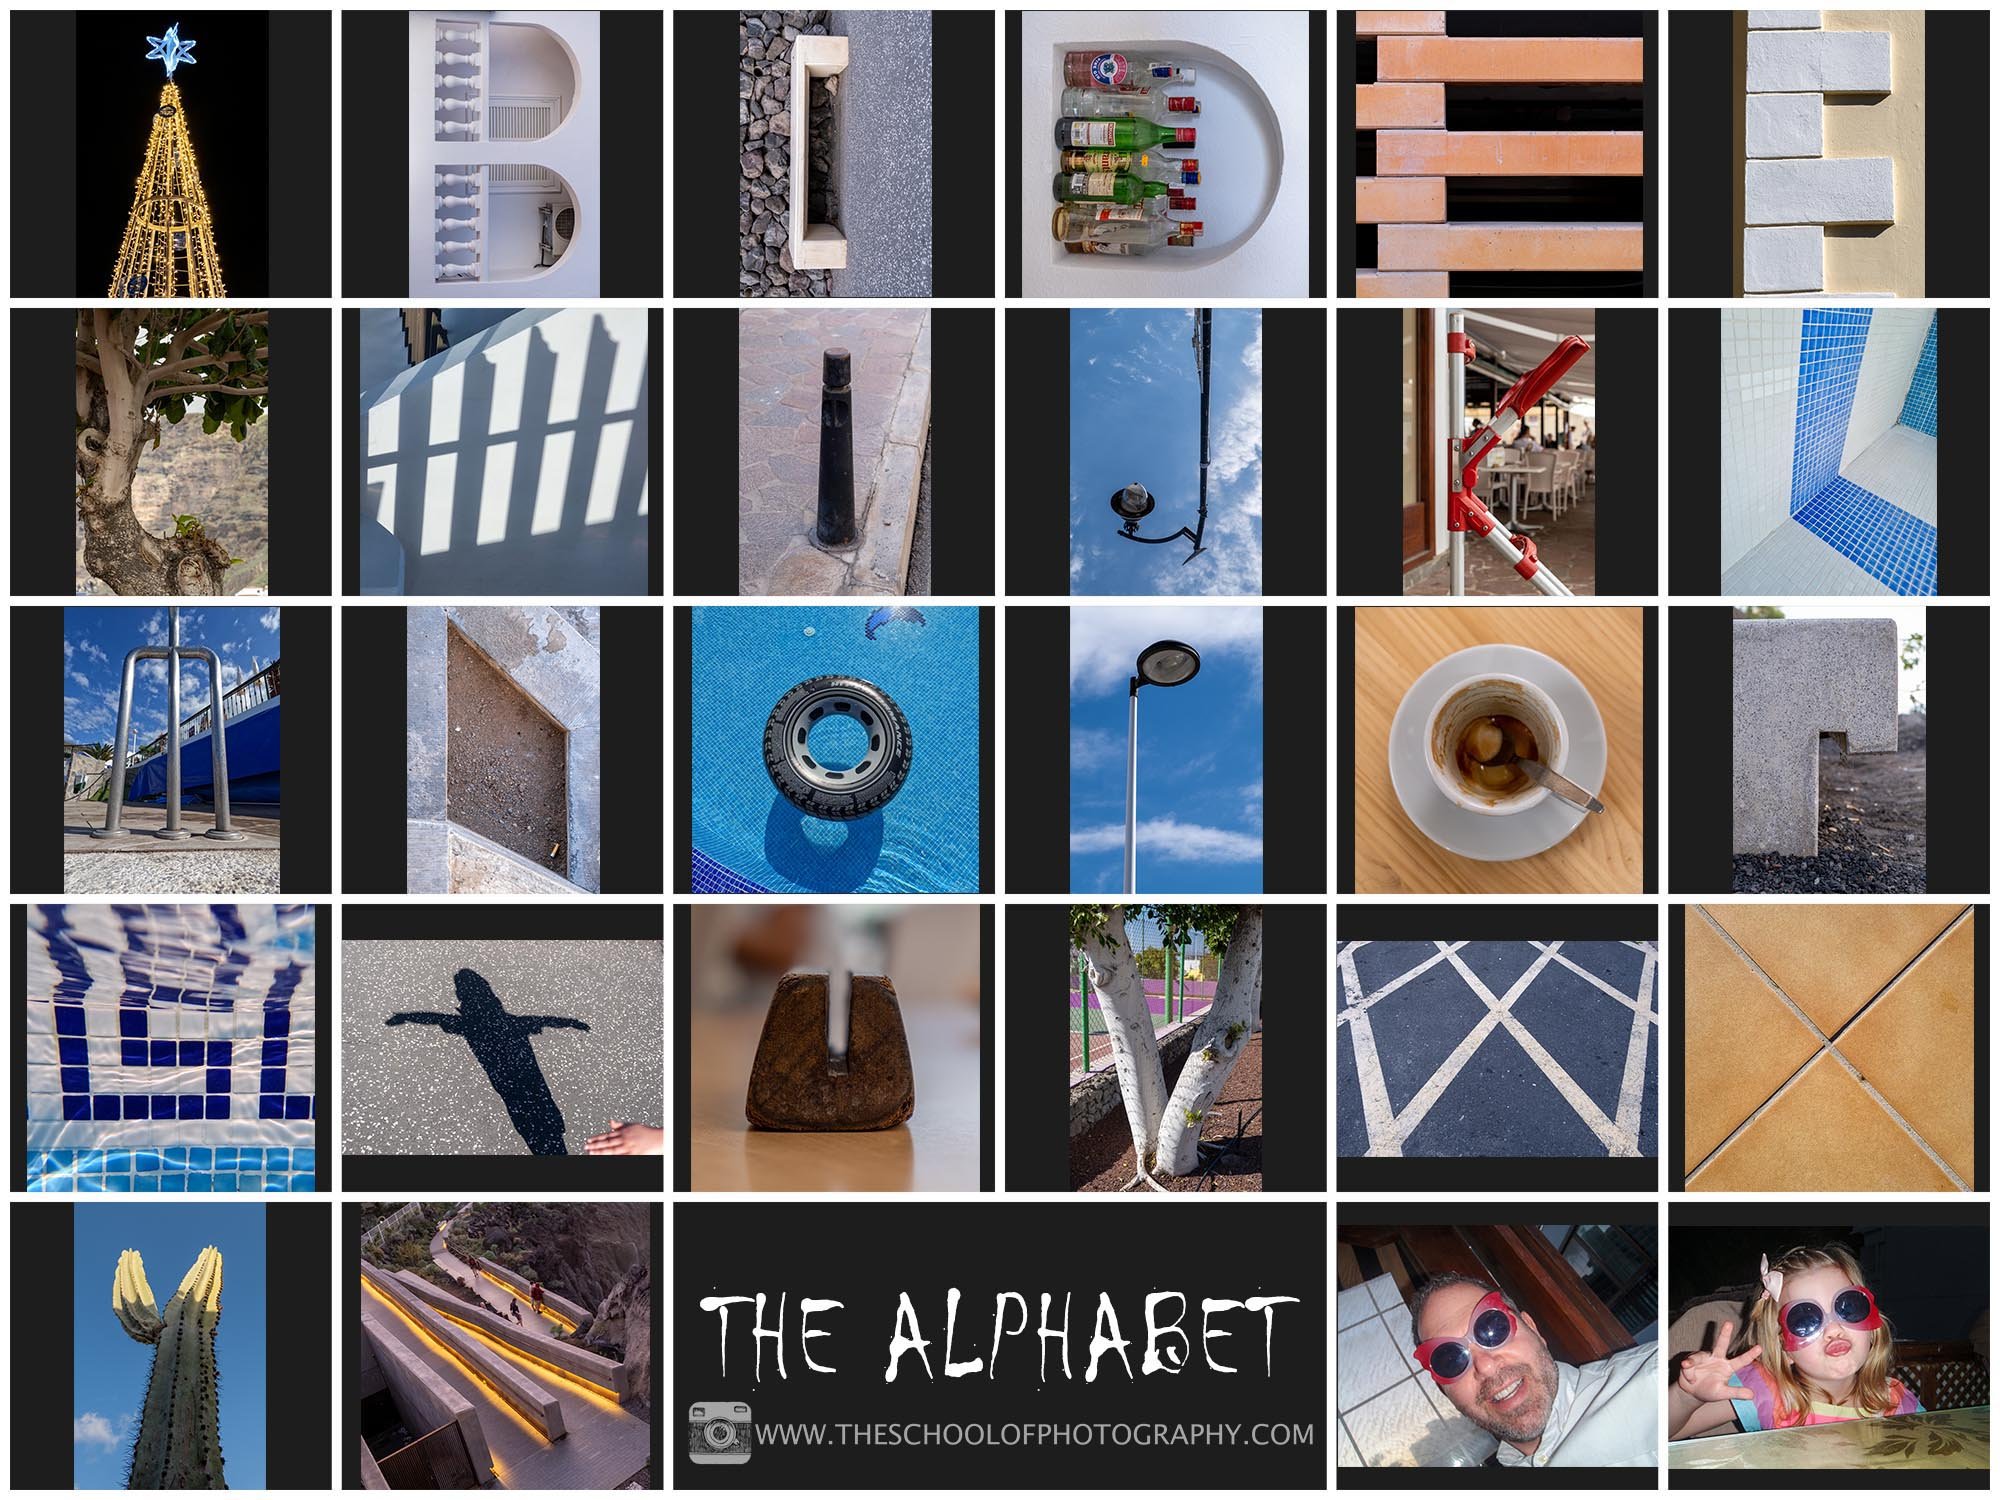
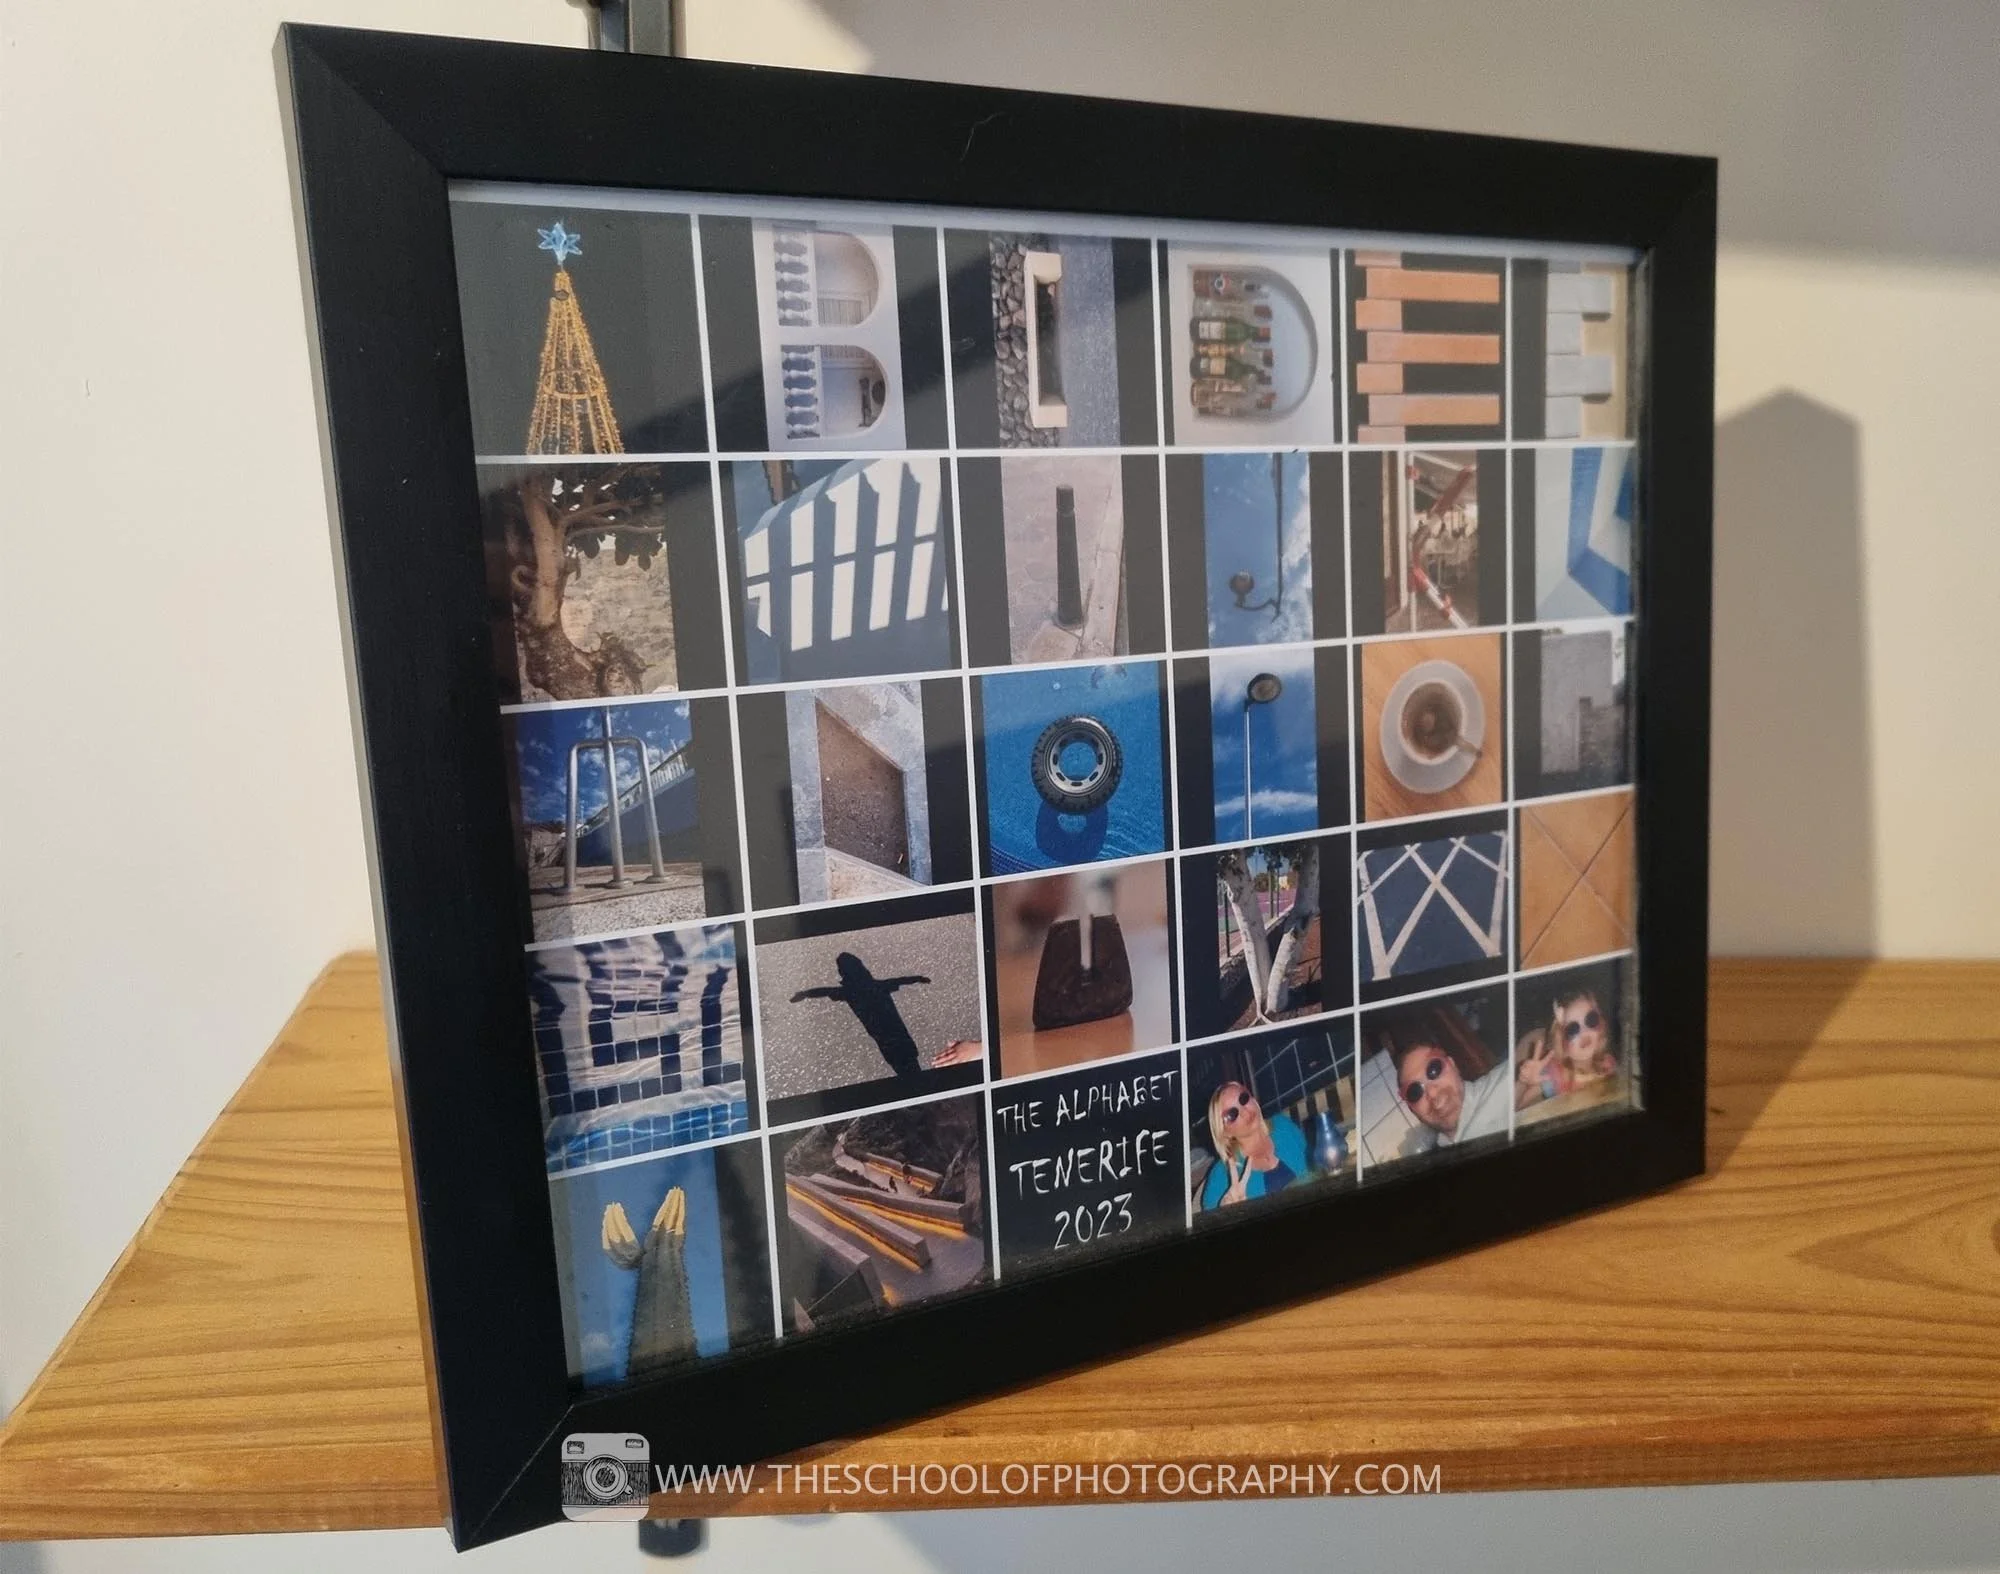
Completed alphabet artwork
Why create alphabet photography?
Alphabet photography is a great exercise for photographers and non-photographers alike. As mentioned above, they make great artwork for your walls, they’re great for children’s learning, they are fun to create but they are also good for photographers at all levels.
If you went to college or university to study photography, you would probably have completed an alphabet photography project. It’s a very common task because it encourages you to be creative and see things you would not normally see.
It’s also a great way to kickstart a creative mindset. Every photographer knows that feeling when you just can’t create good photography. The photographers equivalent of writer’s block! Well, when that happens next, pick up your camera, go out and find them letters. You’ll be surprised how much better you’ll feel and how, all of a sudden, you’re taking great pictures once again!
Alphabet photography is also great to do with your children or gran children. As seen in the video above, they love doing it and it’s a great way for them to learn the alphabet whilst having fun.
Alphabet photography is mainly about getting your creative mindset switched on. Of course, you’ll find some letters are harder than others to photograph, but that’s part of the exercise, to test you, to push you to look beyond what you would normally see.
Get access to ALL our online courses - 1000’s of videos, worksheets, critiques of members work, personalised support and much more with our monthly membership.
The Rules of Alphabet Photography
If you want to have some real fun with this task, you’ll want some rules to follow so here they are:
1. You can’t photograph actual letters – You have to find letters within the things around you.
Don’t take pictures of letters like this P found on a sign
Instead look for letters in things around you, like this example for P
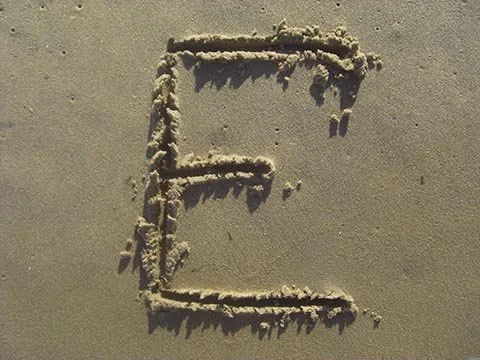
2. You can’t make the letters, e.g., draw them in the sand or make them using pebbles – You have to find the letters in situ.
You can’t make the letters like this E
You need to find letters in situ
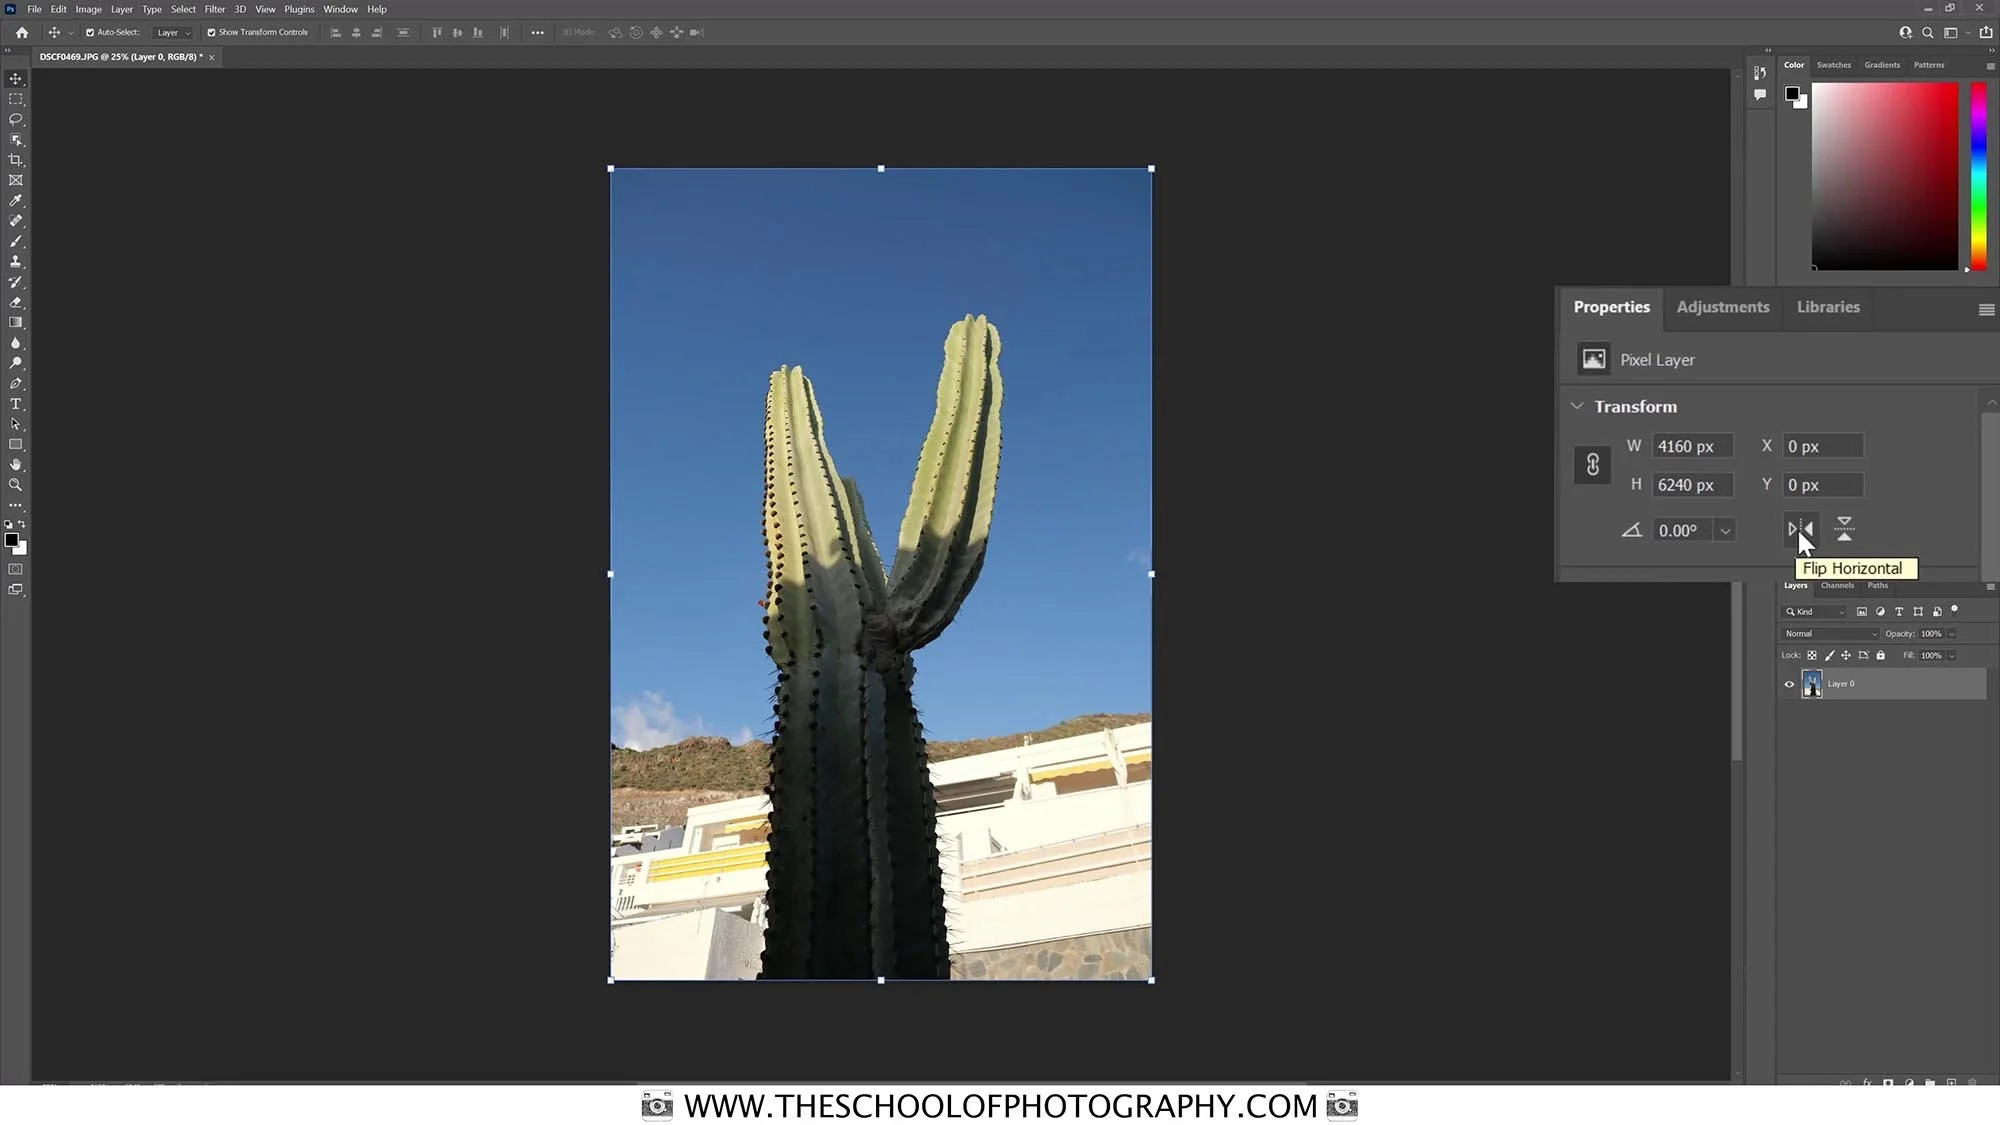
3. No image manipulation (photoshopping) - You can twist a photo or turn it upside down but no flipping it in Photoshop.
You cannot flip your photo in photoshop like the image above shows
Why we have rules in alphabet photography?
The reason for is because imposing restriction encourages you to be more creative. Sounds backwards, right? However, it’s quite the opposite. Orson Welles famously said, “The enemy of art is the absence of limitations.” Having rules forces you to think outside the box for solutions and this is where real art is formed!
How to Photograph the Alphabet?
Here’s our tips on how to create a good alphabet photography.
1. Draw out an alphabet on a piece of paper. Then when you’re happy with the letter you’ve captured tick it off the list. Sounds simple but believe me, it will stop you saying “have I got an F yet”, then getting back home to find you have 4 versions already!
Drawn out alphabet checklist
2. If at first you don’t succeed, try, try, and try again. You may find you’ll take a few different versions of each letter and that is absolutely fine. Keep going until you are happy with the one you want.
First attempt at the letter B
Final version of the letter B
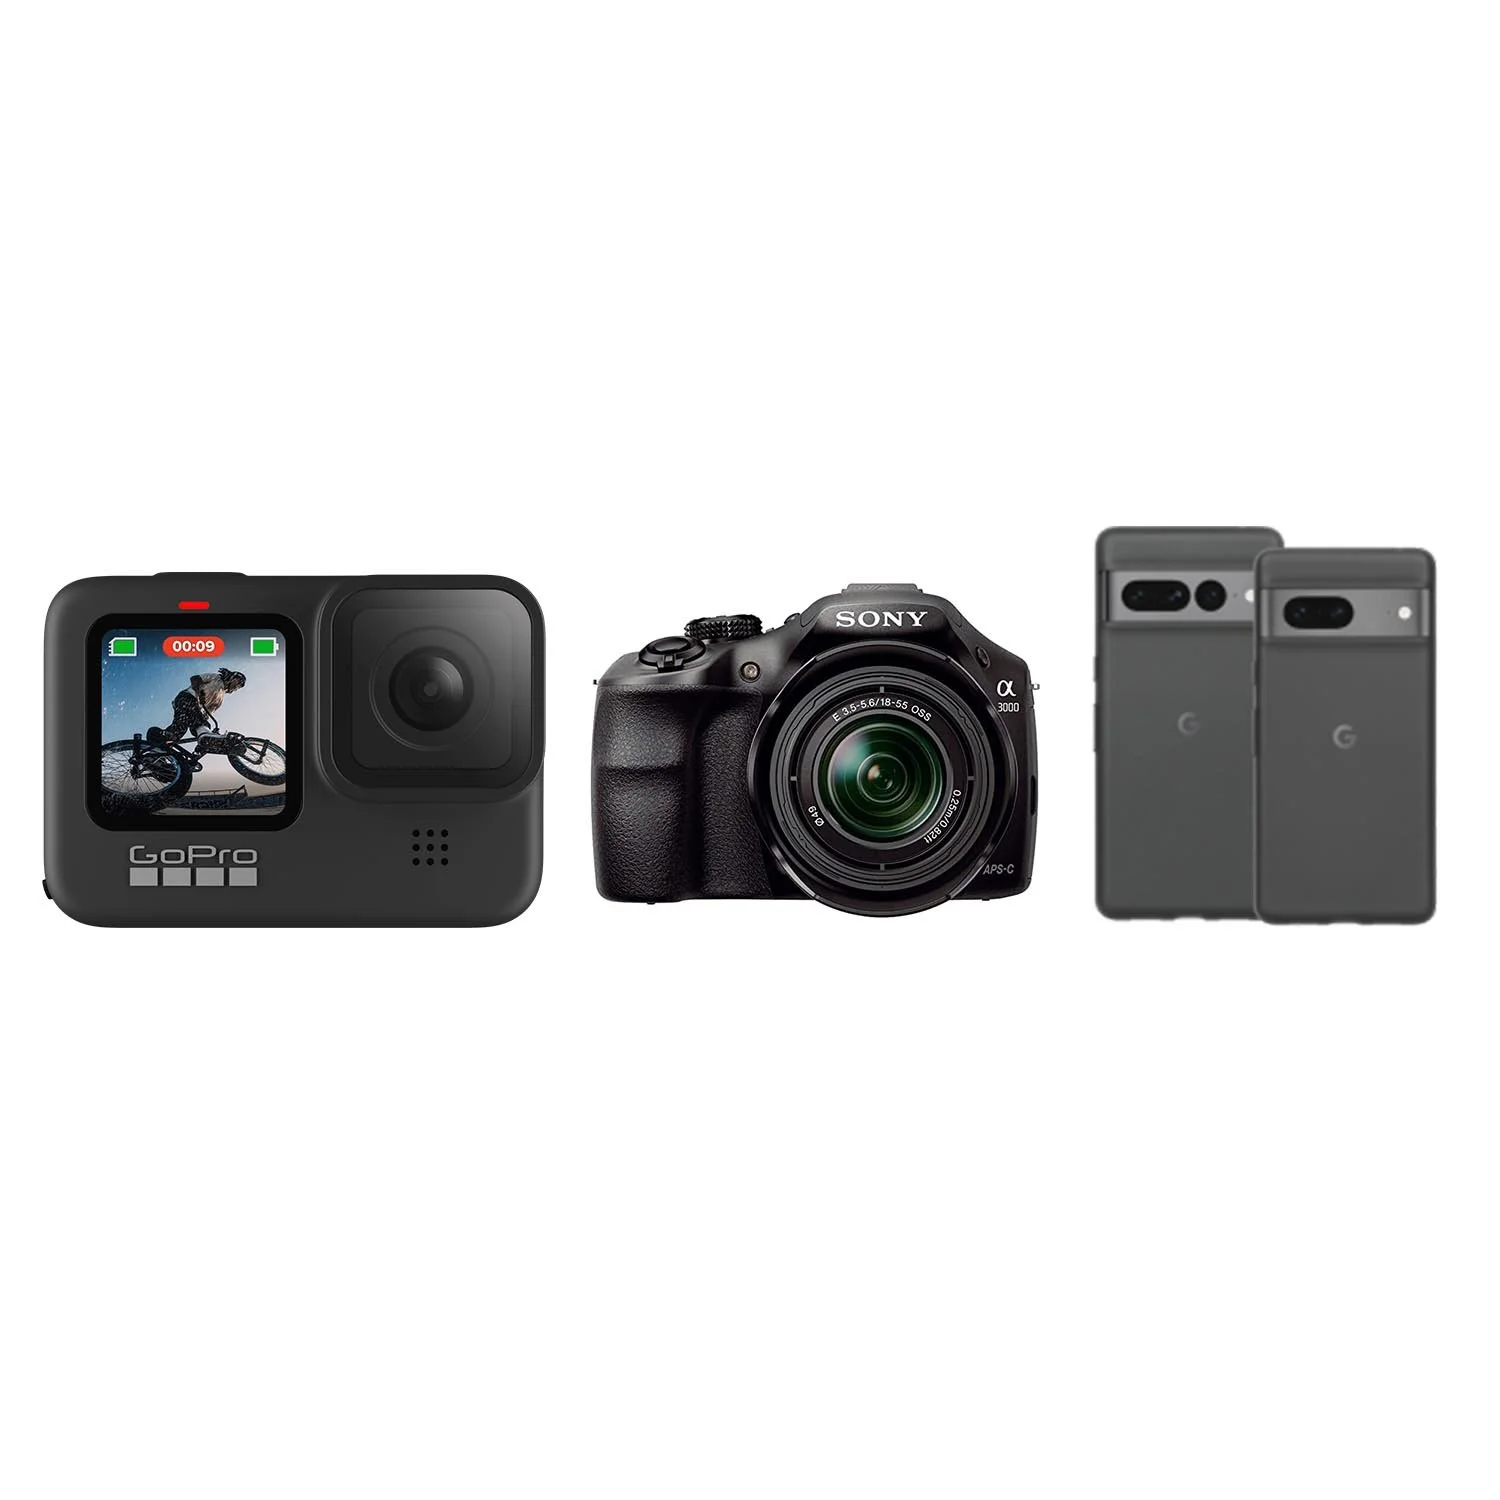
3. The best camera is the one you have with you! One of the great things about alphabet photography is that you don’t need the biggest camera and most expensive lens, you can use anything that takes a photo. In my example I used a phone, a GoPro, a DSLR camera and my daughter used a 15 year old digital compact camera!
GoPro, DSLR and a phone, all great for use on this task. Any camera you have will work perfectly for alphabet photography
4. See things others don’t! Above all, it’s about getting your creative mindset switched on. The benefits of this exercise shouldn’t be undervalued. You’ll find some letters are harder than others to photograph, but that’s part of the exercise, to test you, to push you to look beyond. Really examine your surroundings, turn your camera on its side, look straight up, look down and find letters in things you see everyday!
5. Choose a theme. Of course you can photography anything you want (like in my example) or you can choose a theme to stick to. Examples our members have submitted range from ‘seaweed wash up on a beach’ to ‘walking to work’ (more examples below). It might limit you more, but as mentioned, this is where the best art is created!
© Crystal Craig - In the theme of seaweed washed up on a beach. Crystal writes, “Six mornings along our beach looking for letters in the washed up beach grass. All letters found "in situ" which accounts for several very creative interpretations. Ha! So many people stopped to ask what in the world I was looking for!"
How to create your own alphabet photography grid/collage
Once you have done photographing the alphabet, you can start to put them together to create a grid or collage of your work. There are many ways to do this and here are our suggested methods.
1. Create your collage in Photoshop. For complete control you can use Photoshop. Here you can move images to where you want, add backgrounds, drop shadows and change the colour toning all in the same edit. Of course, you will need to know how to use this program to do it this way. We can teach you that here or for a really easy life, simply download our free alphabet grid template below, and sign up for a free trial of Photoshop by clicking here.
2. Use PowerPoint. Microsoft PowerPoint is a good option as you can freely move images around in one slide and then save that slide as a jpeg ready for printing. By default, PowerPoint will save a jpeg as a low resolution image which wont be good for printing. To solve this you need to change the settings in PP. A simple google search will show you how.
3. Microsoft Word. Not as flexible with imagery as PP but still a good option to arrange a collage of letters if you know how to use Word.
4. Free collage apps. There are plenty of free collage creation apps you can download and use. Some are better than others so please do your research and check out their feedback first.
5. Be creative with your grid. You can create you alphabet in a straight line, a square format, a rectangle one etc. This is your opportunity to get creative and display them in the way you want (examples below).
6. Change the colour. If your images are quite different in colour you can consider changing your images into black and white or a monotone colour. They will then follow a more harmonised colour tone and may clash less. You can also try adding a filter to make sure they all flow together. If using our Photoshop Template above, this will be easier to achieve.
7. Printing your alphabet. This bit is actually quite easy. There are many online printing companies that will print and frame your work in any size for a relatively low cost. Simply use the one you are used to using or search for an online printing company that operates in your country. The one thing I will add here though is that you will need to make sure your images are of a high resolution to enable a good clear print. To learn about image resolution, click here.
Frame your alphabet photography and say to people “I did that” 😊
Examples of Alphabet Photography from our members
Being a member of The School of Photography brings many benefits. One of those benefits is having your photography skills challenged in our monthly assignments. Below are some member examples of alphabet photography.
© Jessica Patterson - Jessica writes, “These were taken in and around my uncle's house in Portland, Oregon and near my house in Albany, California using my iPhone. Edited in Lightroom Mobile.”
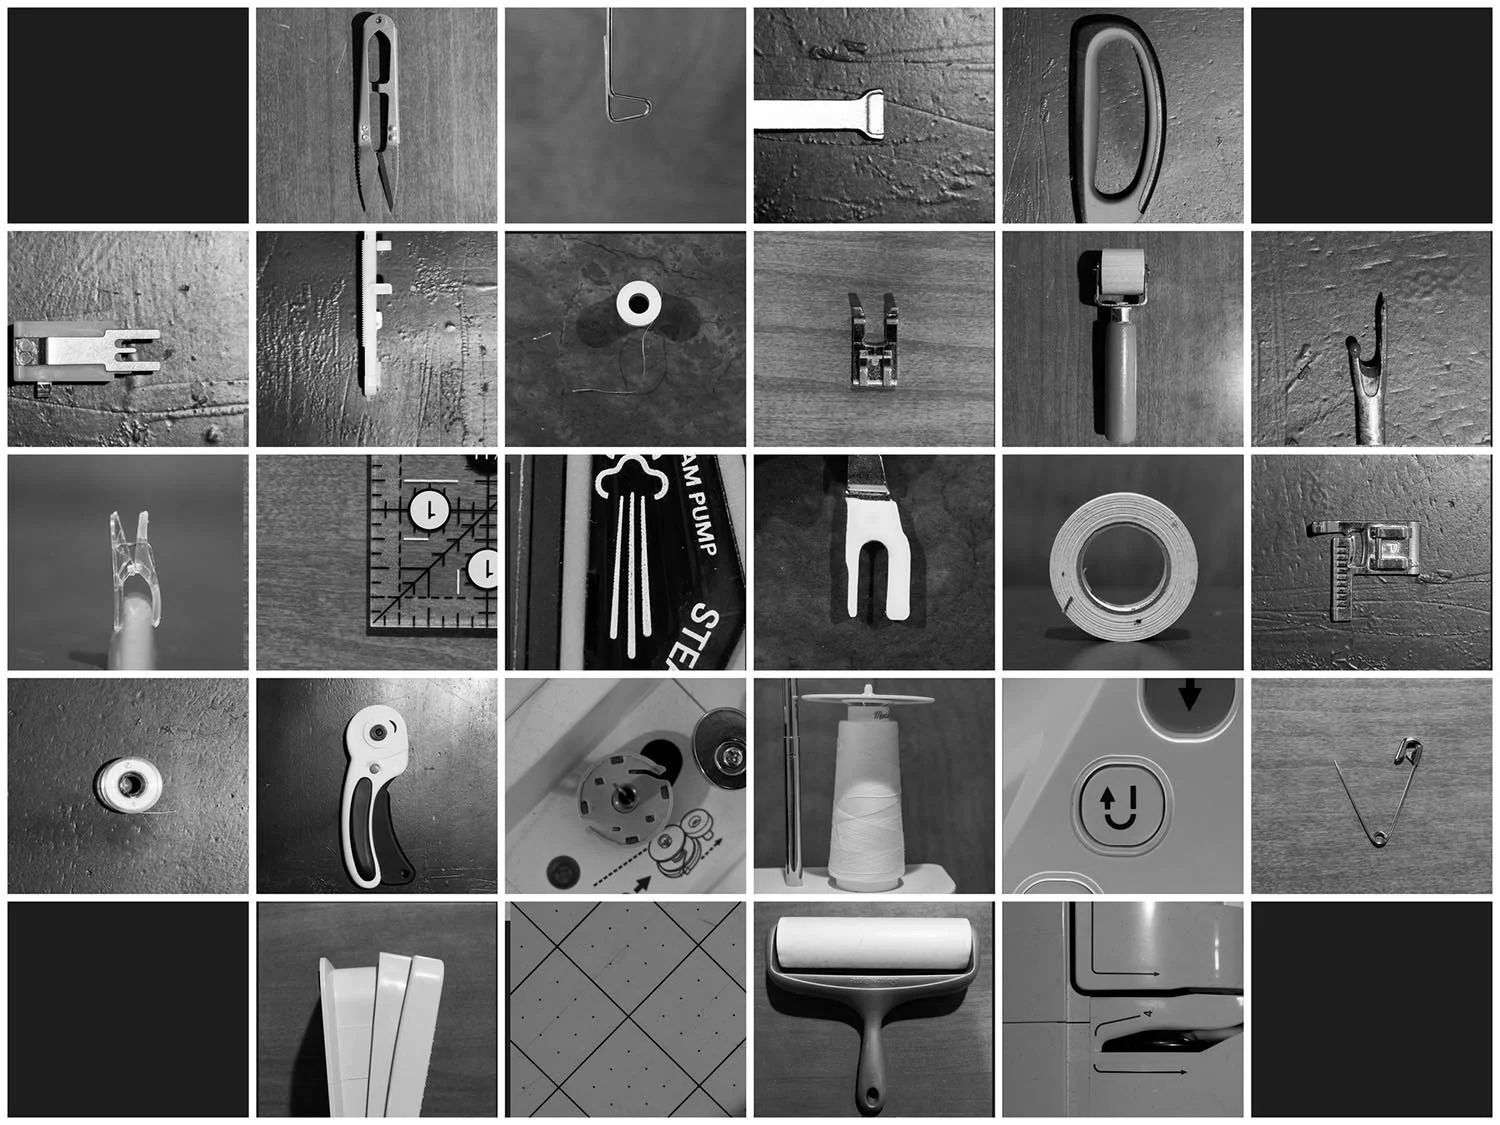
© Blake Roetman - Blake writes, “My wife has been wanting me to take more photos of her main hobby, quilting. I thought this assignment was the perfect opportunity to blend our hobbies. It was challenging to stay with the quilting/sewing theme, but that was half of the fun. I have a few more ideas that I am looking forward to trying!”
© Sabina Negele - Sabina writes, “It took me three different locations to find all the letters in nature, in situ.”
© Brendan Lynch - Brendan writes, “Based my alphabet grid on my daily journey to the office ... took an earlier train into the city a couple of mornings and searched for letters along my usual route. I've no doubt there are better examples to be found, but decided to quit now before it becomes an obsession!”
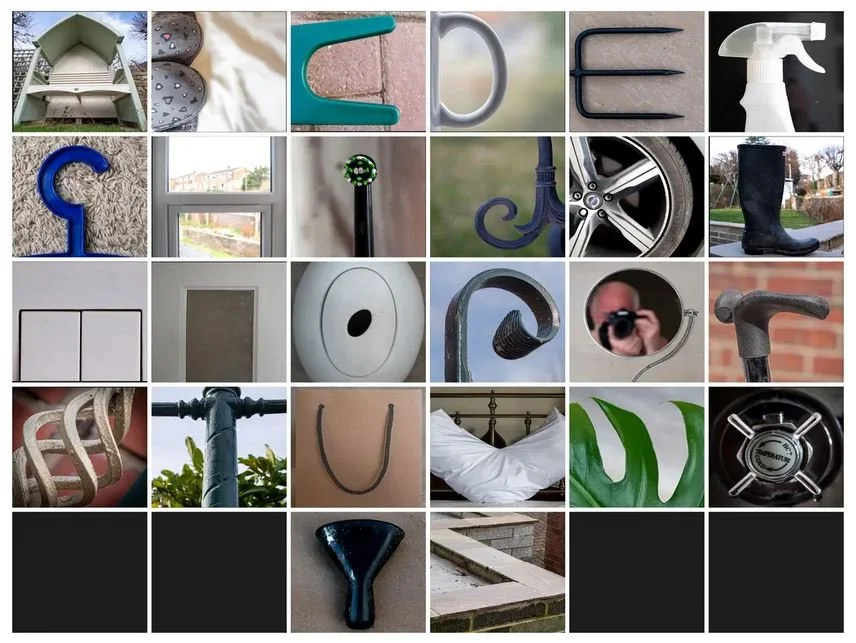
© John Rutherford - John writes, “A very enjoyable and challenging assignment. I gave myself the additional challenge of finding the shapes only in my home and garden. It's amazing what you find out. I never knew I had such an alphabetical bathroom.”
© Kevin O'Donoghue - Kevin writes, “All taken of and around St Michaels Church in Highworth. Took a while to find a G on gravestone lichen. On to the High Street .. This is great fun!”
To become a member, please click here.
Like this? - Check out free tutorials below
I hope you liked this blog on Photographing the Alphabet. If you did, please leave us a comment and support us by sharing it with your friends and subscribe to our newsletter at the bottom of this page for more.
We also have an excellent learning community on social media so please join us there as well.
Thanks for watching and remember – Learn more at The School of Photography.


