Black and White Photography – Master the Art
Back in the olden days, all photography was black and white. For a long while, there was a good mix of colour and black and white photography whilst the use of colour developed. In this day and age, it’s predominantly a colour photography world, with the odd black and white photo thrown in for arty purposes.
If you are reading this, that means you are one of the arty few who want to rediscover the beauty of black and white photography – let’s delve in!
Get access to ALL our online courses – 1000’s of videos, worksheets, critiques of student’s work, personalised support and much more with our monthly membership.
Why create black and white photography?
Firstly, let’s answer this question. After all, what’s the point of black and white imagery when we live in a vibrant, colourful world that we can now easily capture with any camera. Well, as good as colour is, it can also be distracting. Turning a photo black and white will remove the distractions colour can bring to an image.
A black and white photo allows you to focus on specific formal elements of art such as lighting, texture, shadow, patterns, and composition. In a sense, it’s making the life of a photographer easier by removing one of the biggest formal elements of art which is of course is ‘colour’. However, don’t be fooled that creating good black and white photography is easier that creating good colour photography. It doesn’t work like that I’m afraid.
Turning an image monochrome will also give a totally different feel to image. Sometimes that will help the image, sometimes it won’t and that is where your creative skills come in. A black and white photo tends to give a more sombre or serious feeling and can give a feeling of nostalgia, as if you’re looking back in time. Black and white photography can be a lot more emotive for these reasons. So, turning your carnival pictures to black and white might not be a good idea!
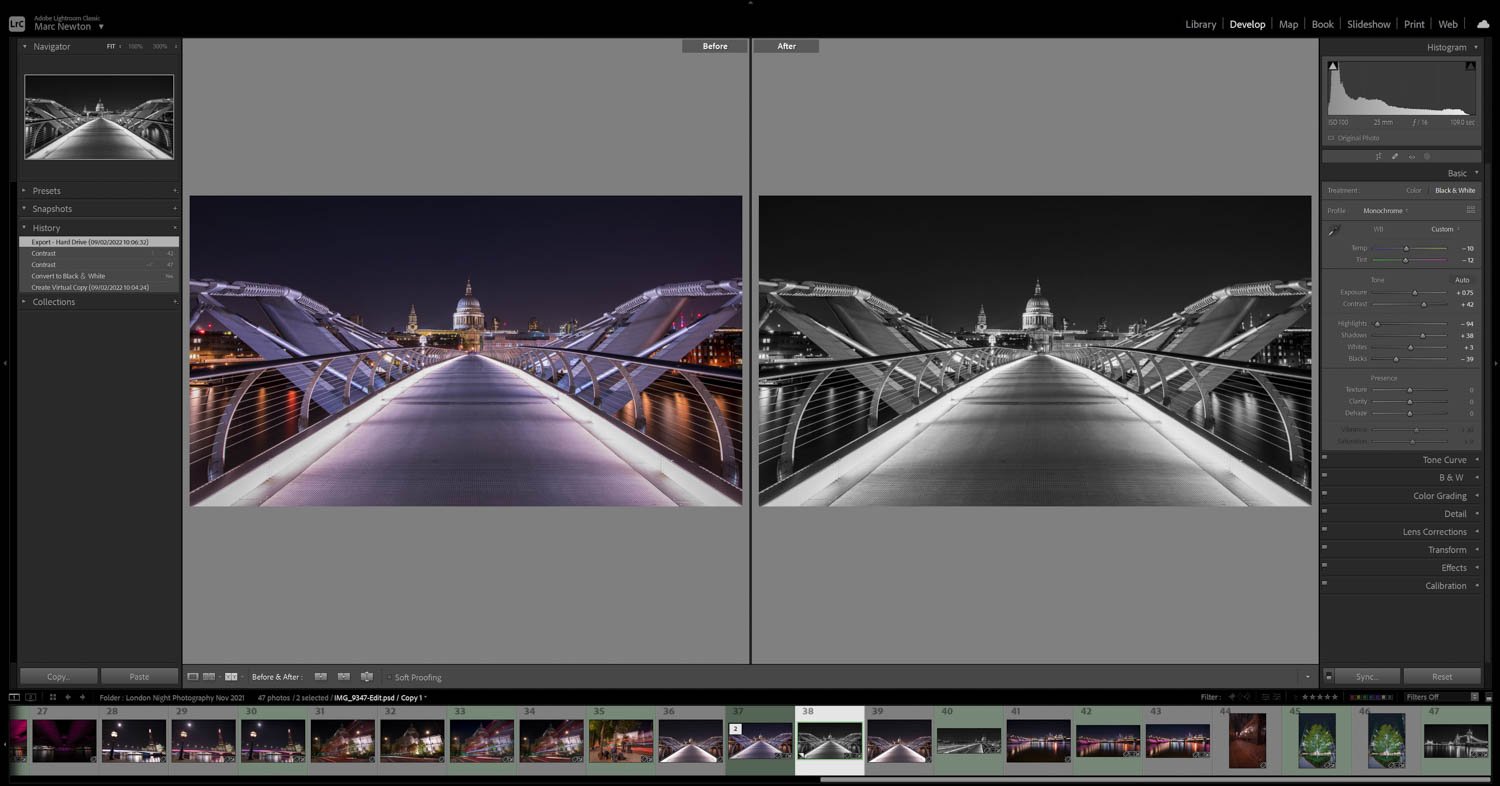
Take a look at the two images below. Which one do you prefer? And why do you prefer that?
In this example, one version doesn’t look outstandingly better than the other, it’s simply down to personal preference. Some people will like the colour version, some the black and white version.
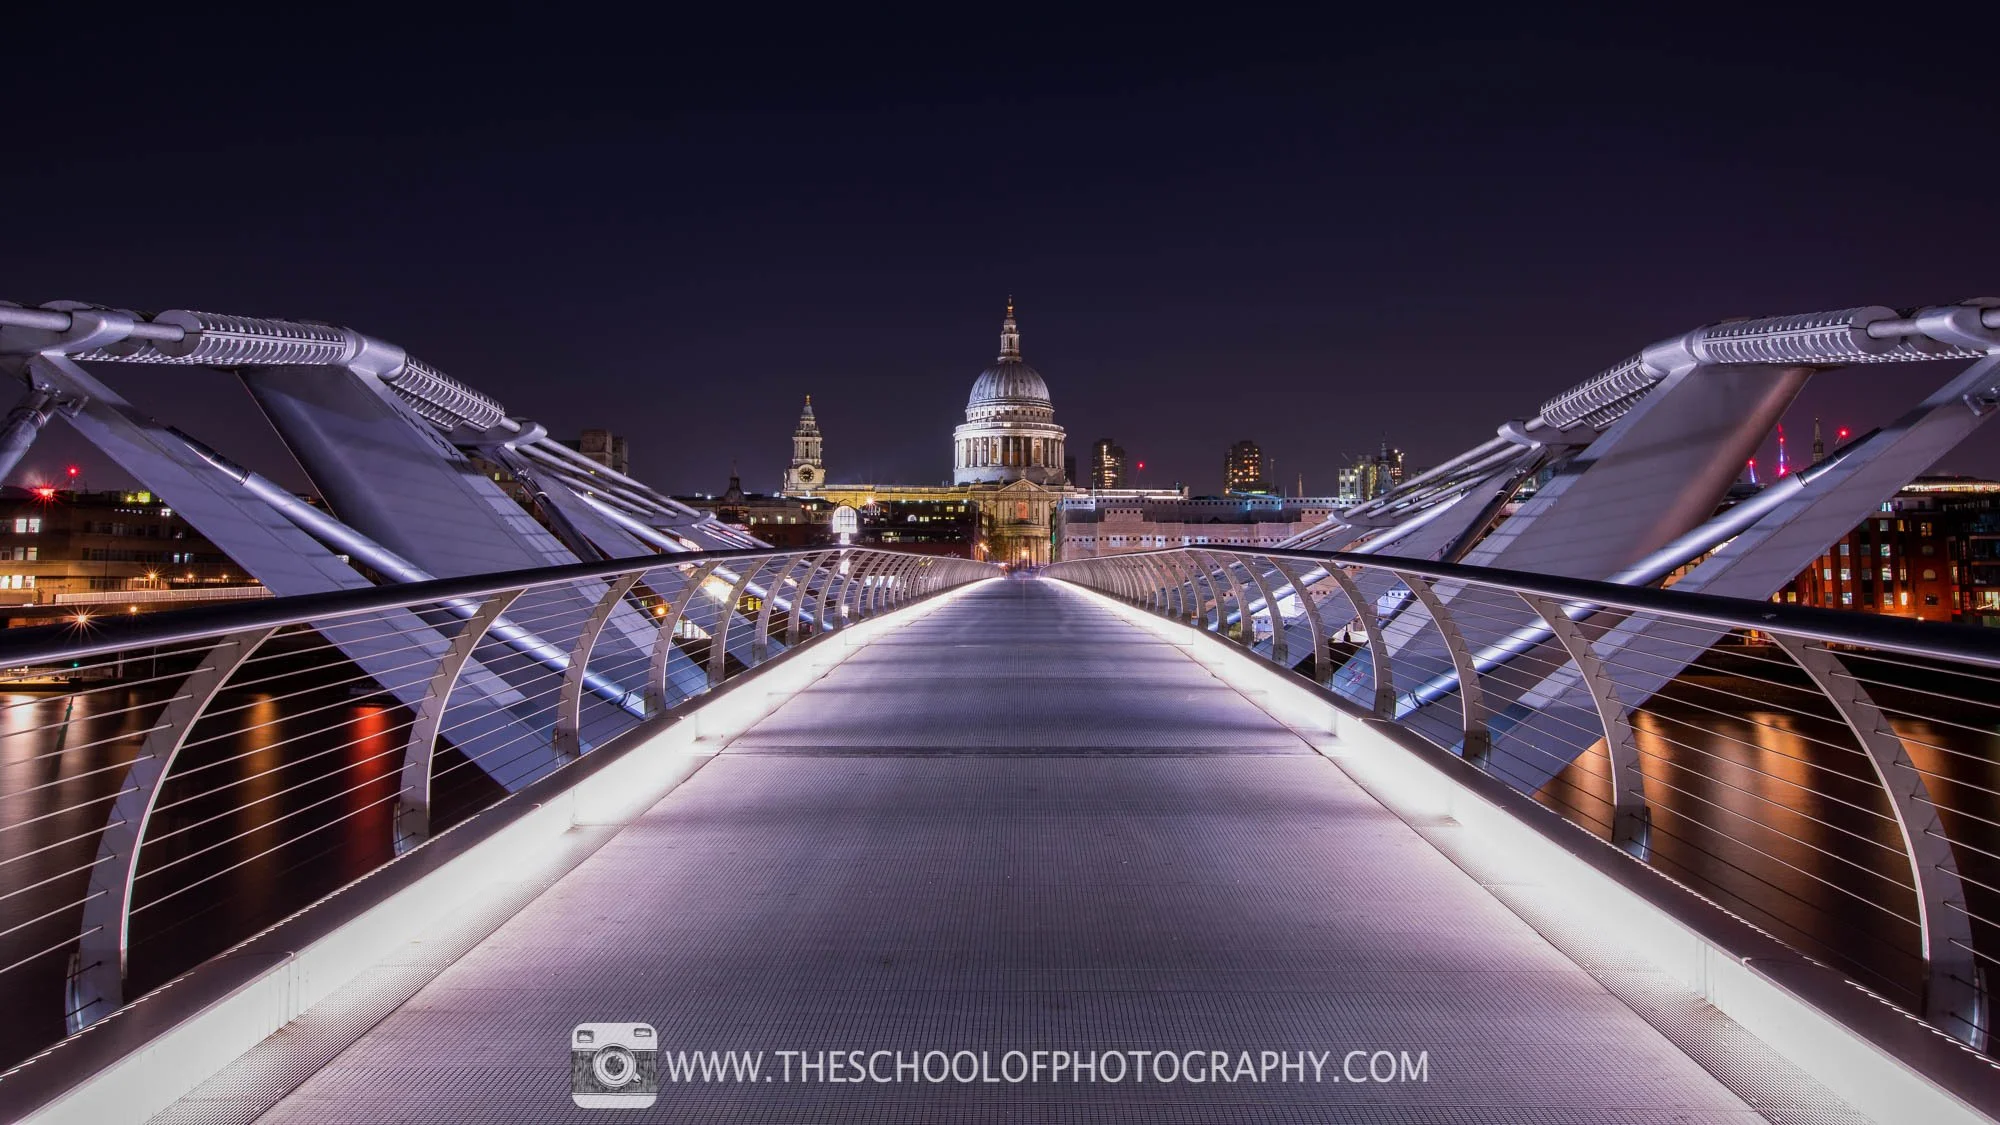
Millenium Bridge with St Pauls, London in colour
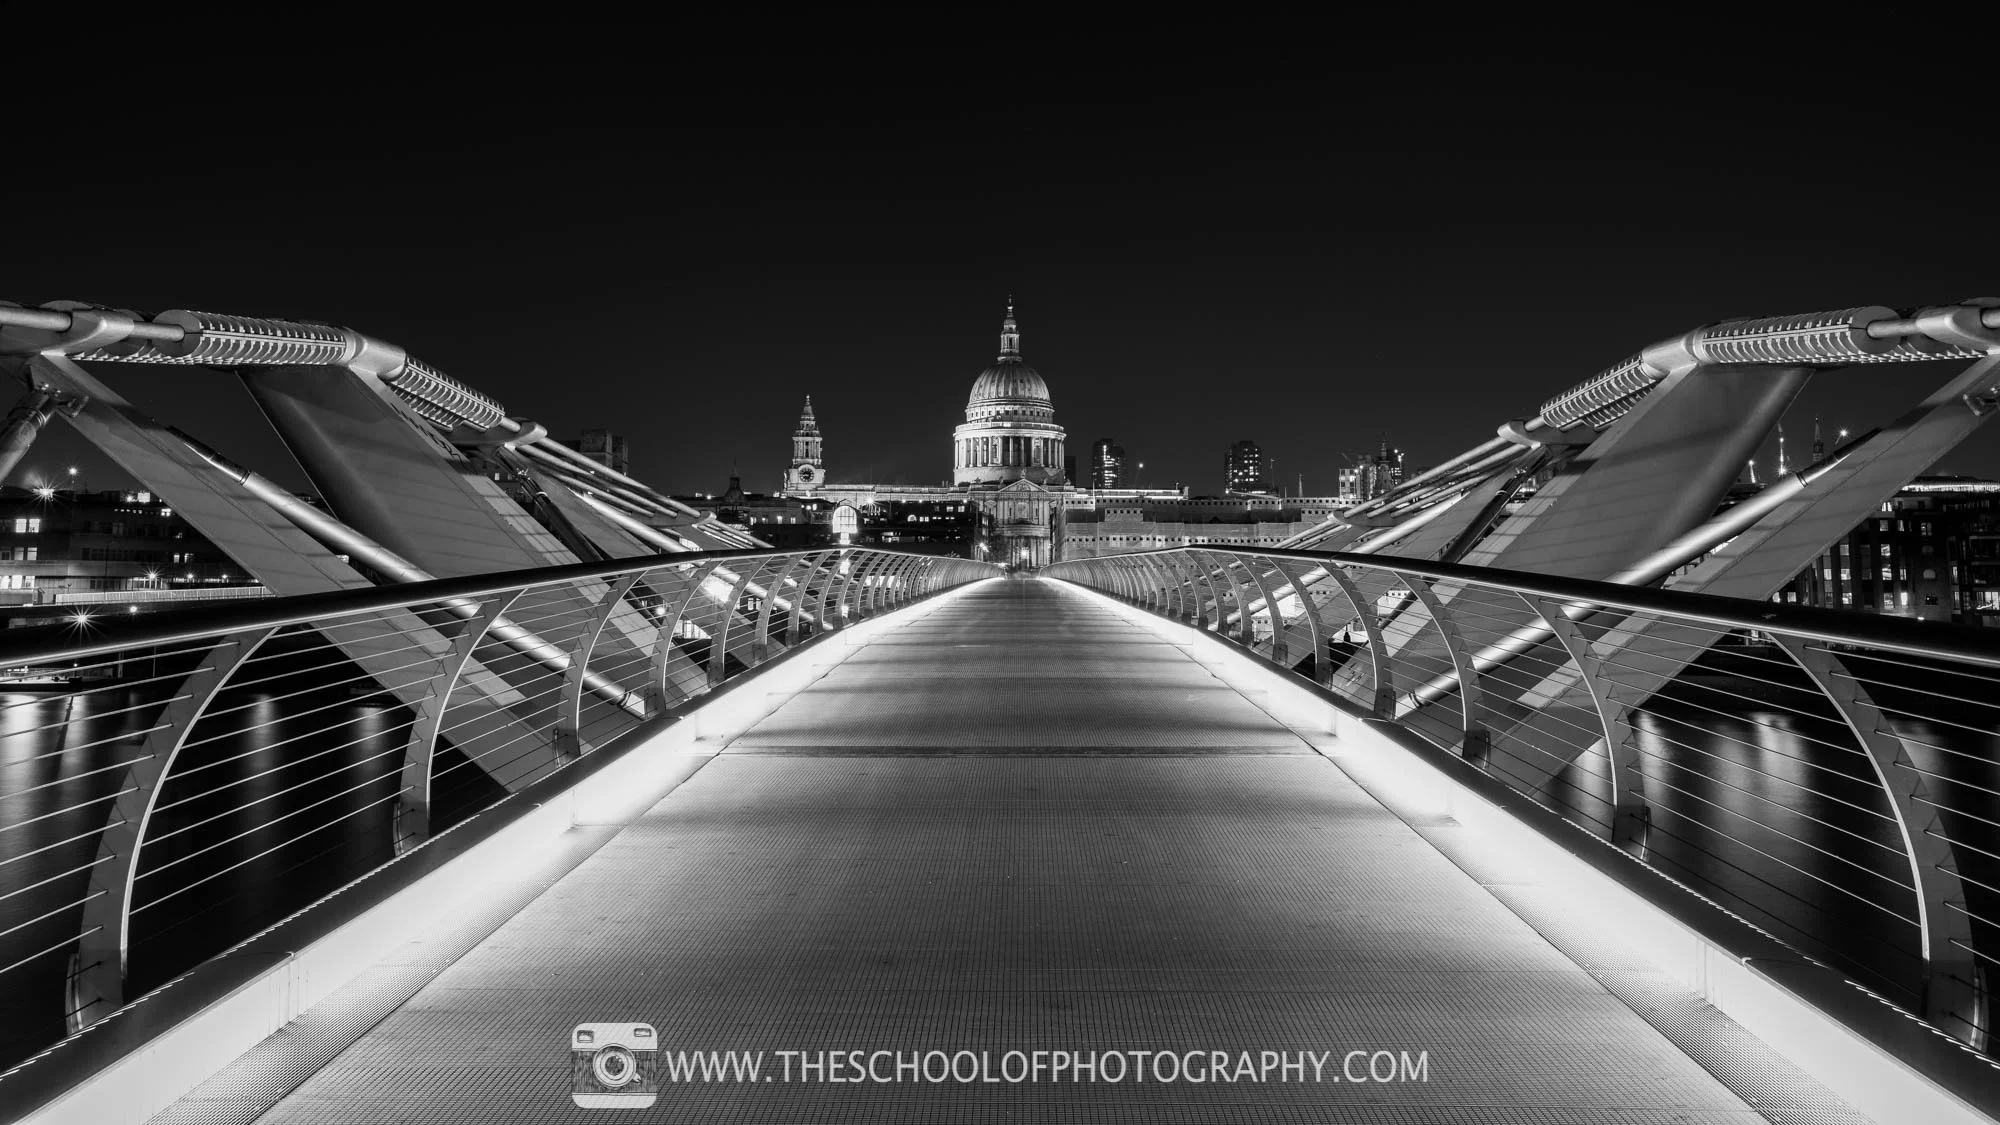
Millenium Bridge with St Pauls, London in black and white
So, if you’re going for an emotive or nostalgic feeling, then turning a photo black and white will work. If not, it will simply be for arty purposes. Before you take the photo, you should think about the output, will the image suit black and white or not? This will inform you to compose and create photography that will definitely look good in black and white!
Tip 1 – Shoot in black and white mode
There are 2 different ways to make your photo black and white; either shooting in black and white as you’re working or creating the effect in post processing.
Editing Black and White Photography
If you’re photographing specifically for a black and white effect, try changing your camera’s picture mode to black and white or monochrome. In this mode you can look through your viewfinder and see a live preview of how your scene will look in black and white. If you do this, make sure to shoot in RAW. Shooting in Raw whilst in black and white picture mode will actually give you a colour raw file.
This will ultimately give you the option whilst in editing to either keep your photograph black and white or revert it to colour. RAW files are also a lot better for post processing as they contain much more detail to work with than a jpeg does.
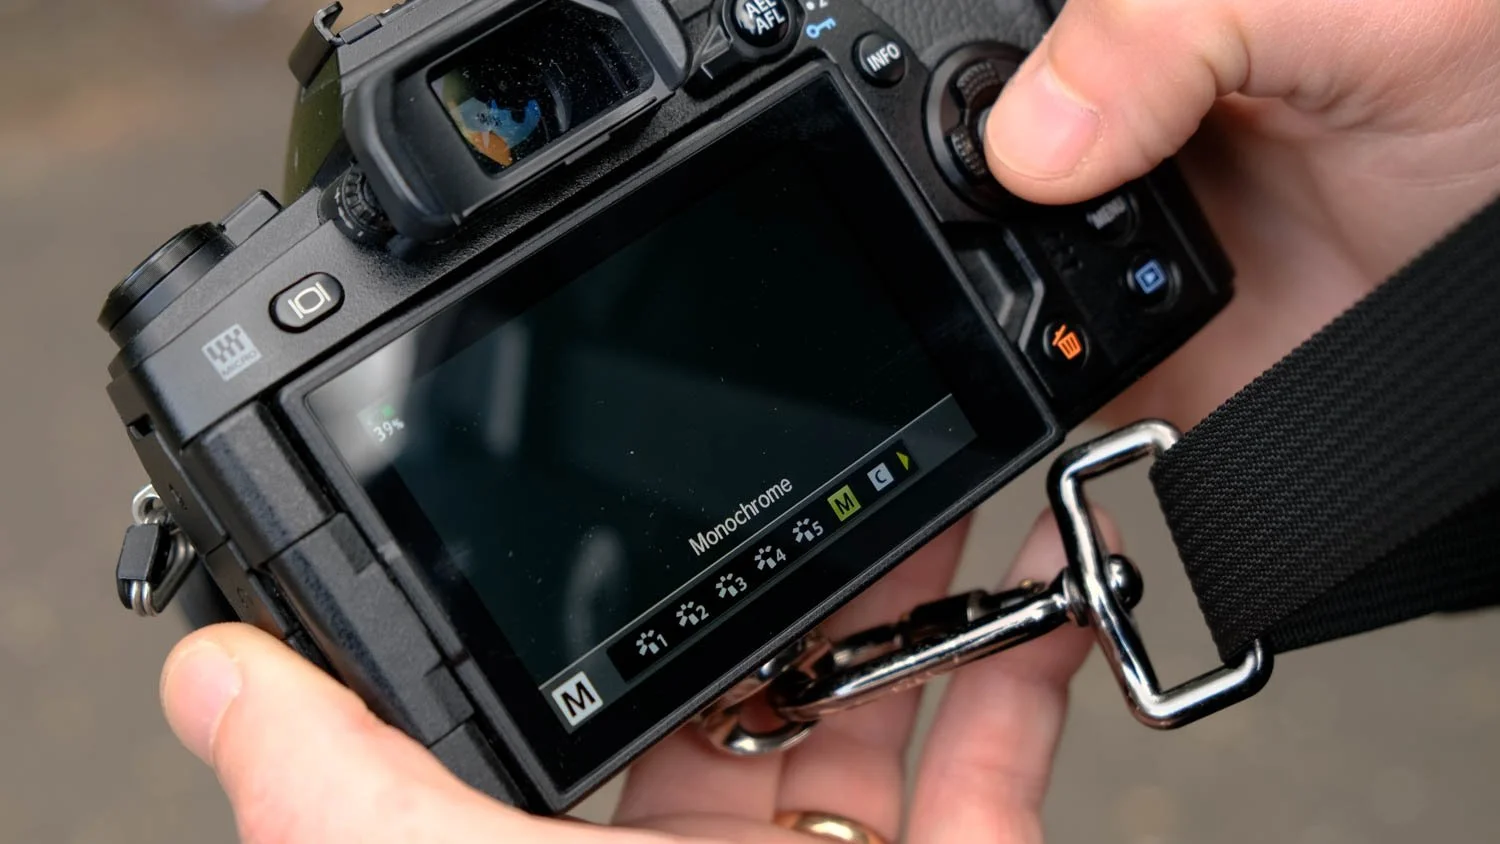
Monochrome setting on camera

Using a camera in black and white mode enables you to view your scene in monochrome
Tip 2 – Look for contrast in tones not colours
Contrast in a black and white photography is the difference between lights and darks tones. A high contrast image with contain really bright tones next to really dark tones. A low contrast image will have a much softer graduation of greys.

Hight contrast black and white image - Credit - @Pexels/Pixabay
Low contrast black and white image - Credit - @Talles Alves/Unsplash
When looking for contrast, consider how light will play a part. Hard light, such as direct sunlight will create shadows and strong contrasts between light and dark whereas soft light, like on a cloudy day, will created softer tones within your scene.
Learn about light in photography here
Remember you are working for a black and white output so utilise contrast by looking for bright and dark areas, rather than contrasting colours. Shadows accompanied with hard light can create striking contrast in images.
Tip 3 – Creating mood
Black and white photography can be very emotive. Take the below image for example.
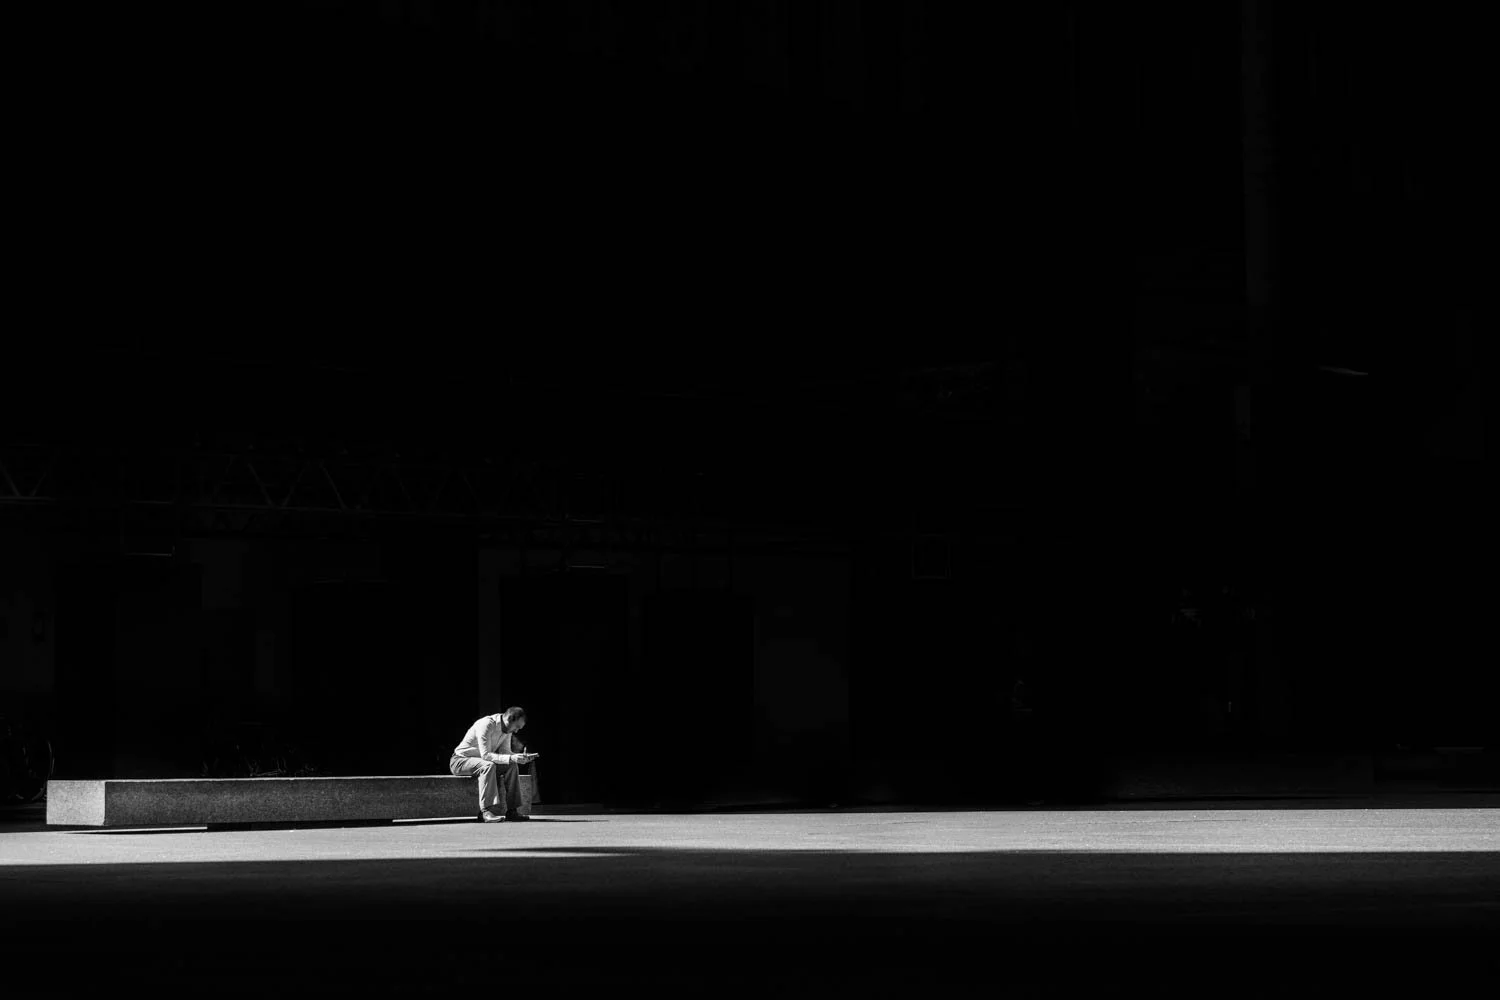
Black and white photo of man on a bench creating an isolated, lonely feeling. Credit - Matthew Henry/unsplash
The space above the man sitting on the bench is entirely untouched – it is just pure negative space. This darkness that surrounds him makes the subject look small and creates a feeling of loneliness. The long bench beside him with empty space adds to the feeling of loneliness. The photo would not feel as lonely without the empty space on the bench, the negative space and the fact that it is in black and white. Removing the colour from this scene enables the viewer to concentrate more on the emotive aspects of the photograph.

An emotive photo of a man. The Black and white effect adds to the emotional output of the image. Credit - Sergey Vinogradov/Unsplash
With the image above, a similar effect is achieved which is enhanced by the use of black and white. Imagine this picture in colour, would it have the same emotion? Probably not. And that is due to the lack of colour which can distract from the pose, look and composition of the model. The man looks in deep thought and you’re left wondering what he’s thinking about; what he’s looking at or what has happened prior to this picture being taken. This emotive effect is really enhanced by the use of black and white in this picture.
Tip 4 – Minimalism + Black and White = Great photography!
Minimalism is distinguished by extreme simplicity. It is often composed in a clean, clinical way with the focus being only on a small number of objects. Removing the colour from an image enhances a minimalist look.
Take a look at these two examples below. In the first example, we use a technique called long exposure photography to create a minimalist effect of a lighthouse out at sea. Using long exposures in photography is a great tip to get that minimalist look. In this photo, it’s allowed the waves of the water to blend together to create this smooth effect. This eliminates the texture and tones of the water. When you use this technique with black and white photography you are sure to get the minimalist effect.
To view exactly how this shot was taken and the equipment used, click here.
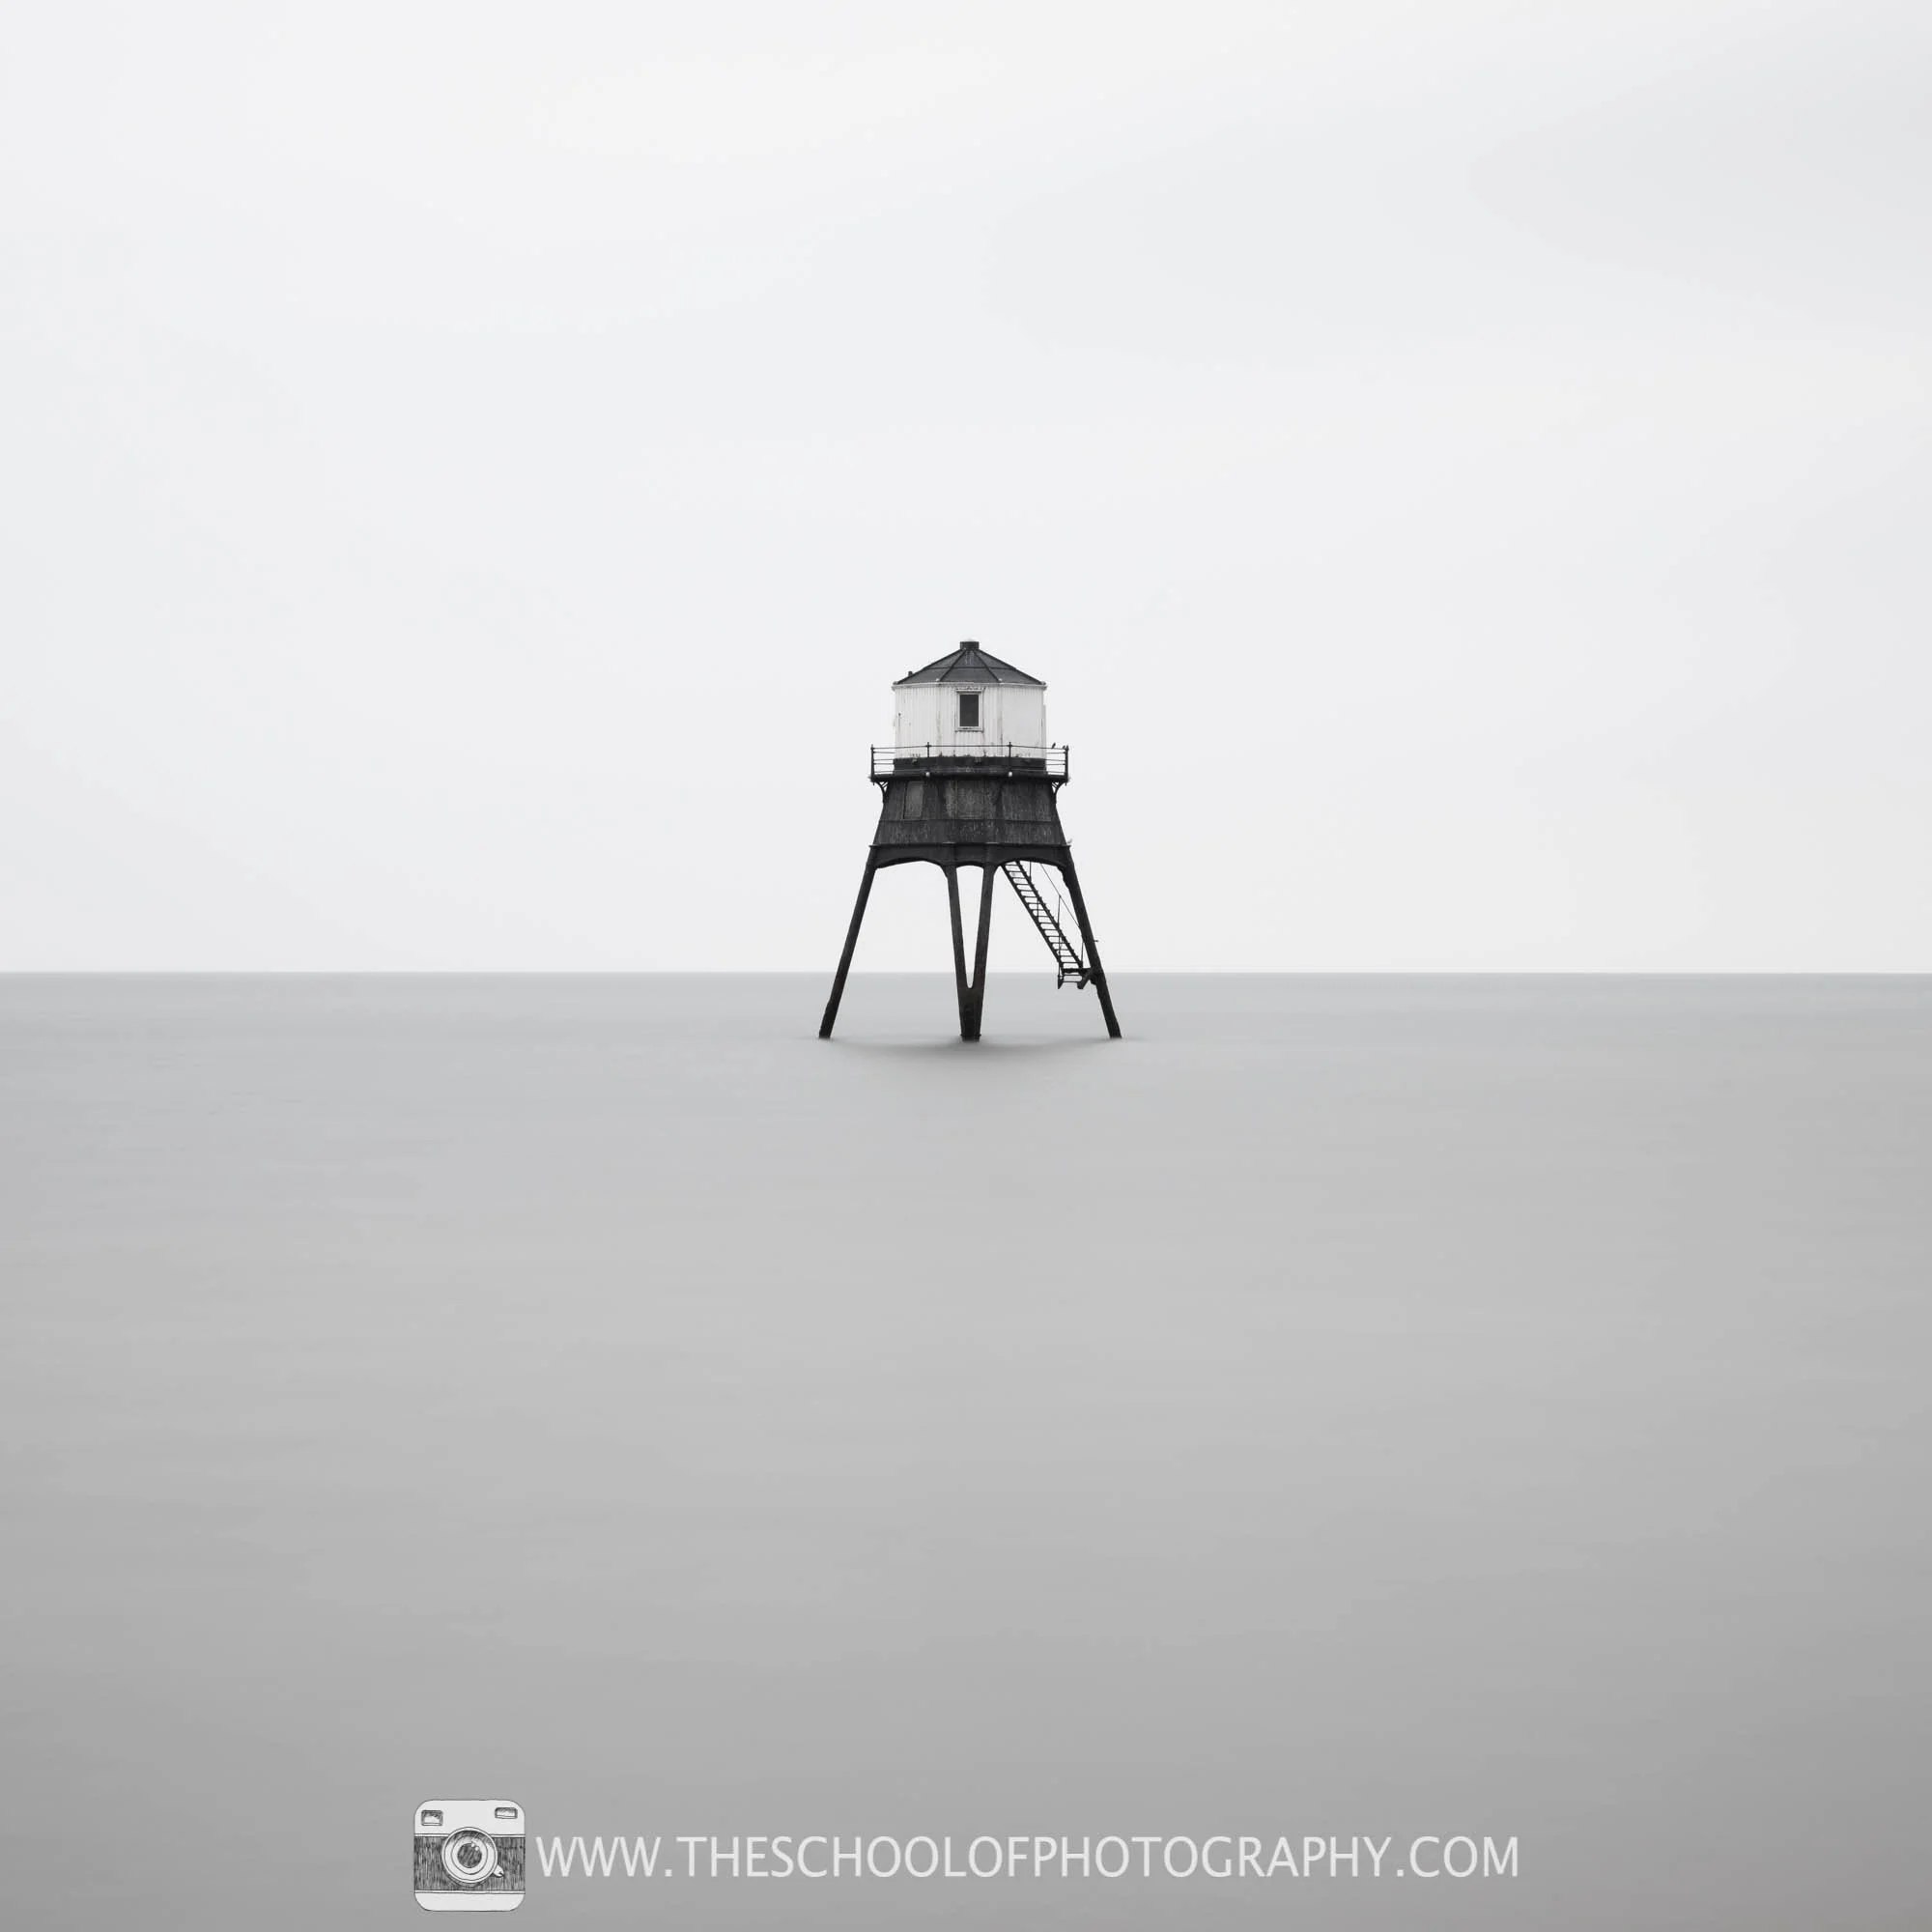
Long exposure photo of a lighthouse out at sea. Turning the image black and white adds to the minimalist effect.
In this next example, the minimalist effect has been created by a clever use of composition and by removing the colour from the scene. The photo’s main focus is the rock with the majority of the image taken up by the sky. The composition can be broken up into 3 parts. Going from the bottom you have the line of water, then the triangle of the rock, then a sky with only a graduation of grey.
The image has been broken down to the minimal of objects and via the use of black and white photography it has minimal colours and tones, thus given a perfect example of minimalist photography.
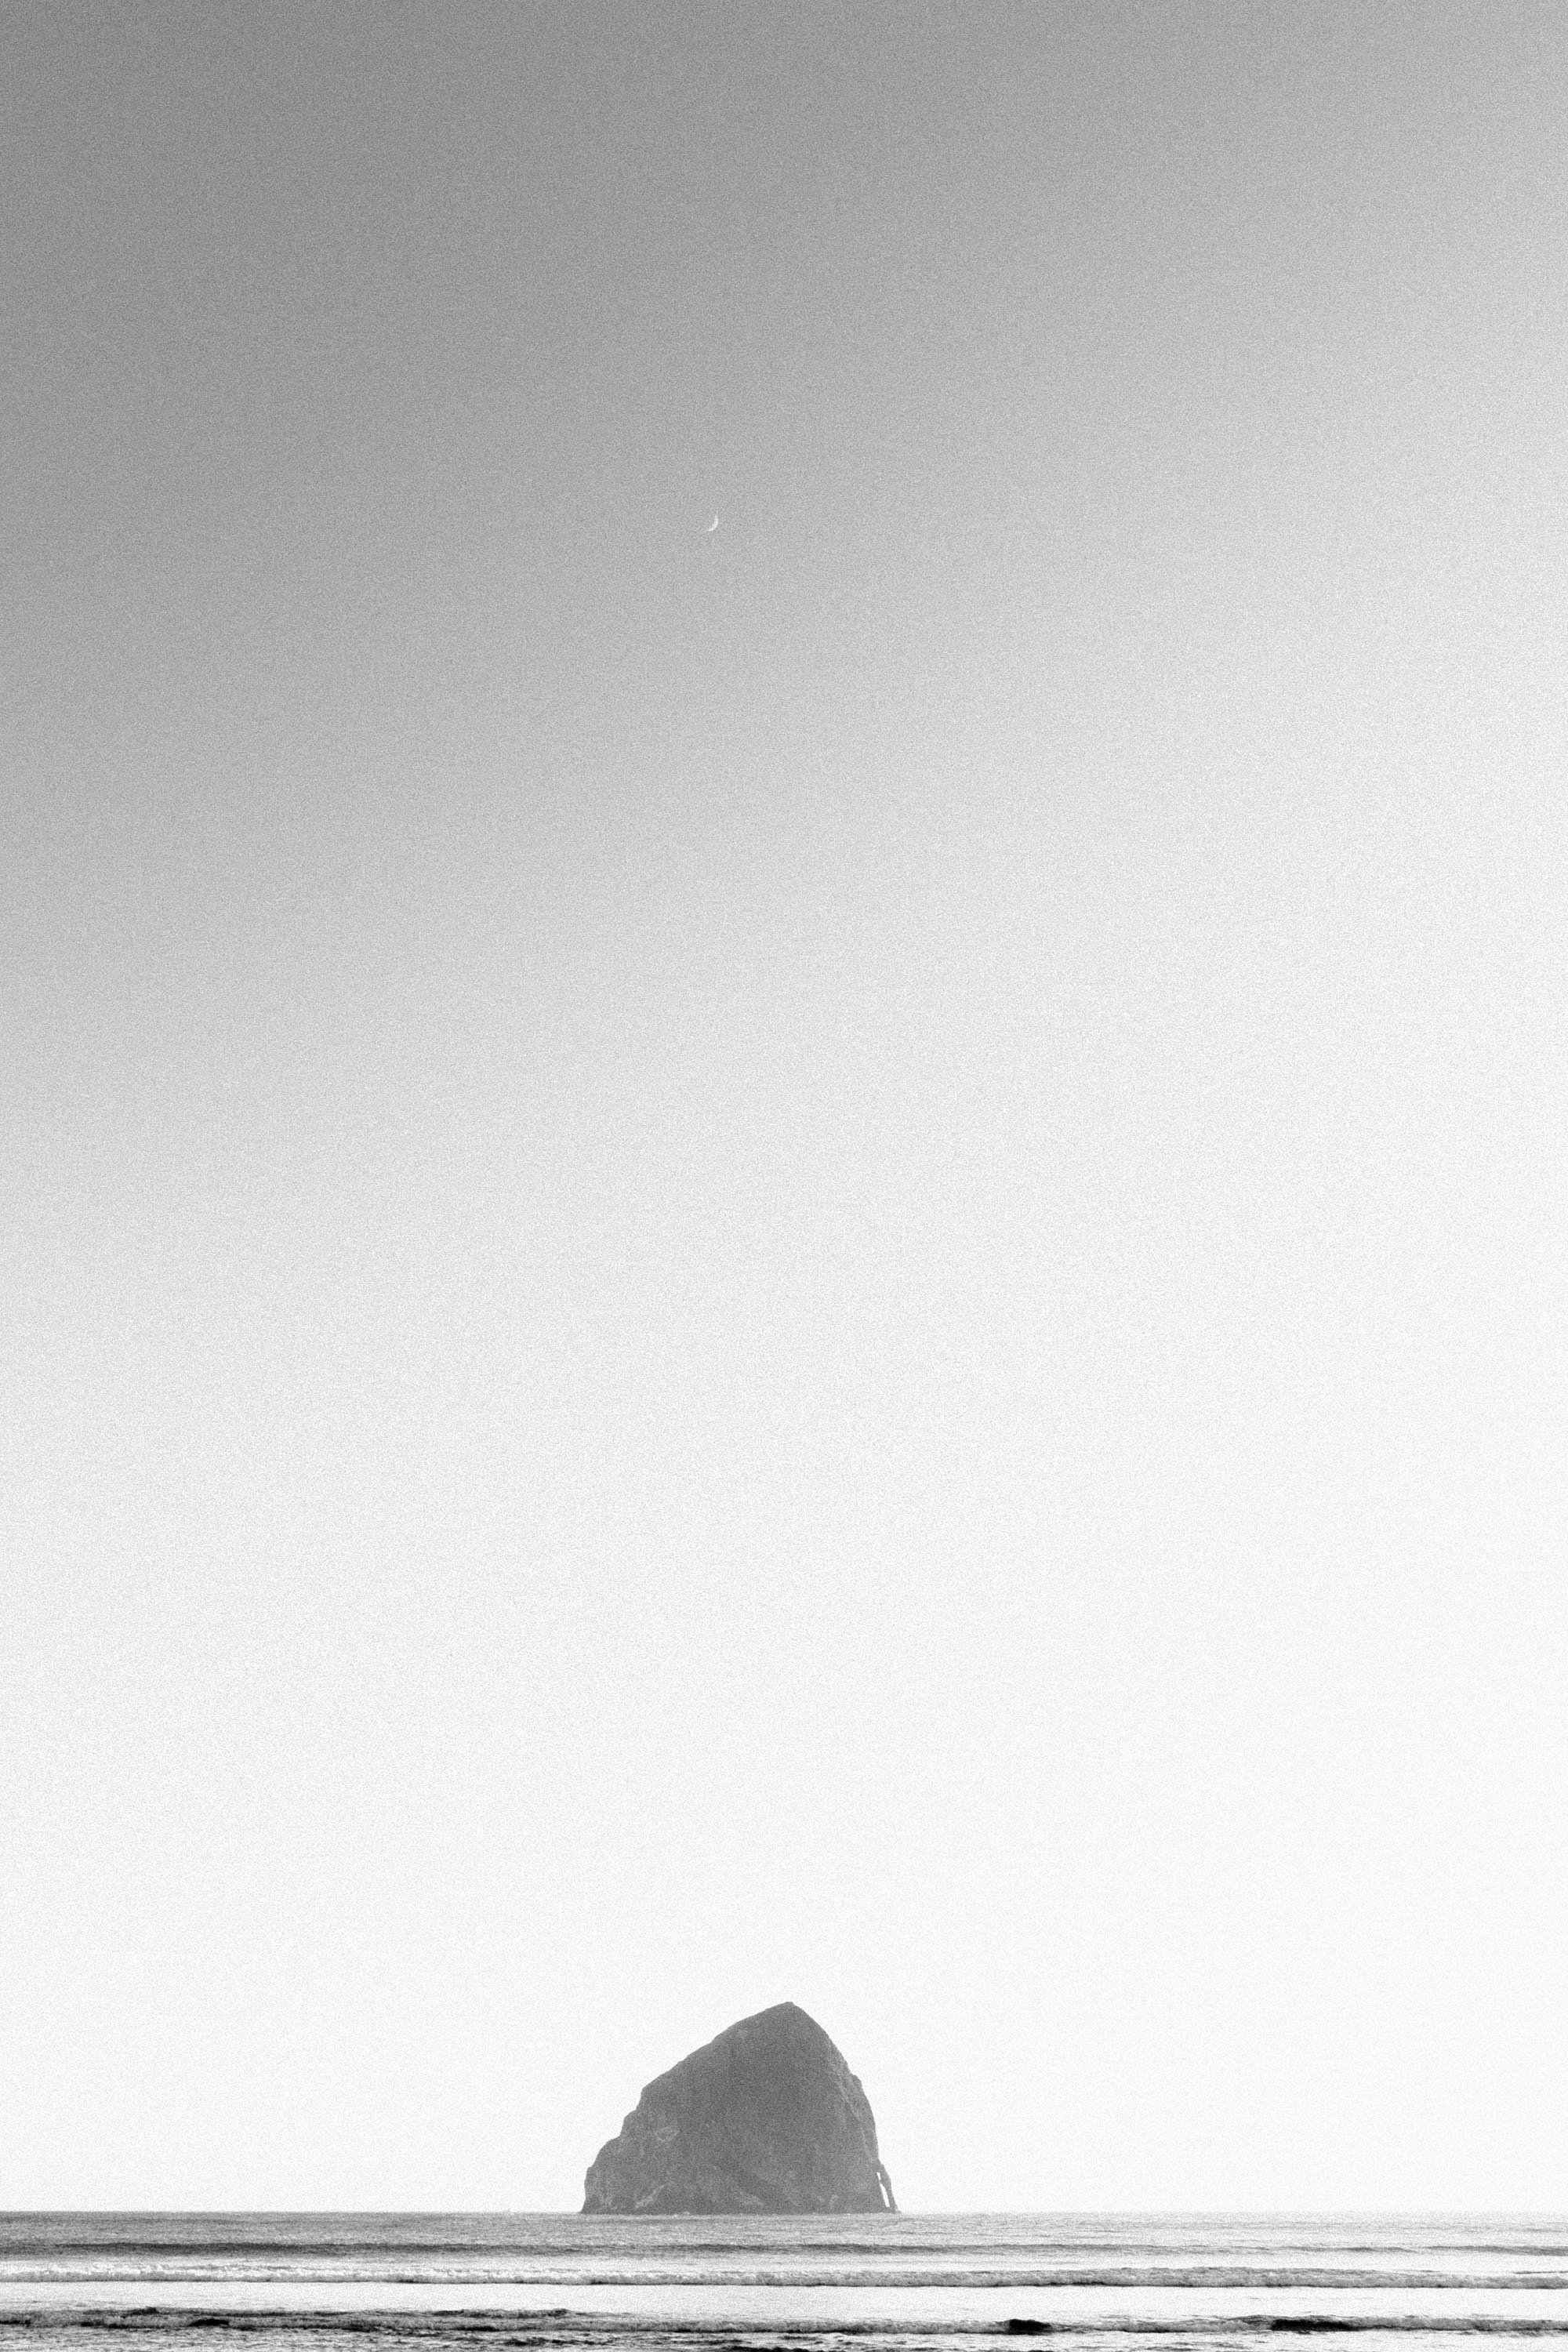
Credit - @aows/unsplash.com
Minimalism works very well with black and white photography as the elimination of colour simplifies the photo.
Tip 5 – Find Symmetry
Symmetry is achieved when two halves of an image hold the same weight and give a perfect balance between two sides of your photograph. The human eye is naturally drawn to symmetry in photography. Symmetry suits black and white photography as, similar to minimalism, the removal of colour focuses the viewer on the balance of the composition. Good places to find symmetry are the interiors of buildings or externally on architecture.
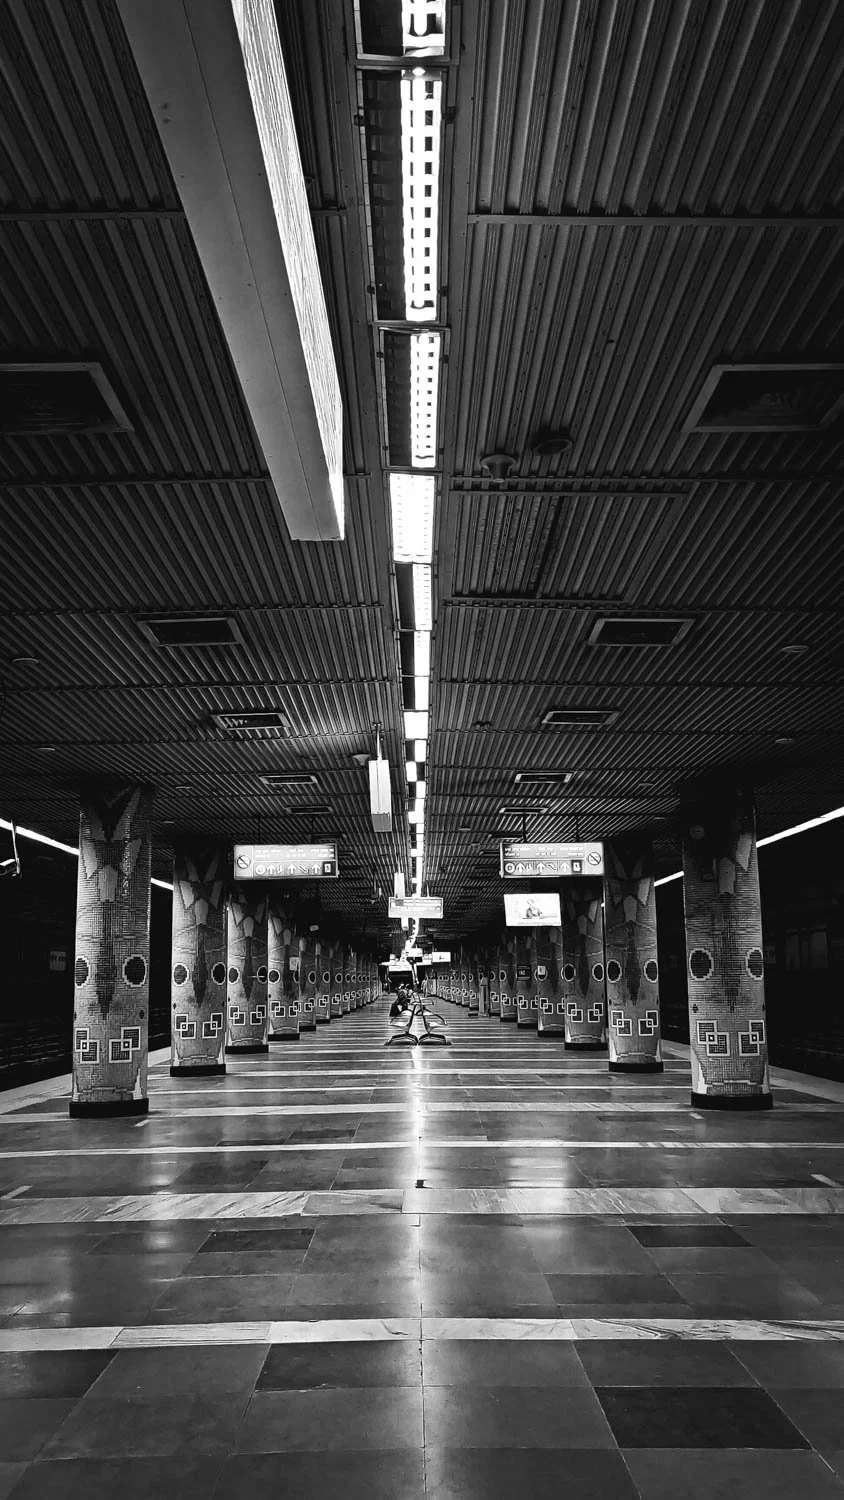
Credit - @Souradeep Biswas/Unsplash
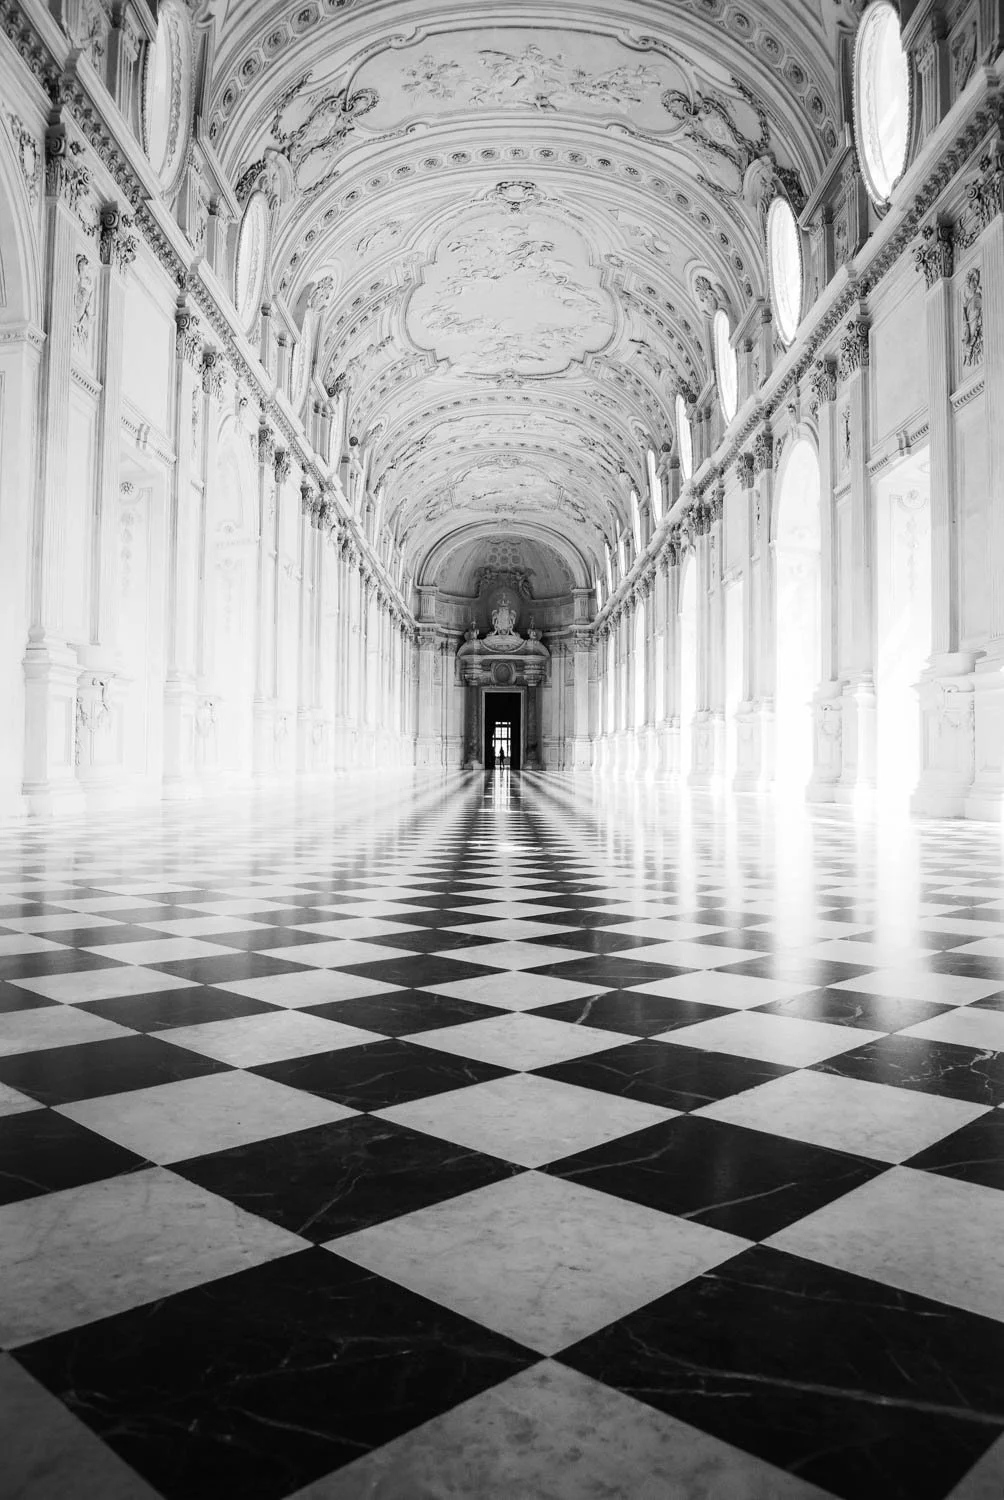
Credit - @Cristina Gottardi/Unsplash
When out with your camera consider scenes that show good symmetry and see how they look in monochrome!
Symmetry in Photography – Killer Tips to Improve Composition
Tip 6 – Look for Texture
Texture is the feel, appearance, or consistency of a surface or substance. This is hard to replicate in a two-dimensional photograph. But, the removal of colour from a photo will focus the viewer to the pure texture of the object or scene.
Another important thing to consider here is your use of light. Hard light will generally create shadows and enhance a surface texture whereas soft light will not. Soft light will take away shadows and give a flatter and less contrasty image.
A couple of good examples of this are tree bark or clouds.
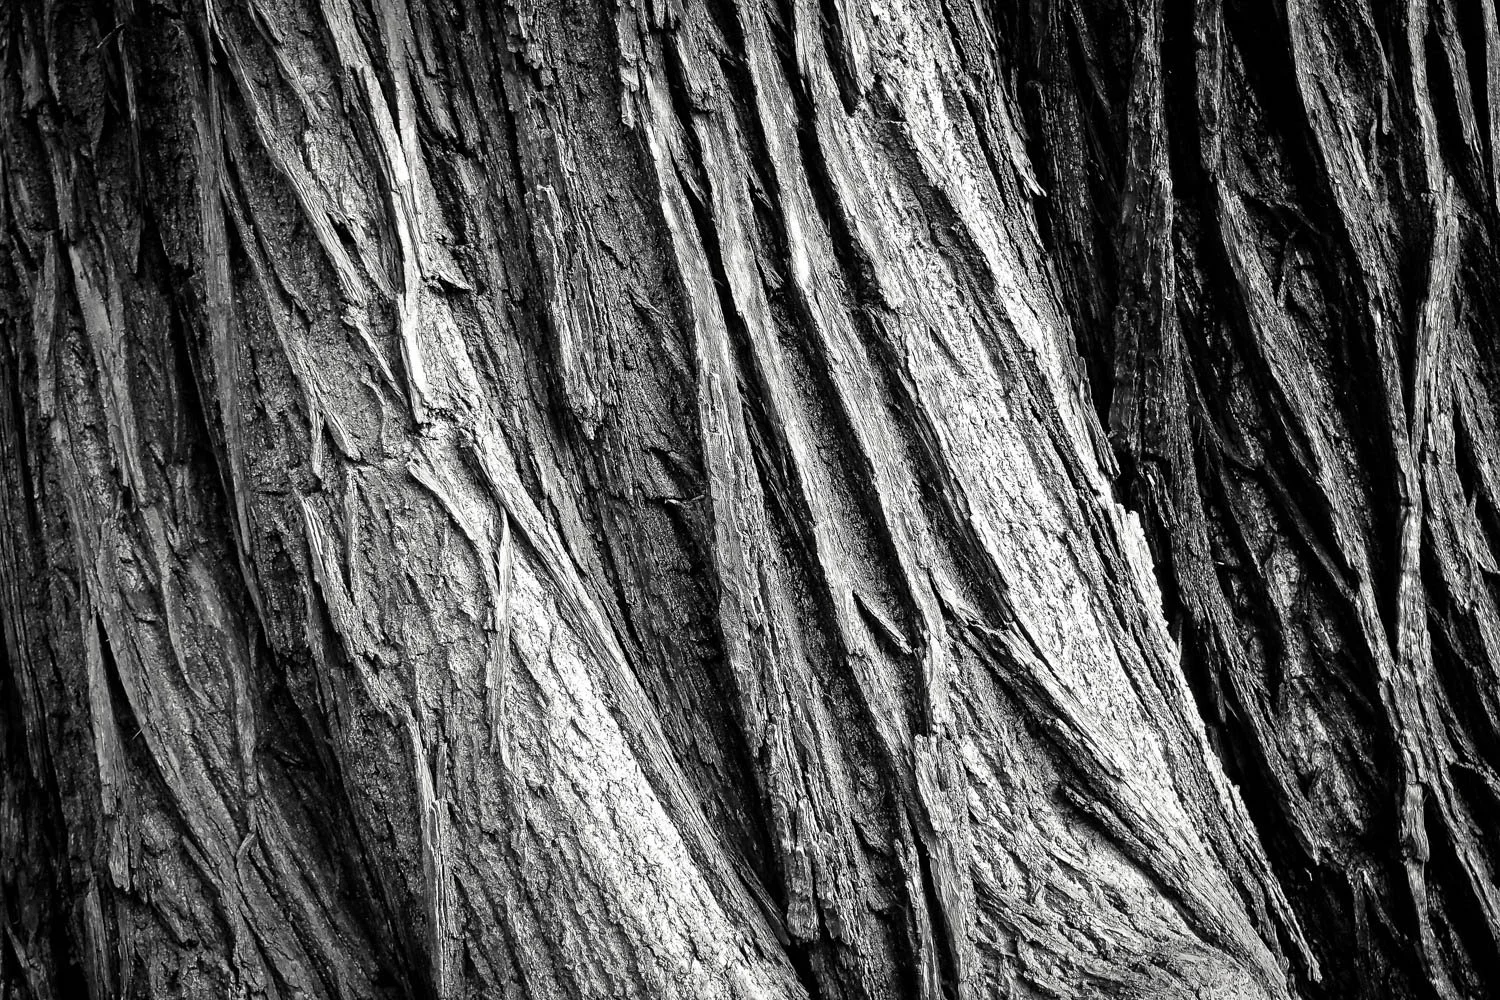
Texture of Tree Bark - Credit - @Michael Gaida/Pixabay
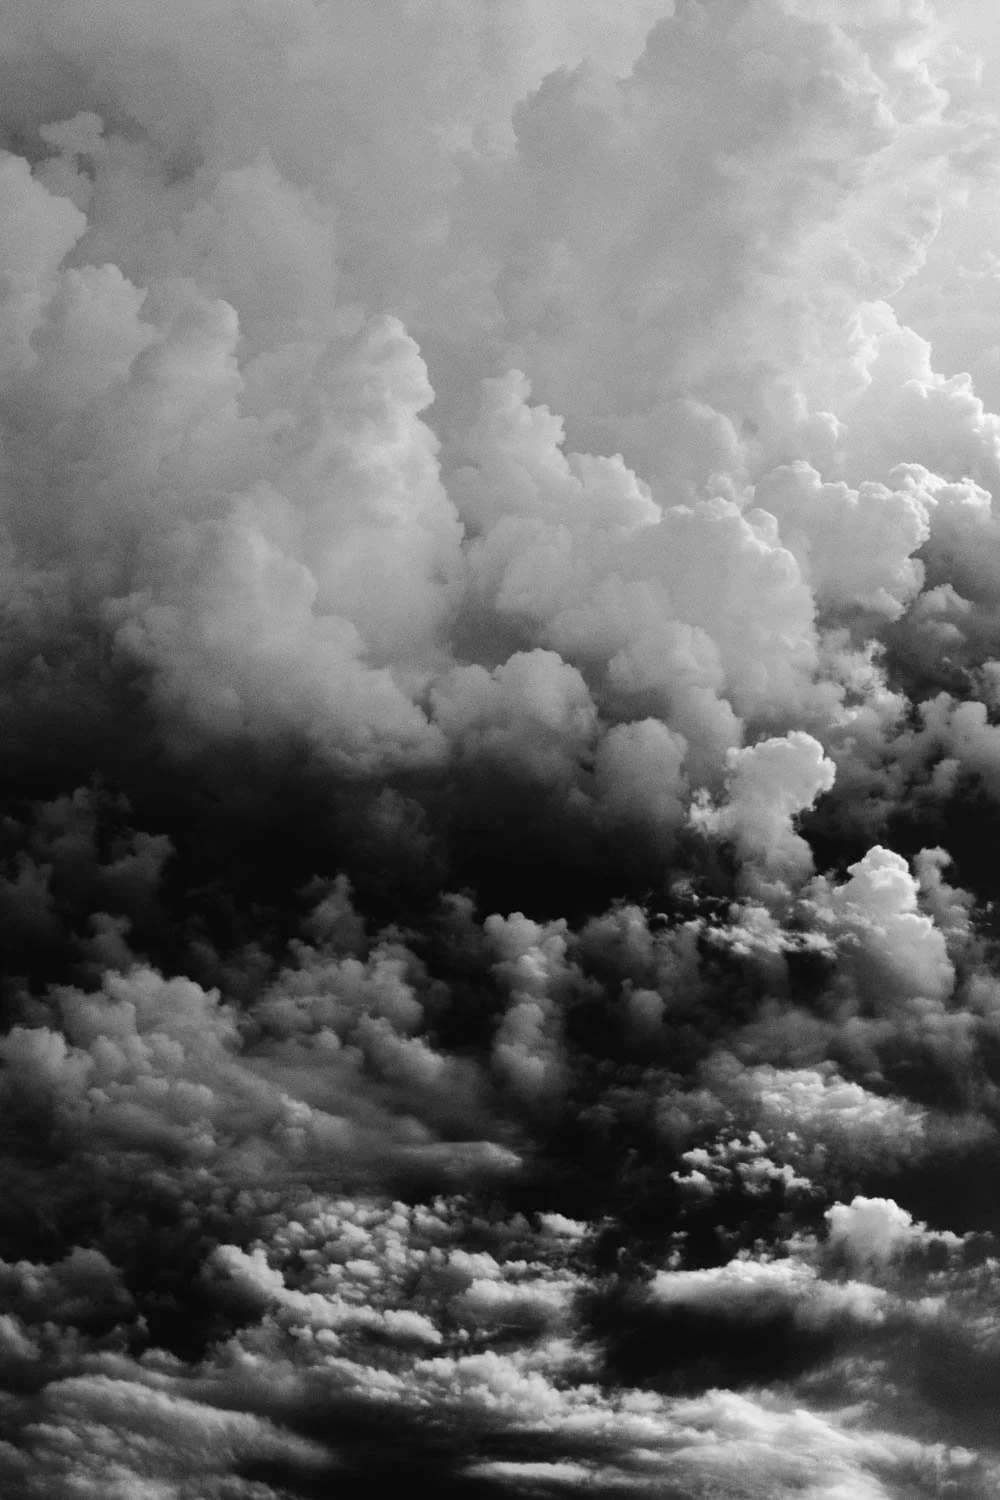
Texture within clouds - Credit - @Tom Barrett/Pixabay
Next time you’re out with your camera, look at surfaces and the way the light is hitting them. You might be surprised where you’ll find an opportunity for a good black and white photograph!
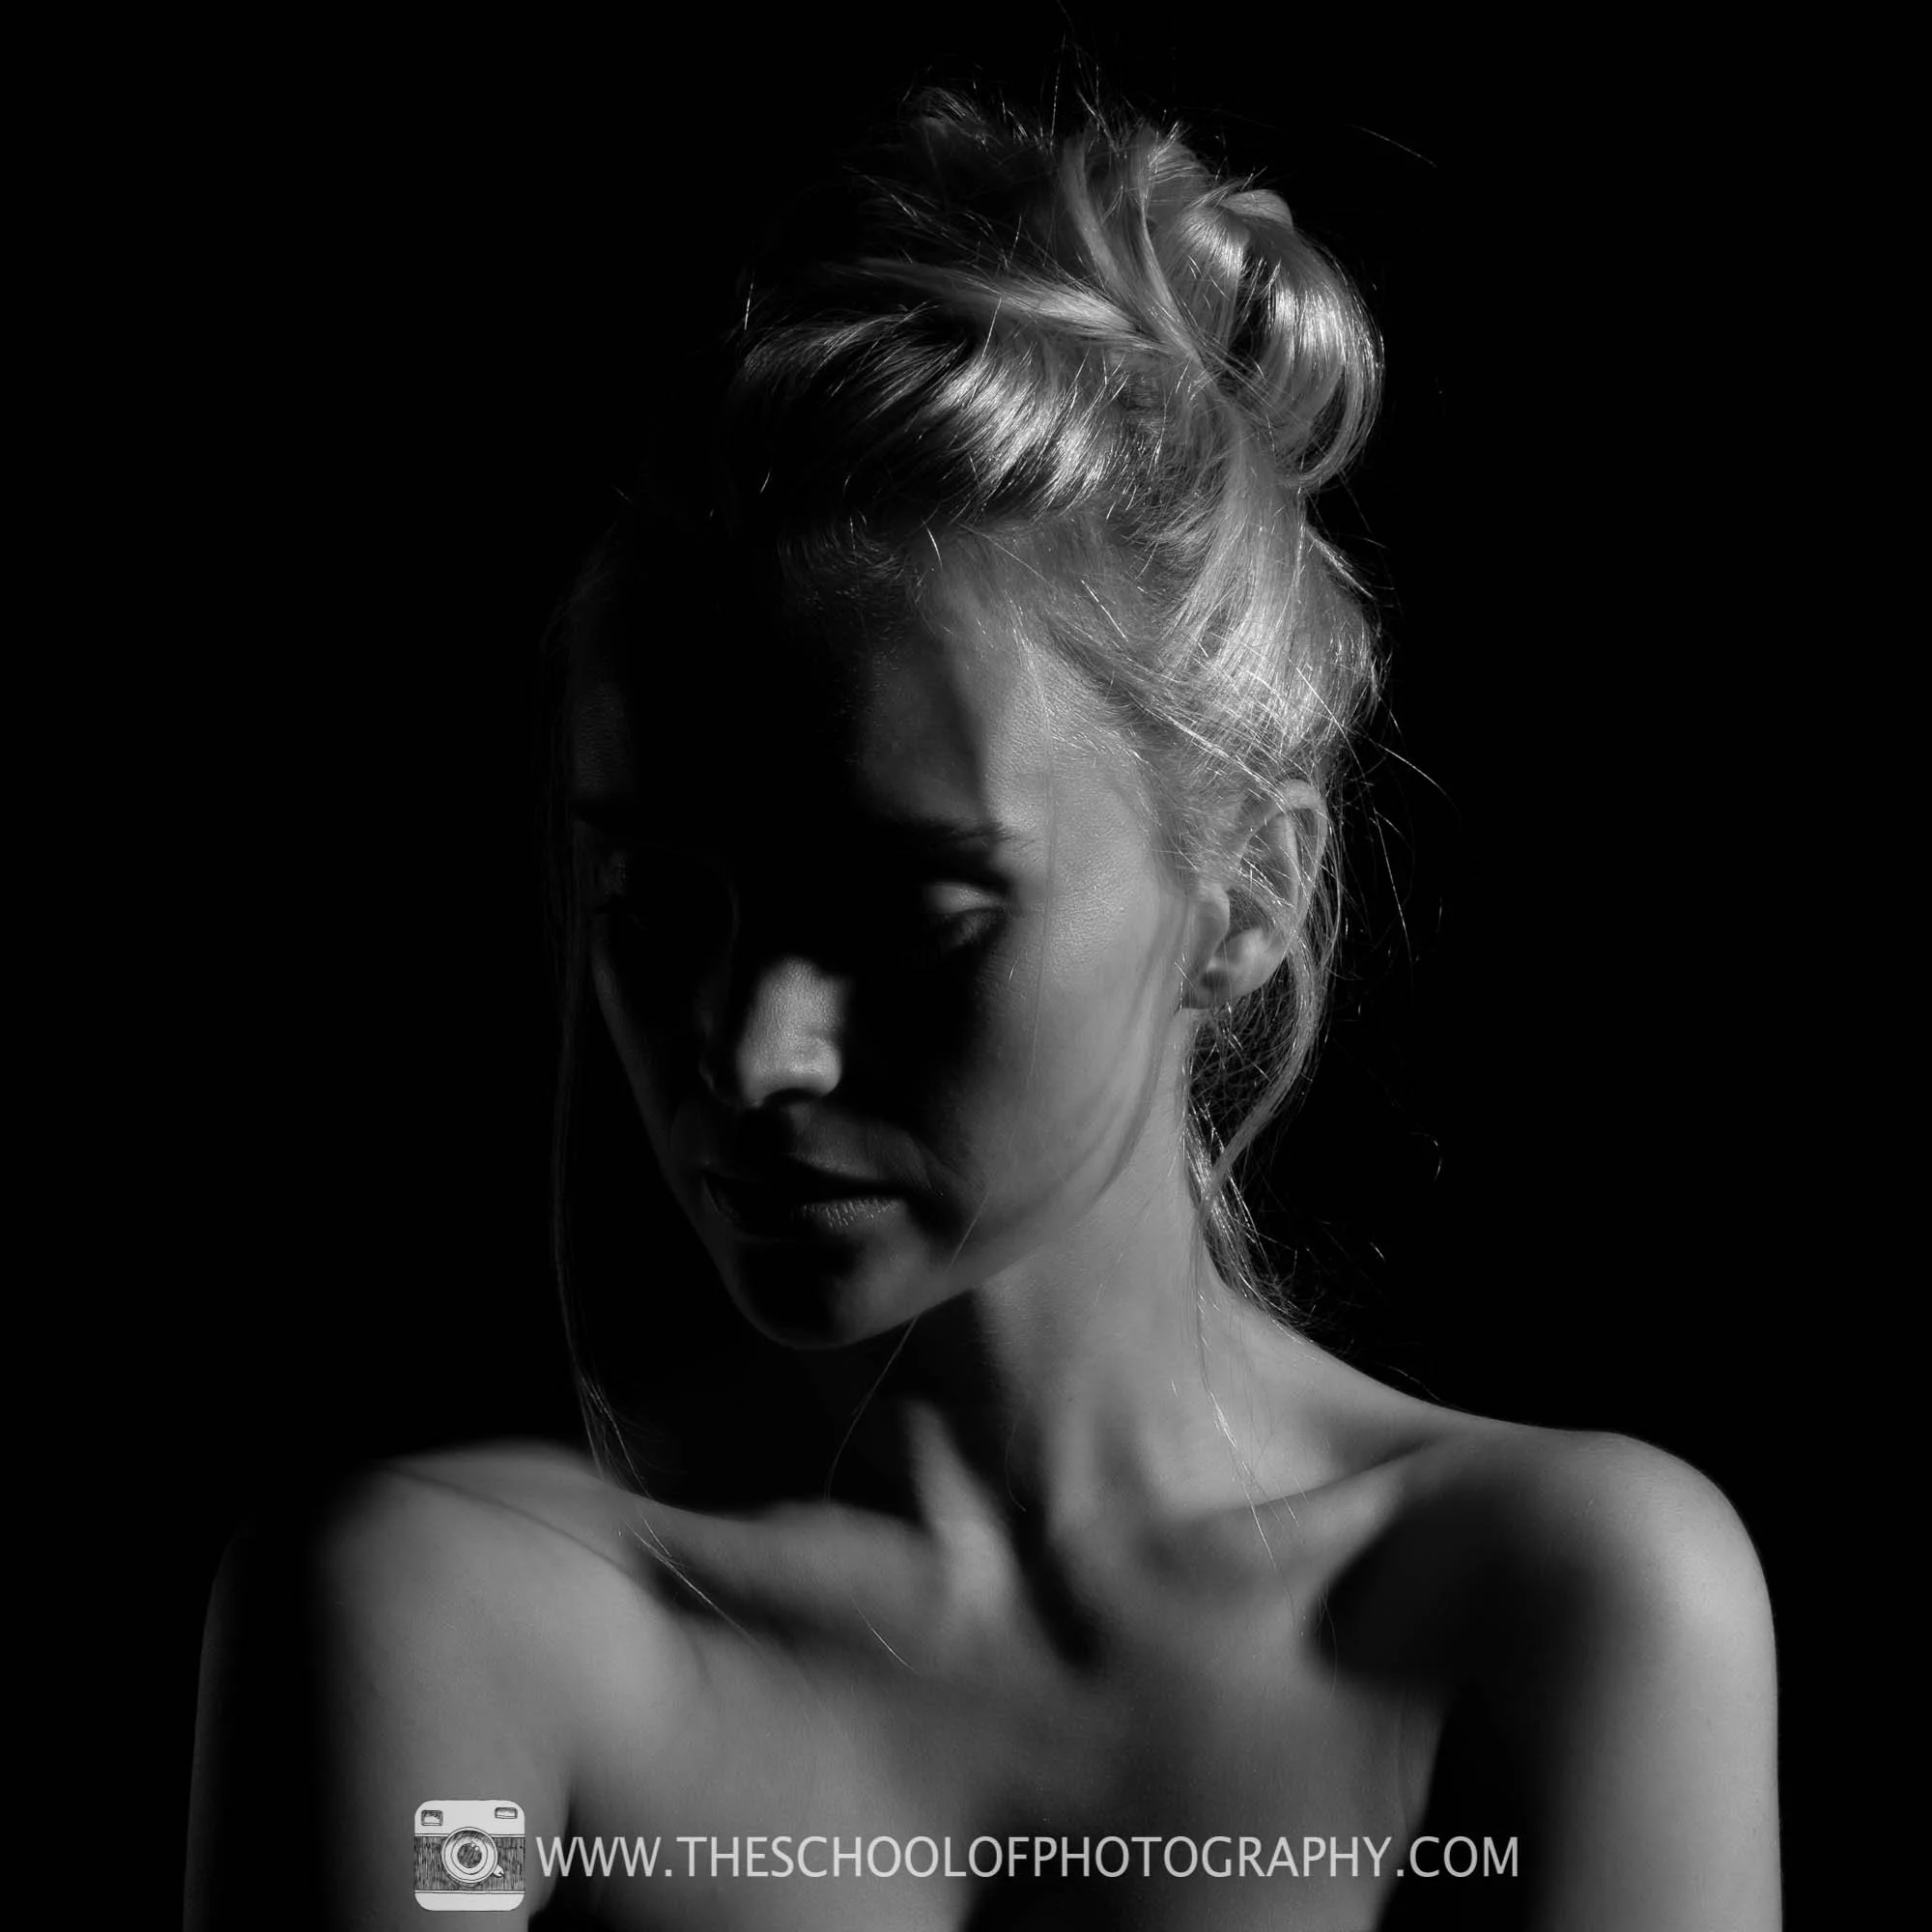
Tip 7 – Create Silhouettes
In the dictionary Silhouettes are described as “the dark shape and outline of someone or something visible in restricted light against a brighter background”. Due to its high contrast nature, they are perfectly suited to the black and white effect.
Silhouettes can be created very easily by placing someone or something in front a window or with the sun setting in the background. Simply use your camera’s exposure compensation setting and take it down by 1 or 2 stops to get a desired effect. Shooting in contrasty situations, like silhouettes, will throw your camera’s exposure meter all over the place! This exposure compensation setting will override what the camera’s meter is saying and, in this case, create a darker image.
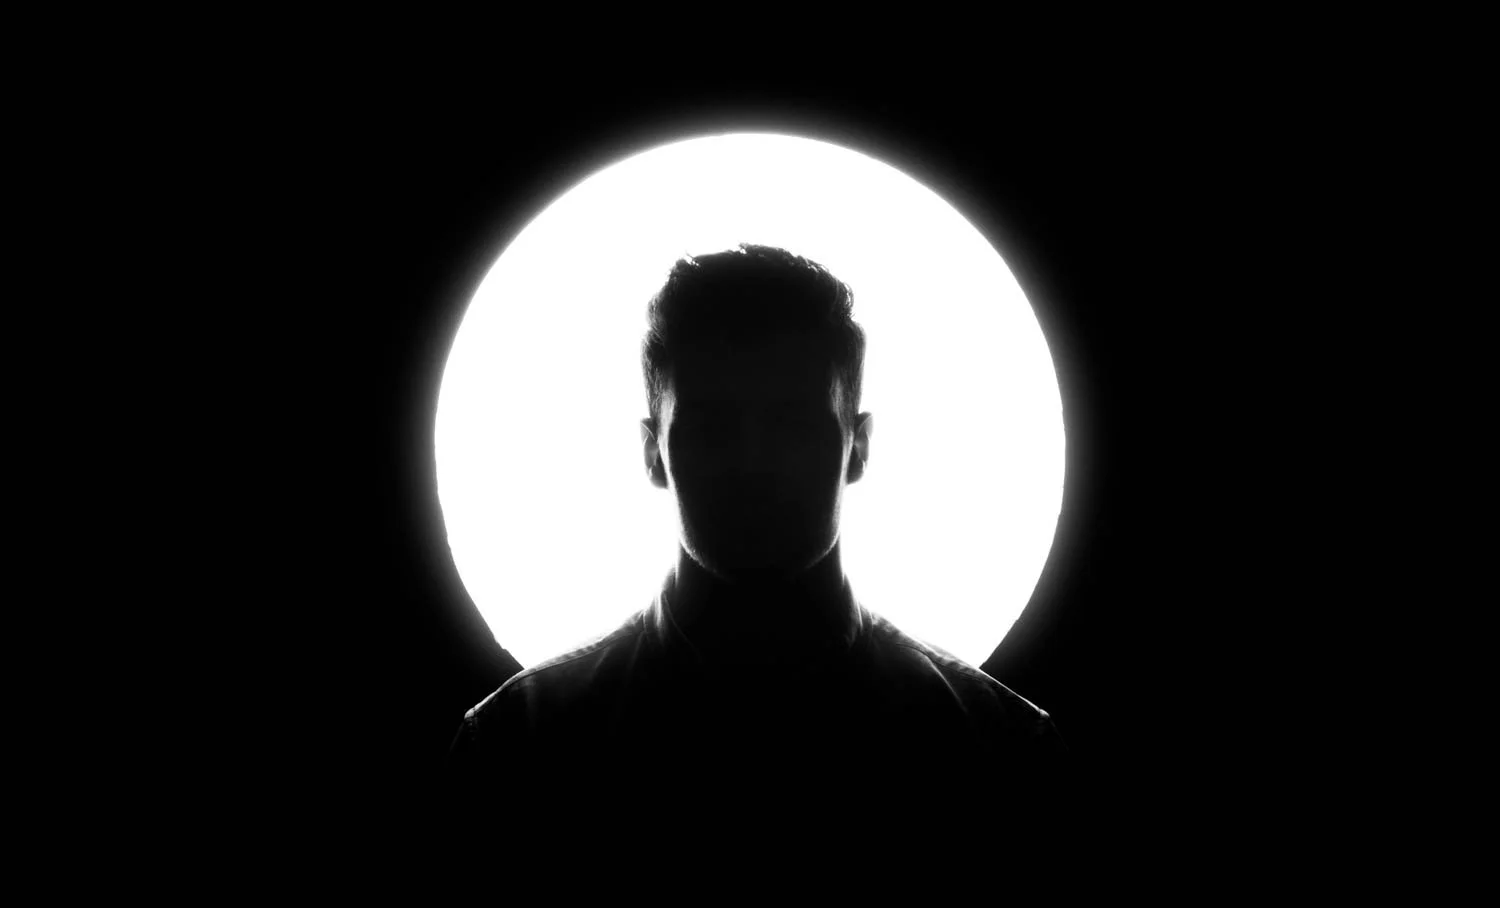
Credit - @Joe Shields/Unsplash

Credit - @Bessi/Pixabay
When the opportunity arises, learn about your exposure compensation setting, and create some black and white silhouettes.
Tip 8 – Editing your photography
Post processing your photography is extremely important if you want to get pro looking pictures. Thankfully you don’t need to be a Photoshop wizz to do this. Changing your photos black and white is straightforward on phone apps and in other post processing software.
We would recommend using Adobe Lightroom for these types of edits as it’s easy to turn photos black and white, increase or decrease contrast and crop, simultaneously.
Using computer programs to turn photography black and white
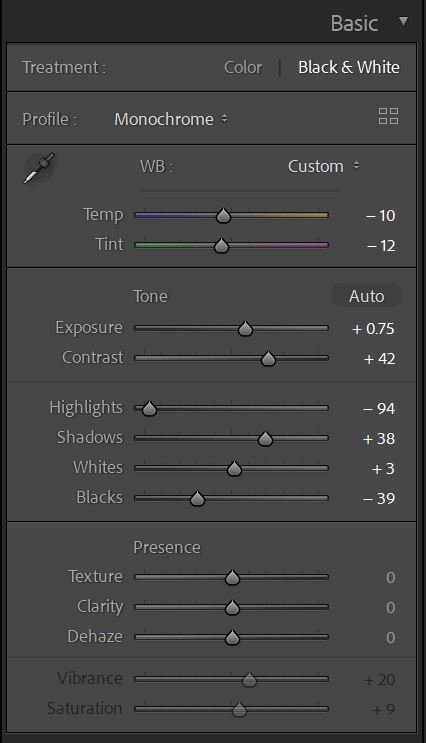
Basic Panel in Adobe Lightroom
Once you have your photography on the computer, experiment in post processing to get a desired effect.
What genres of photography suit black and white?
There isn’t really one answer to that question as black and white photography suits many different subjects. Of course, it doesn’t just depend of the type of photography, it really comes down to whether the individual photograph will suit black and white or colour.
I can, however, give you my opinion. Take a look at the below examples for some black and white inspiration and let us know in the comments the genres you like the best in black and white!
Black and white Long Exposure Photography
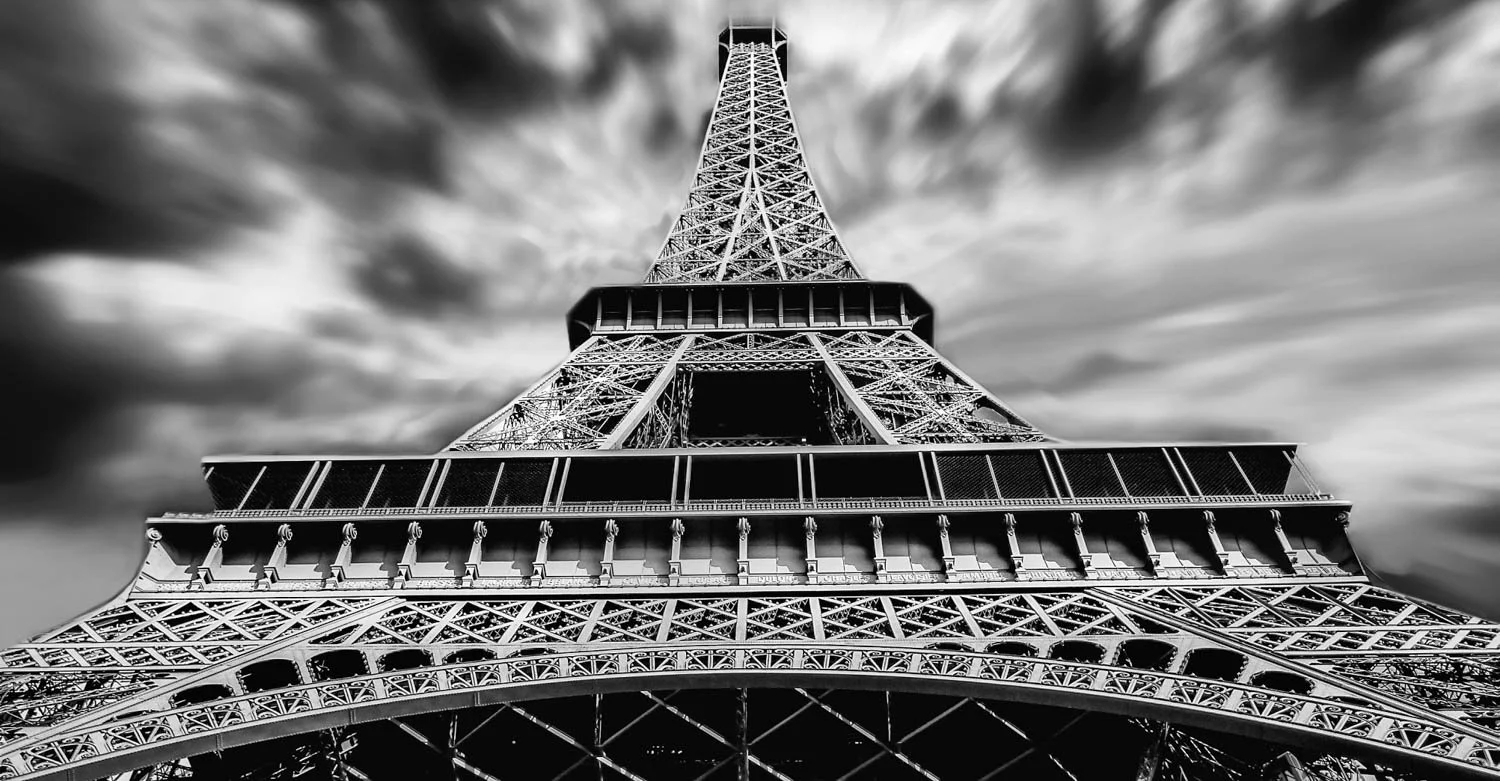
The Eiffel Tower - Credit @Walkerssk/Pixabay
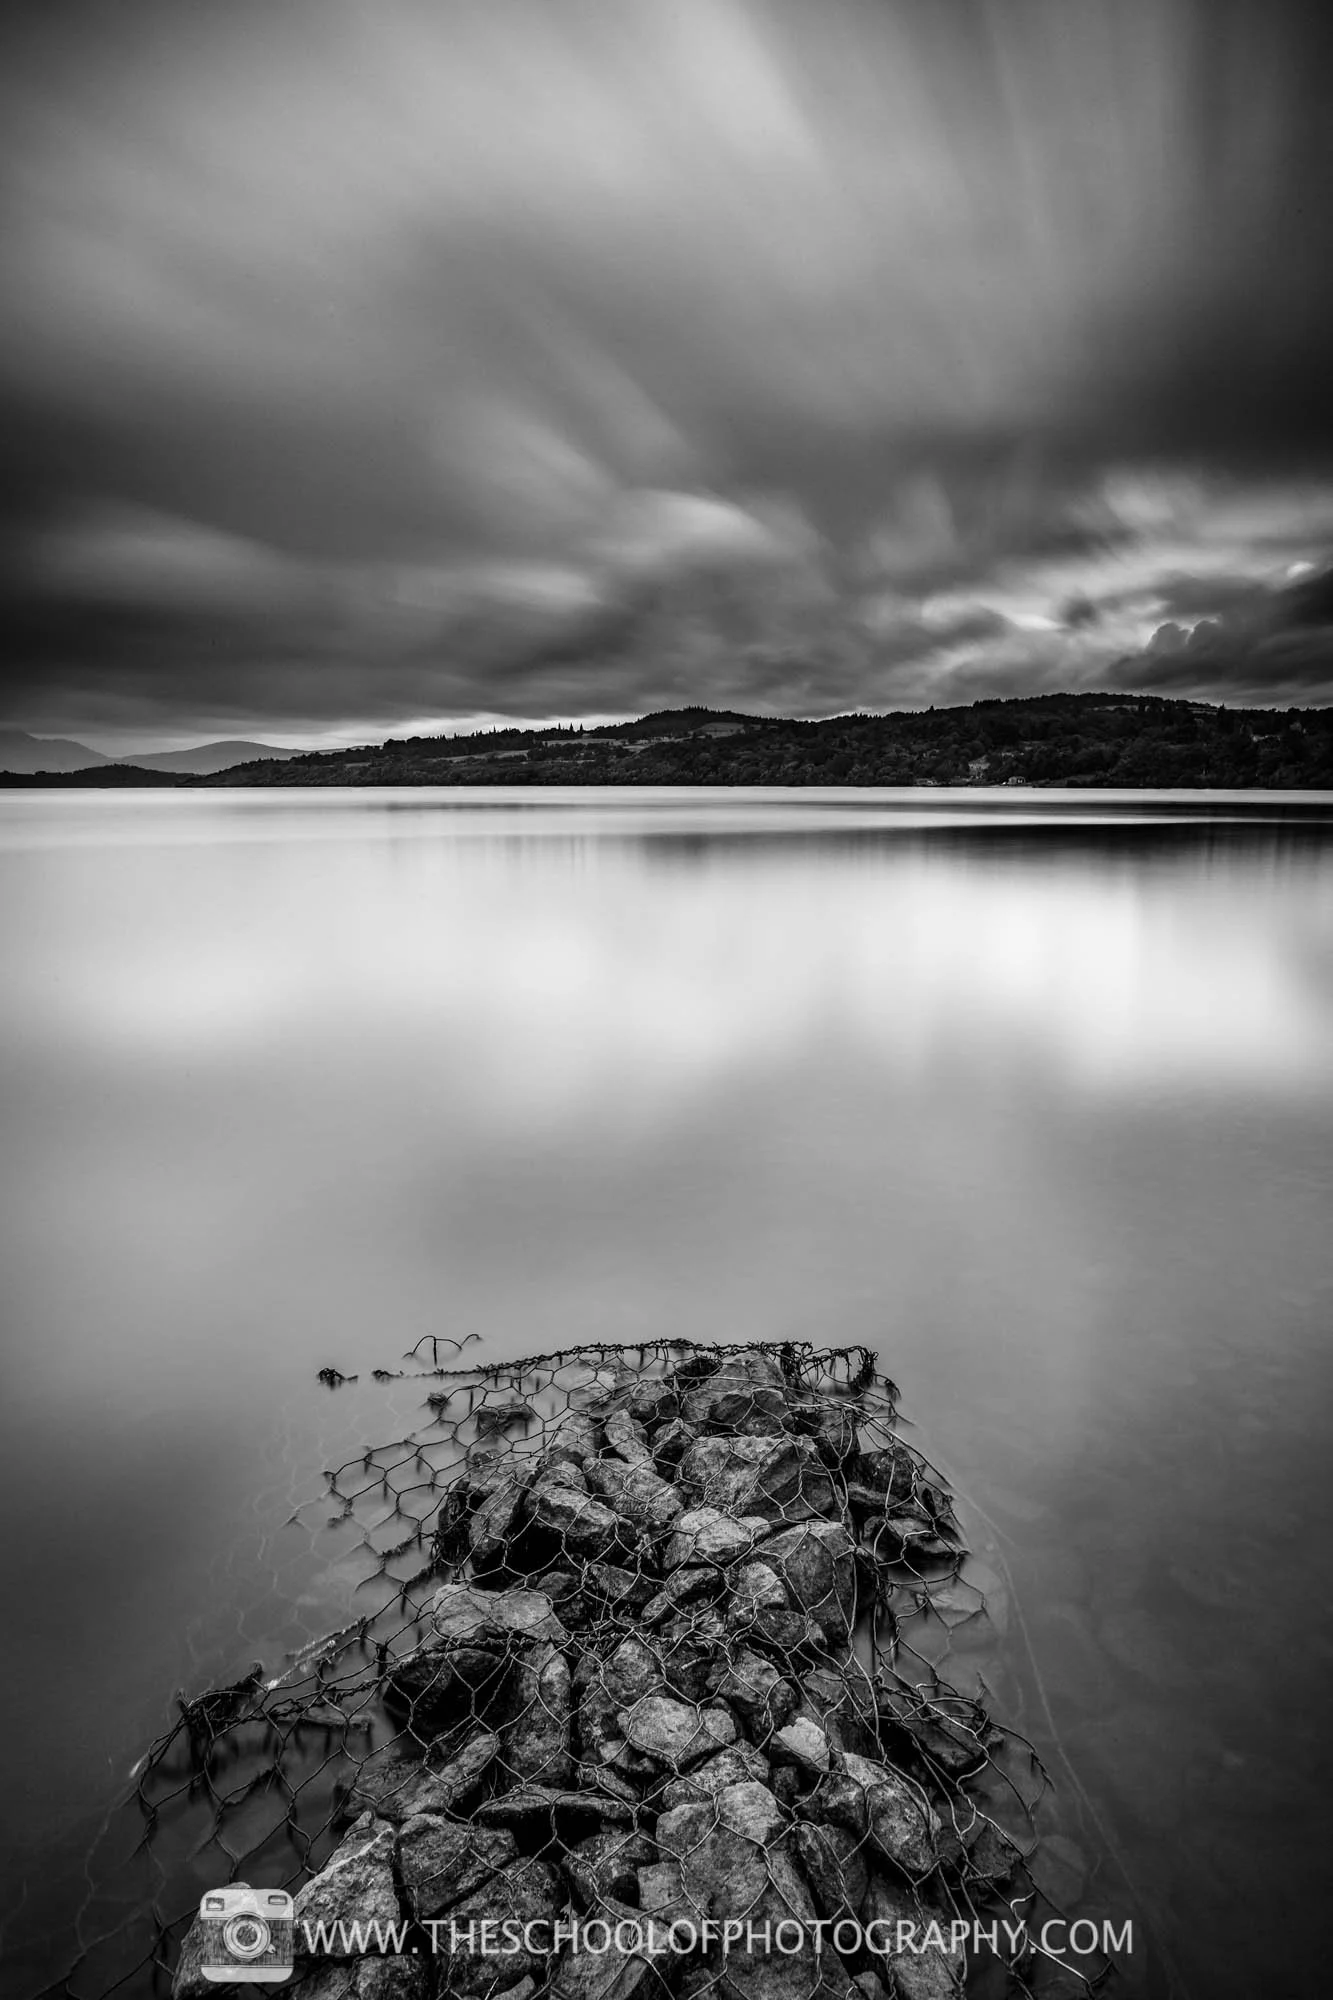
Rocks in water - Loch Lomand
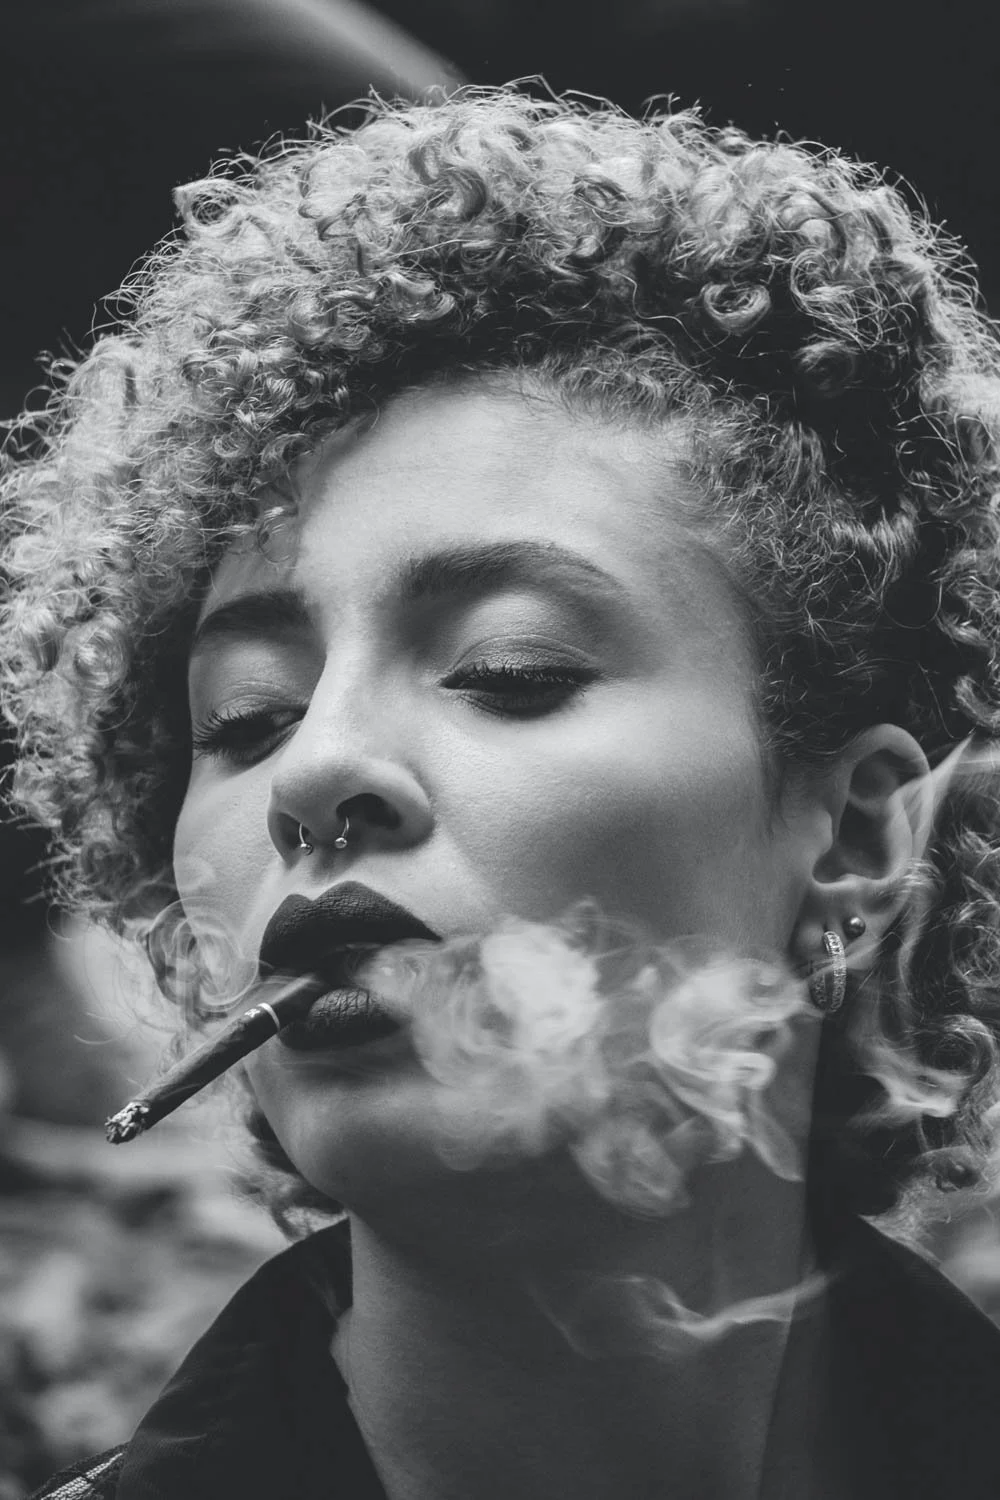
Black and White Portrait Photography
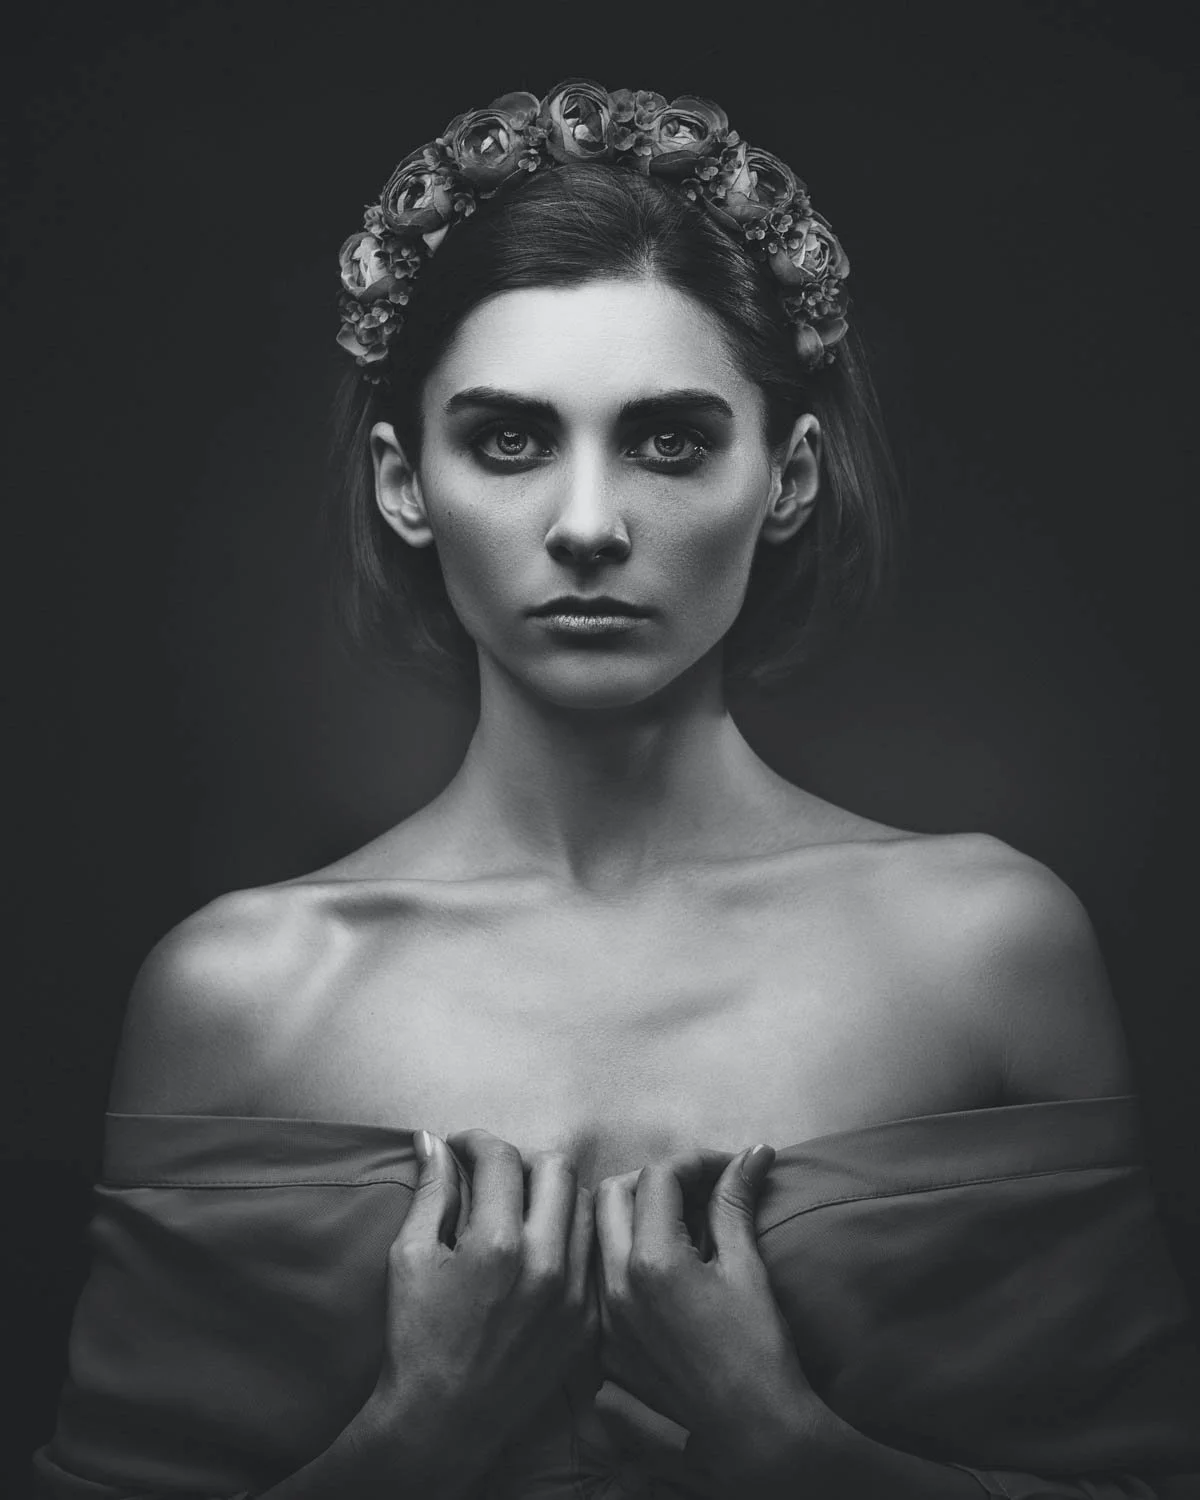
Credit @Dmytro Tolokonov/Unsplash
Black and White Night Photography
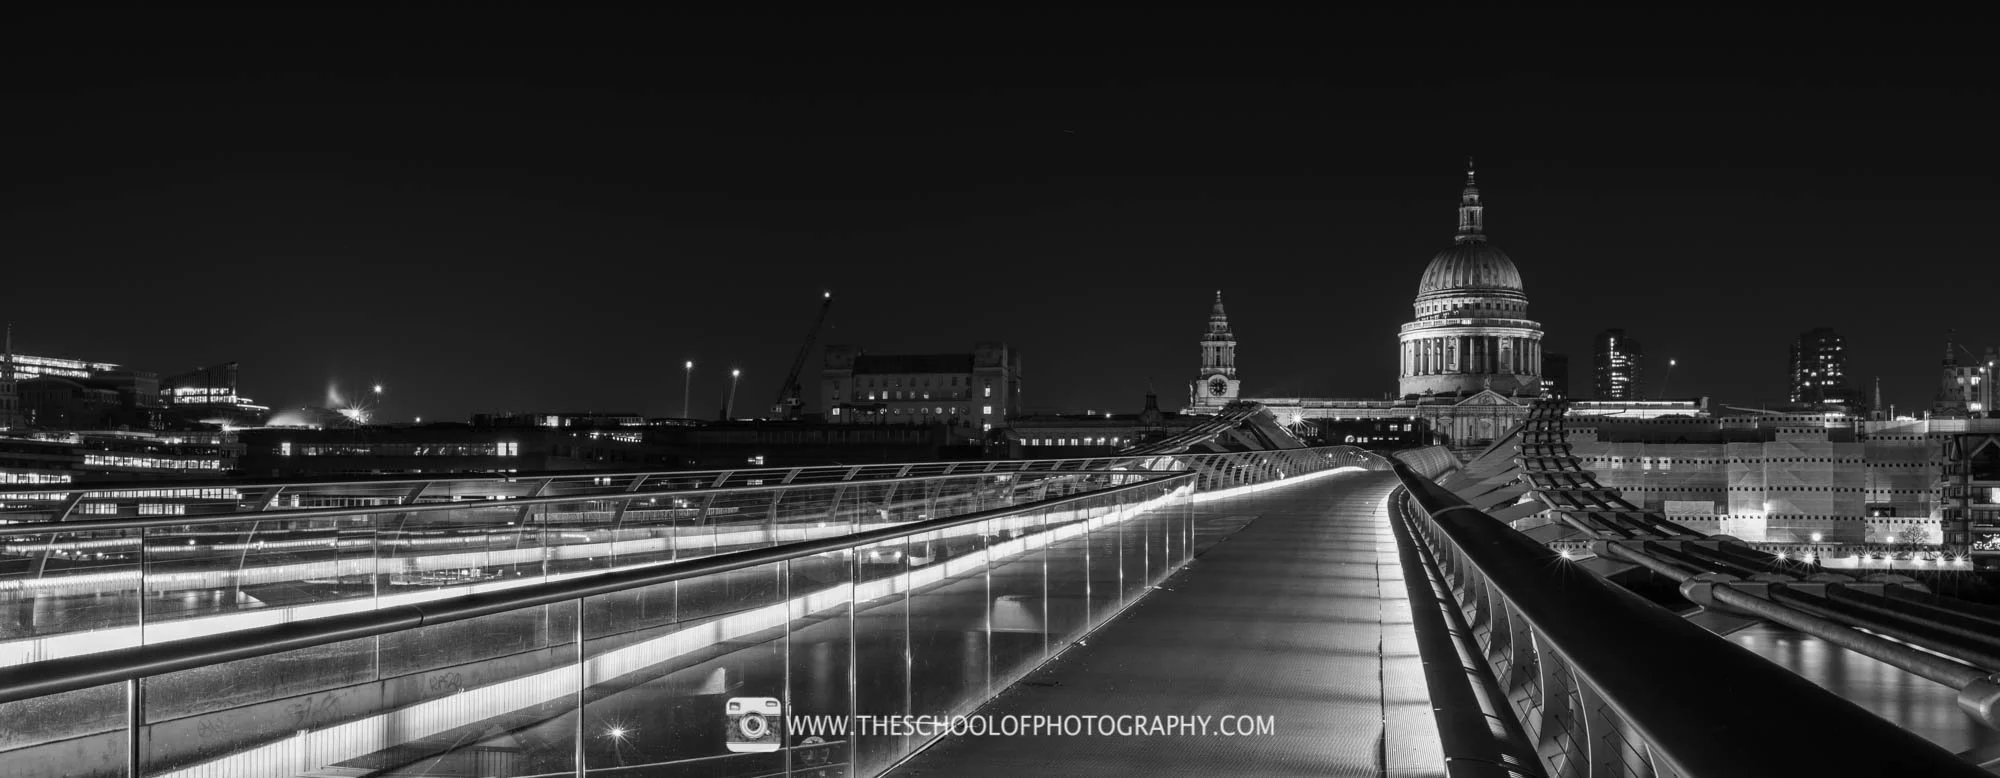
St Pauls Cathederal, London
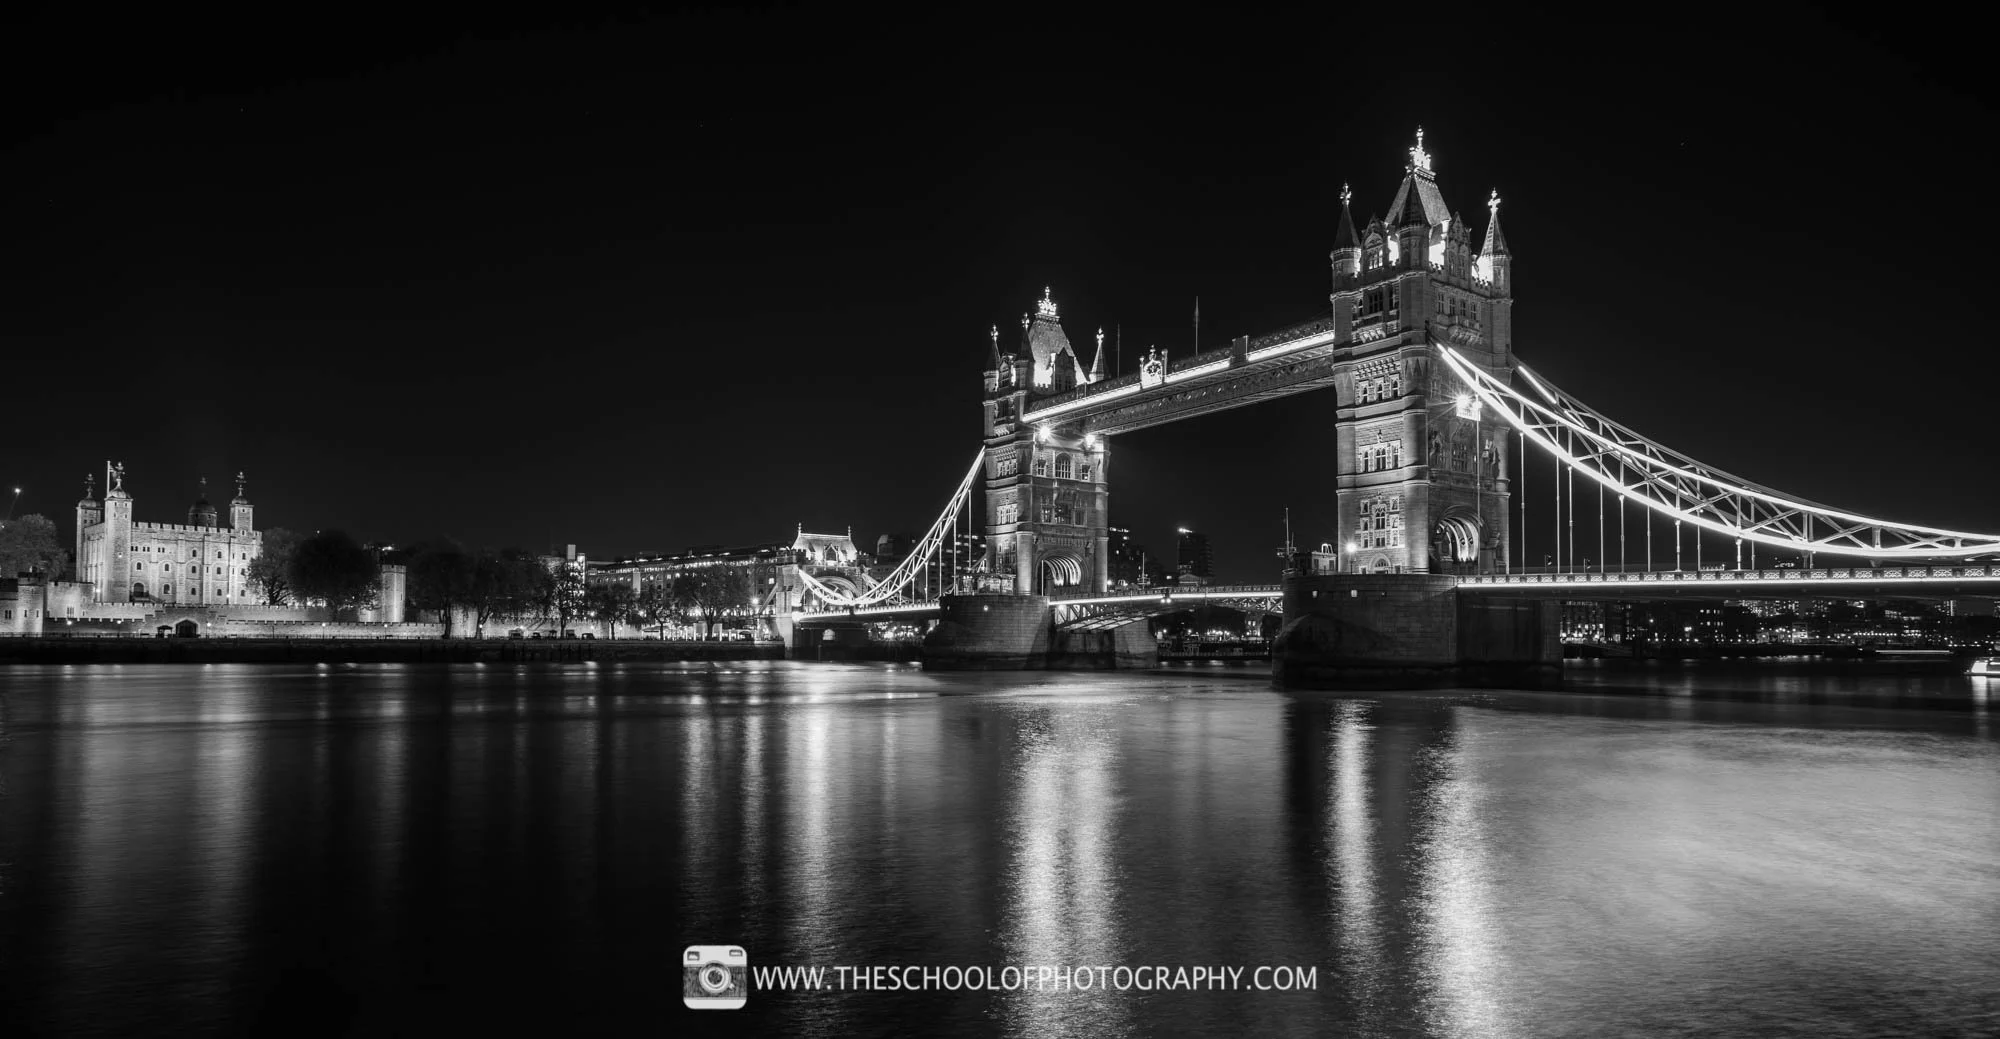
Tower Bridge at night
Black and White Wildlife Photography
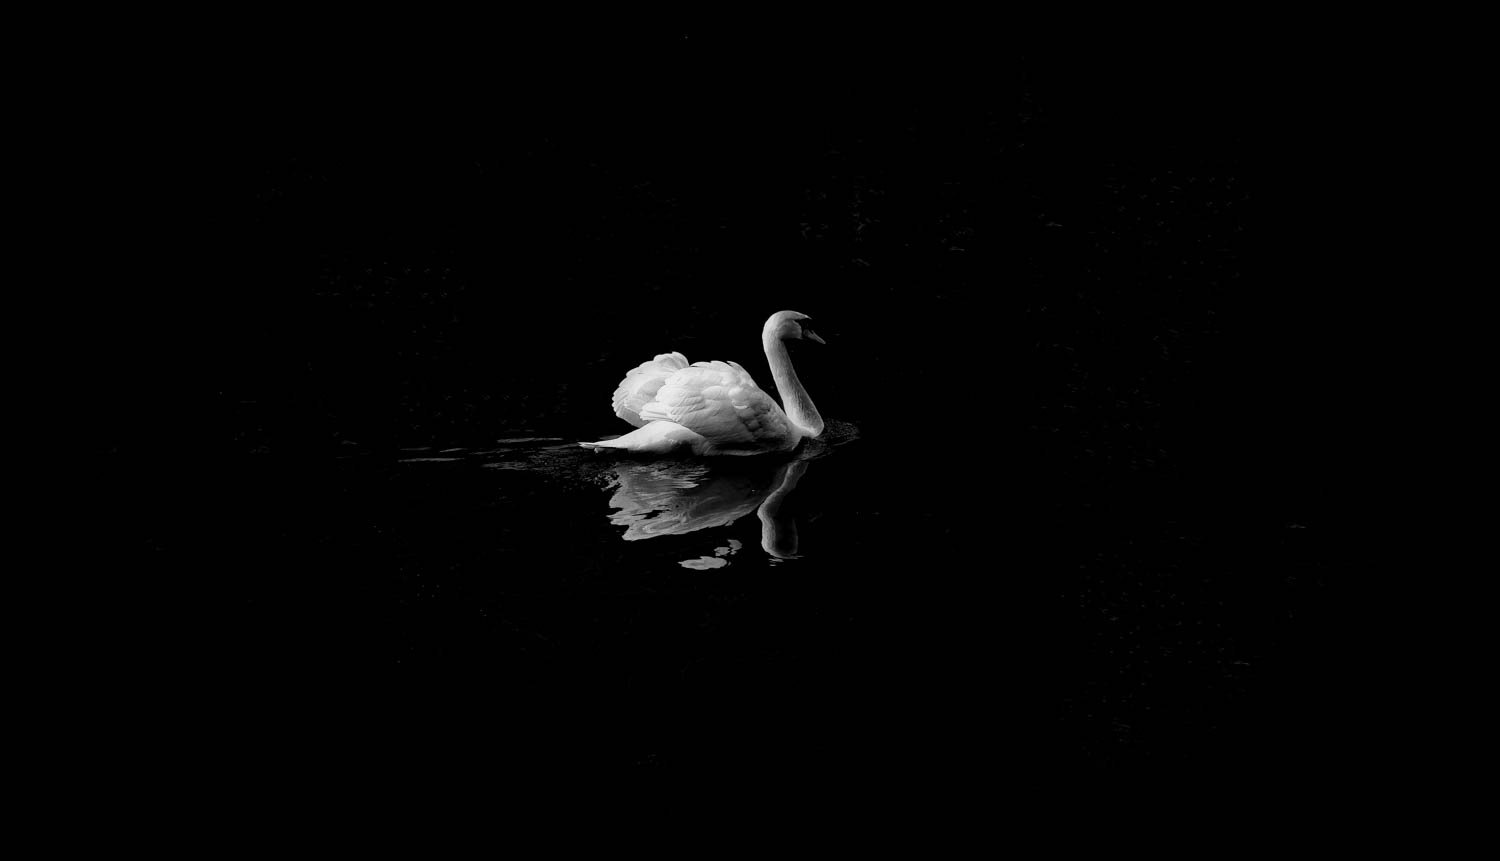
Credit @Pexels/Pixabay
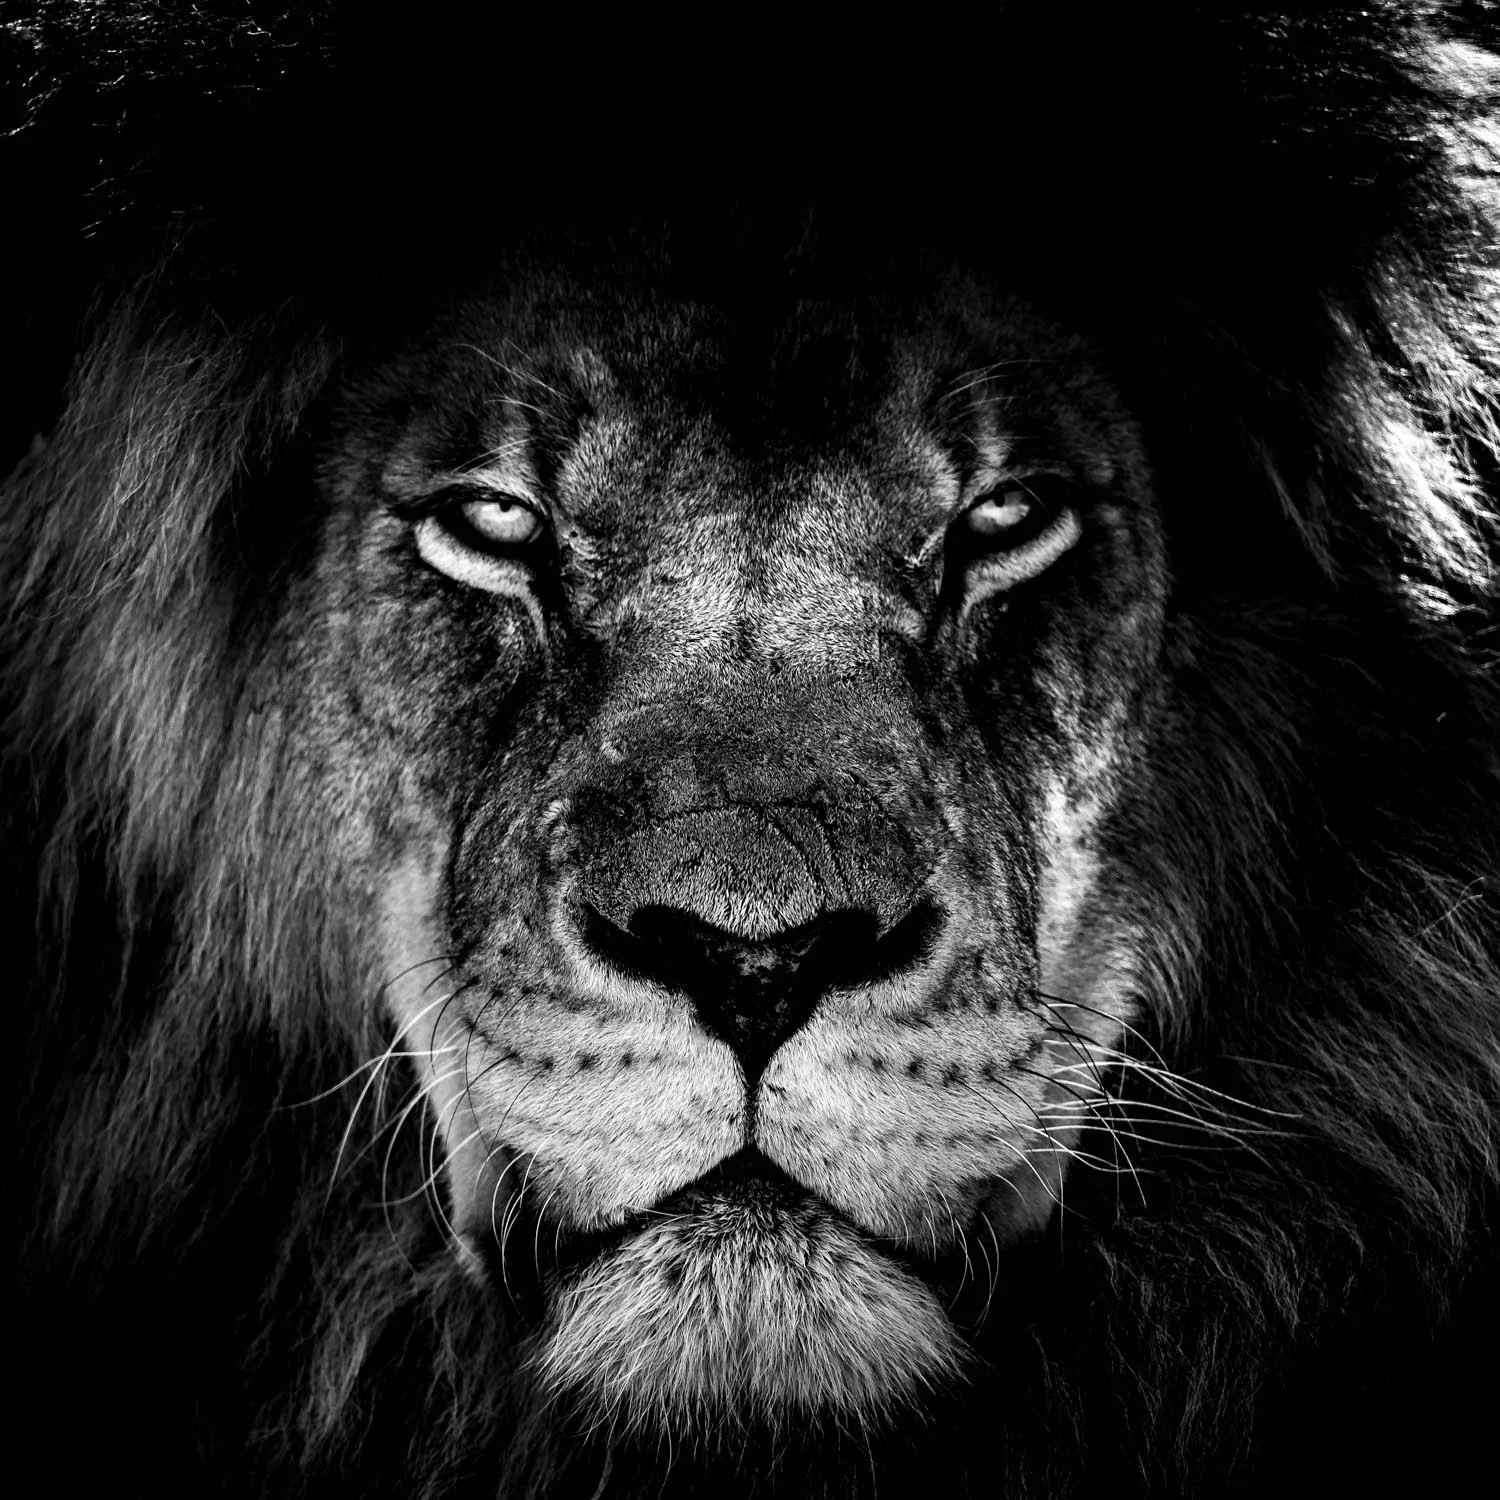
Credit @Ian Lindsay/Pixabay
Black and White Landscape Photography
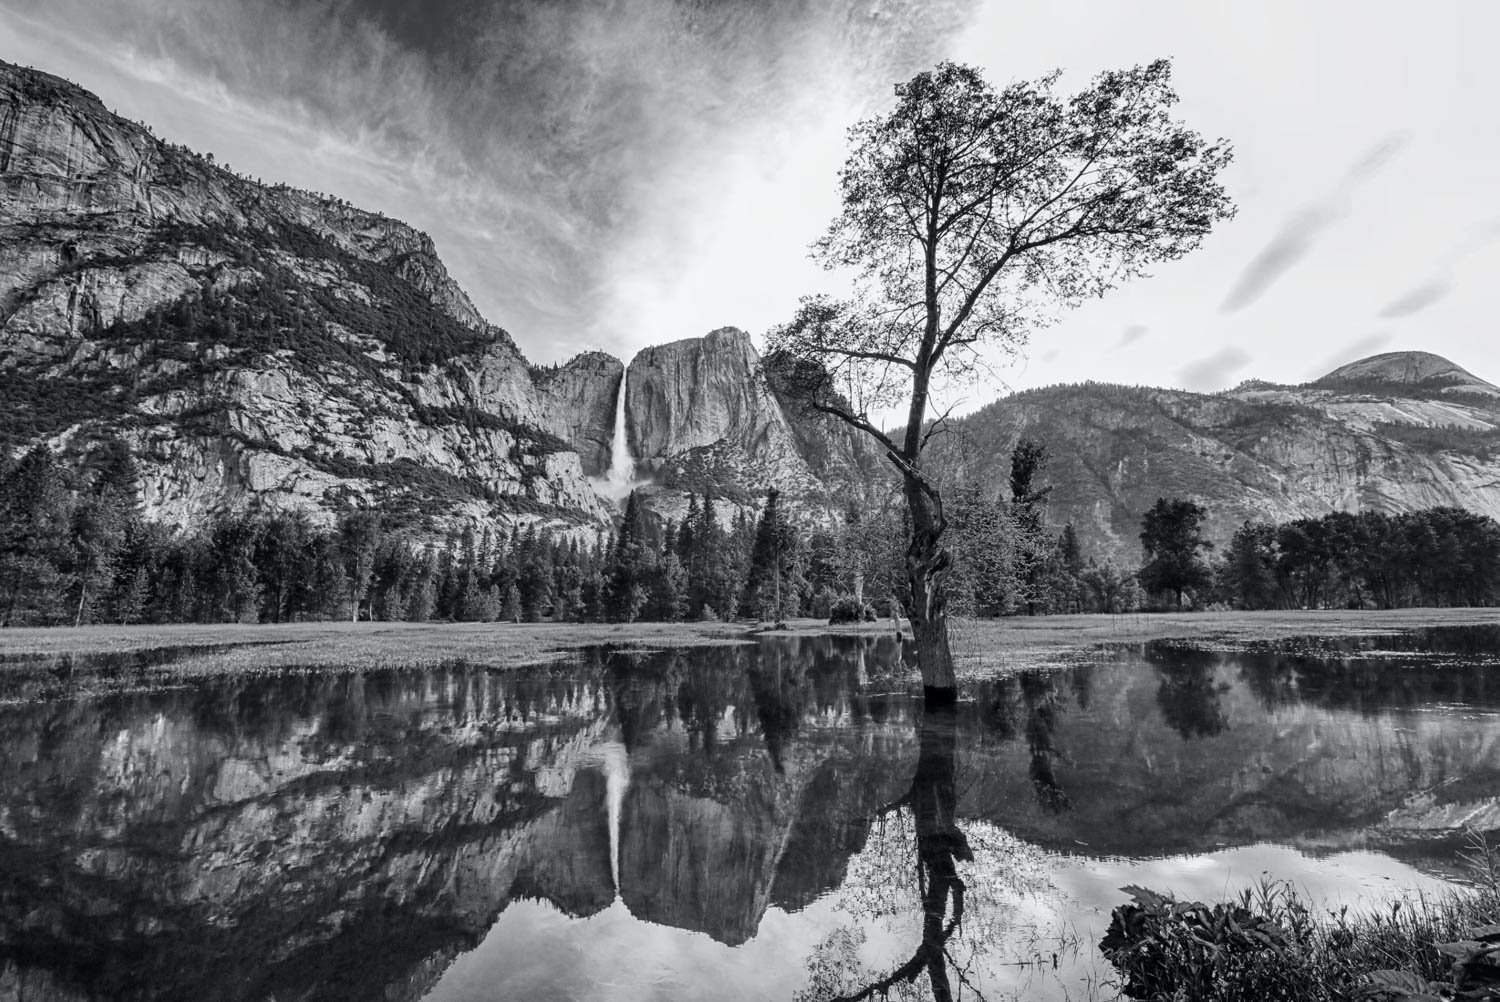
Credit @rocinante_11/Unsplash
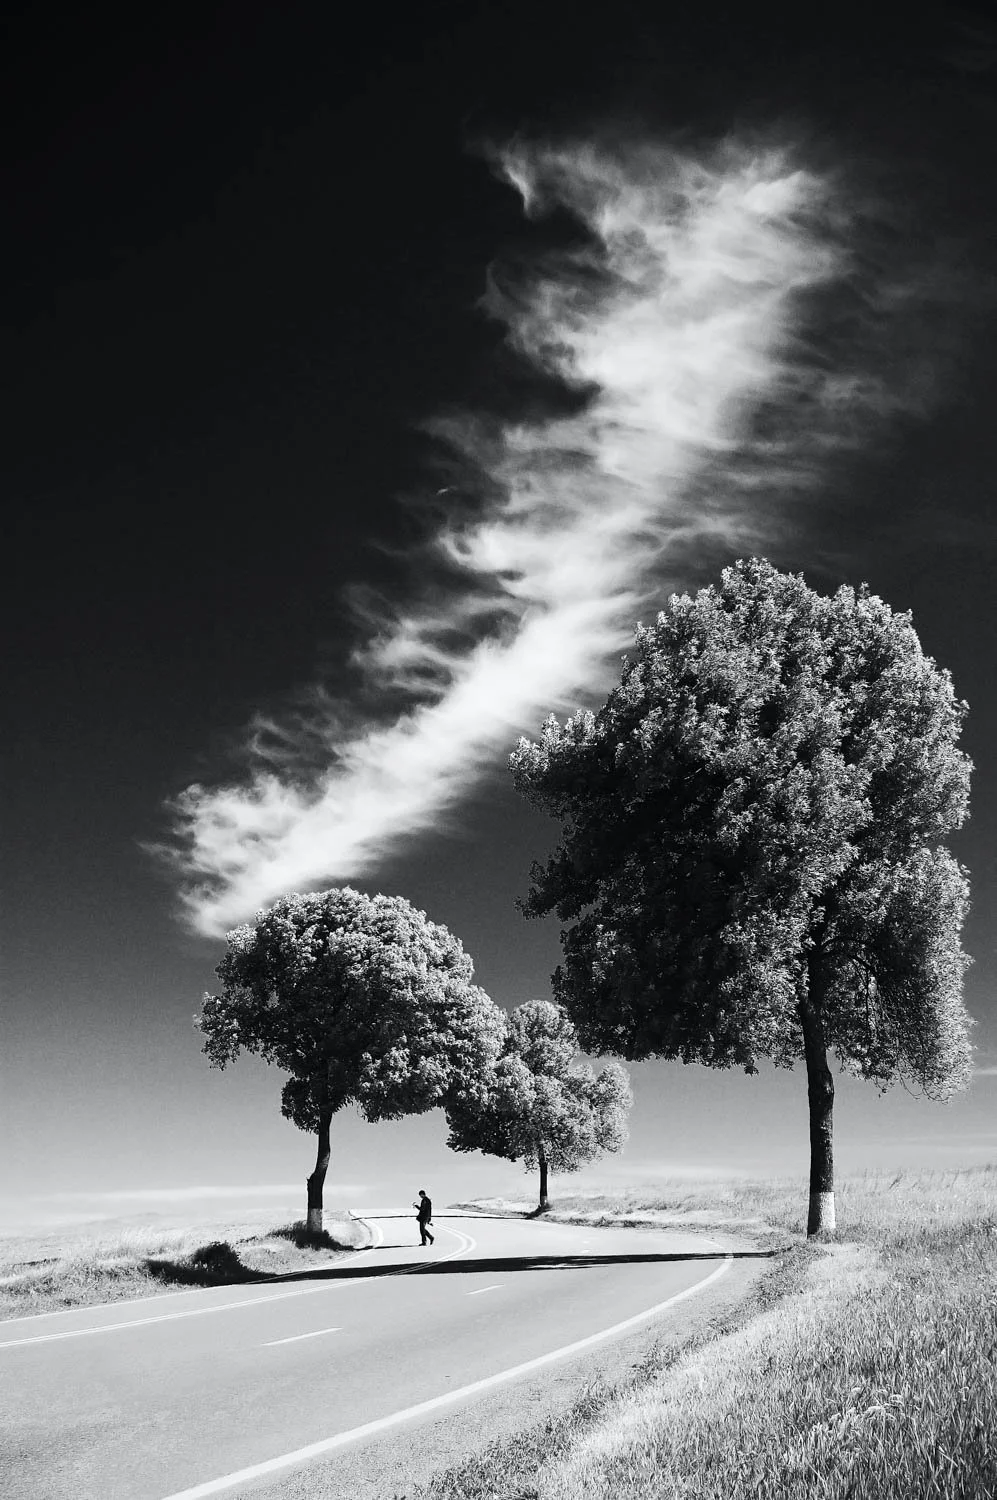
Credit @Alex Padurariu/Unsplash
Like this? - Check out similar tutorials below

I hope you liked this blog on black and white photography. If you did please leave us a comment and support us by sharing it with your friends and subscribe to our newsletter at the bottom of this page for more.
We also have an excellent learning community on social media so please join us there as well.
Thanks for watching and remember – Learn more at The School of Photography.
