From Design to Print - How to create a Photography Book
Ever wanted to display your images in a photography book? Find out how to select your photos, design your page layouts, add relevant text and get your photo book print-ready with our step by step guide.
So, you’ve put the work in and created a great body of photography work, and you’re looking for a way to present it. Enter the photography book.
This guide will take you through the process of how to create your own photo book, from choosing images to layout design, and finally, getting it printed – plus an exclusive discount for The School of Photography members!
Benefits of having a printed photography book
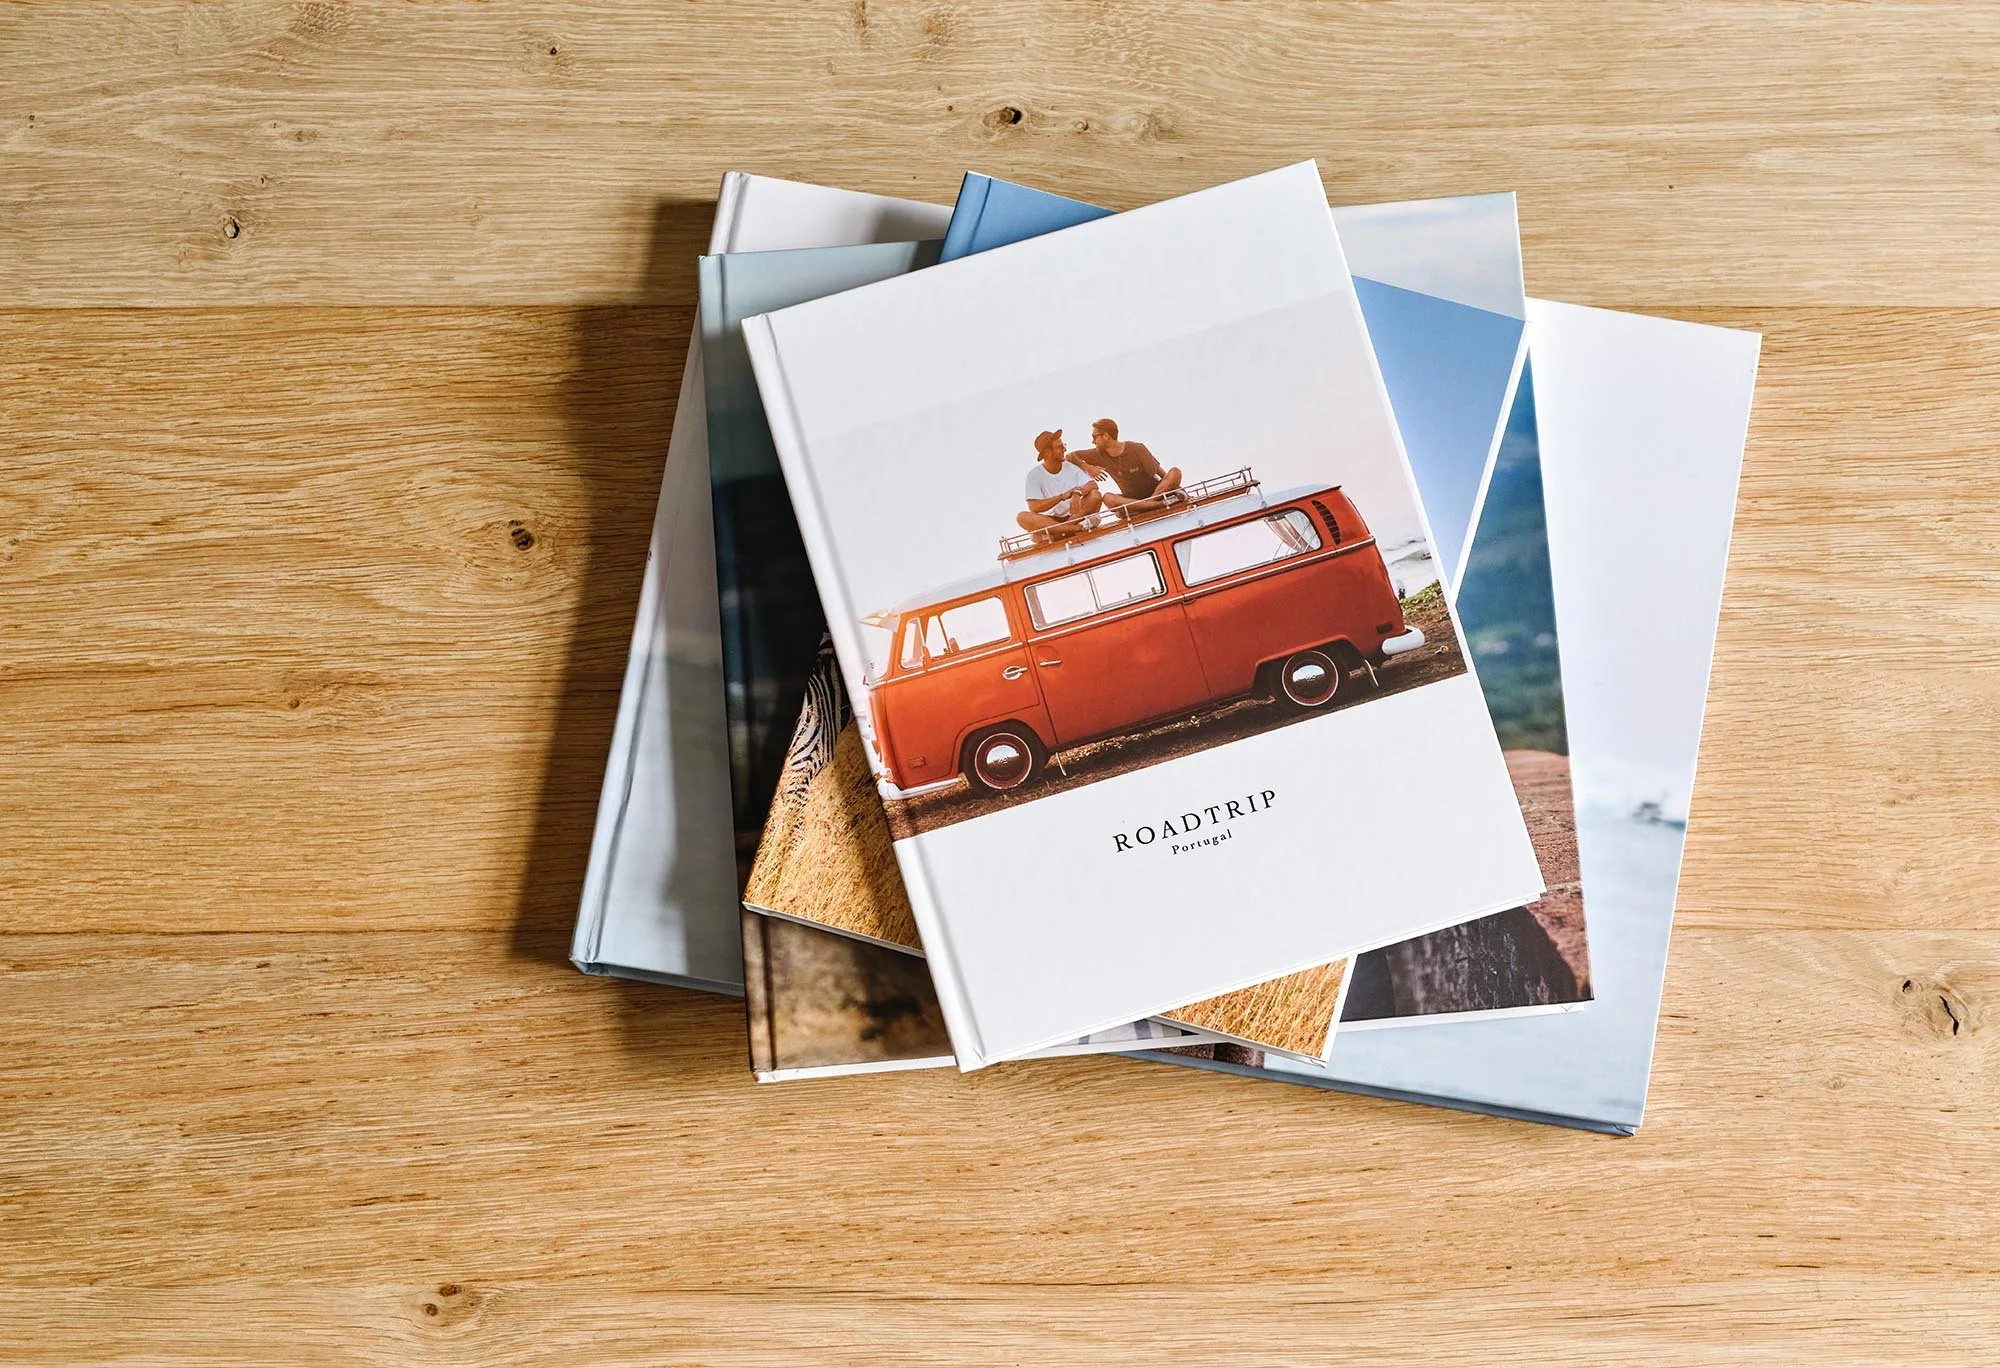
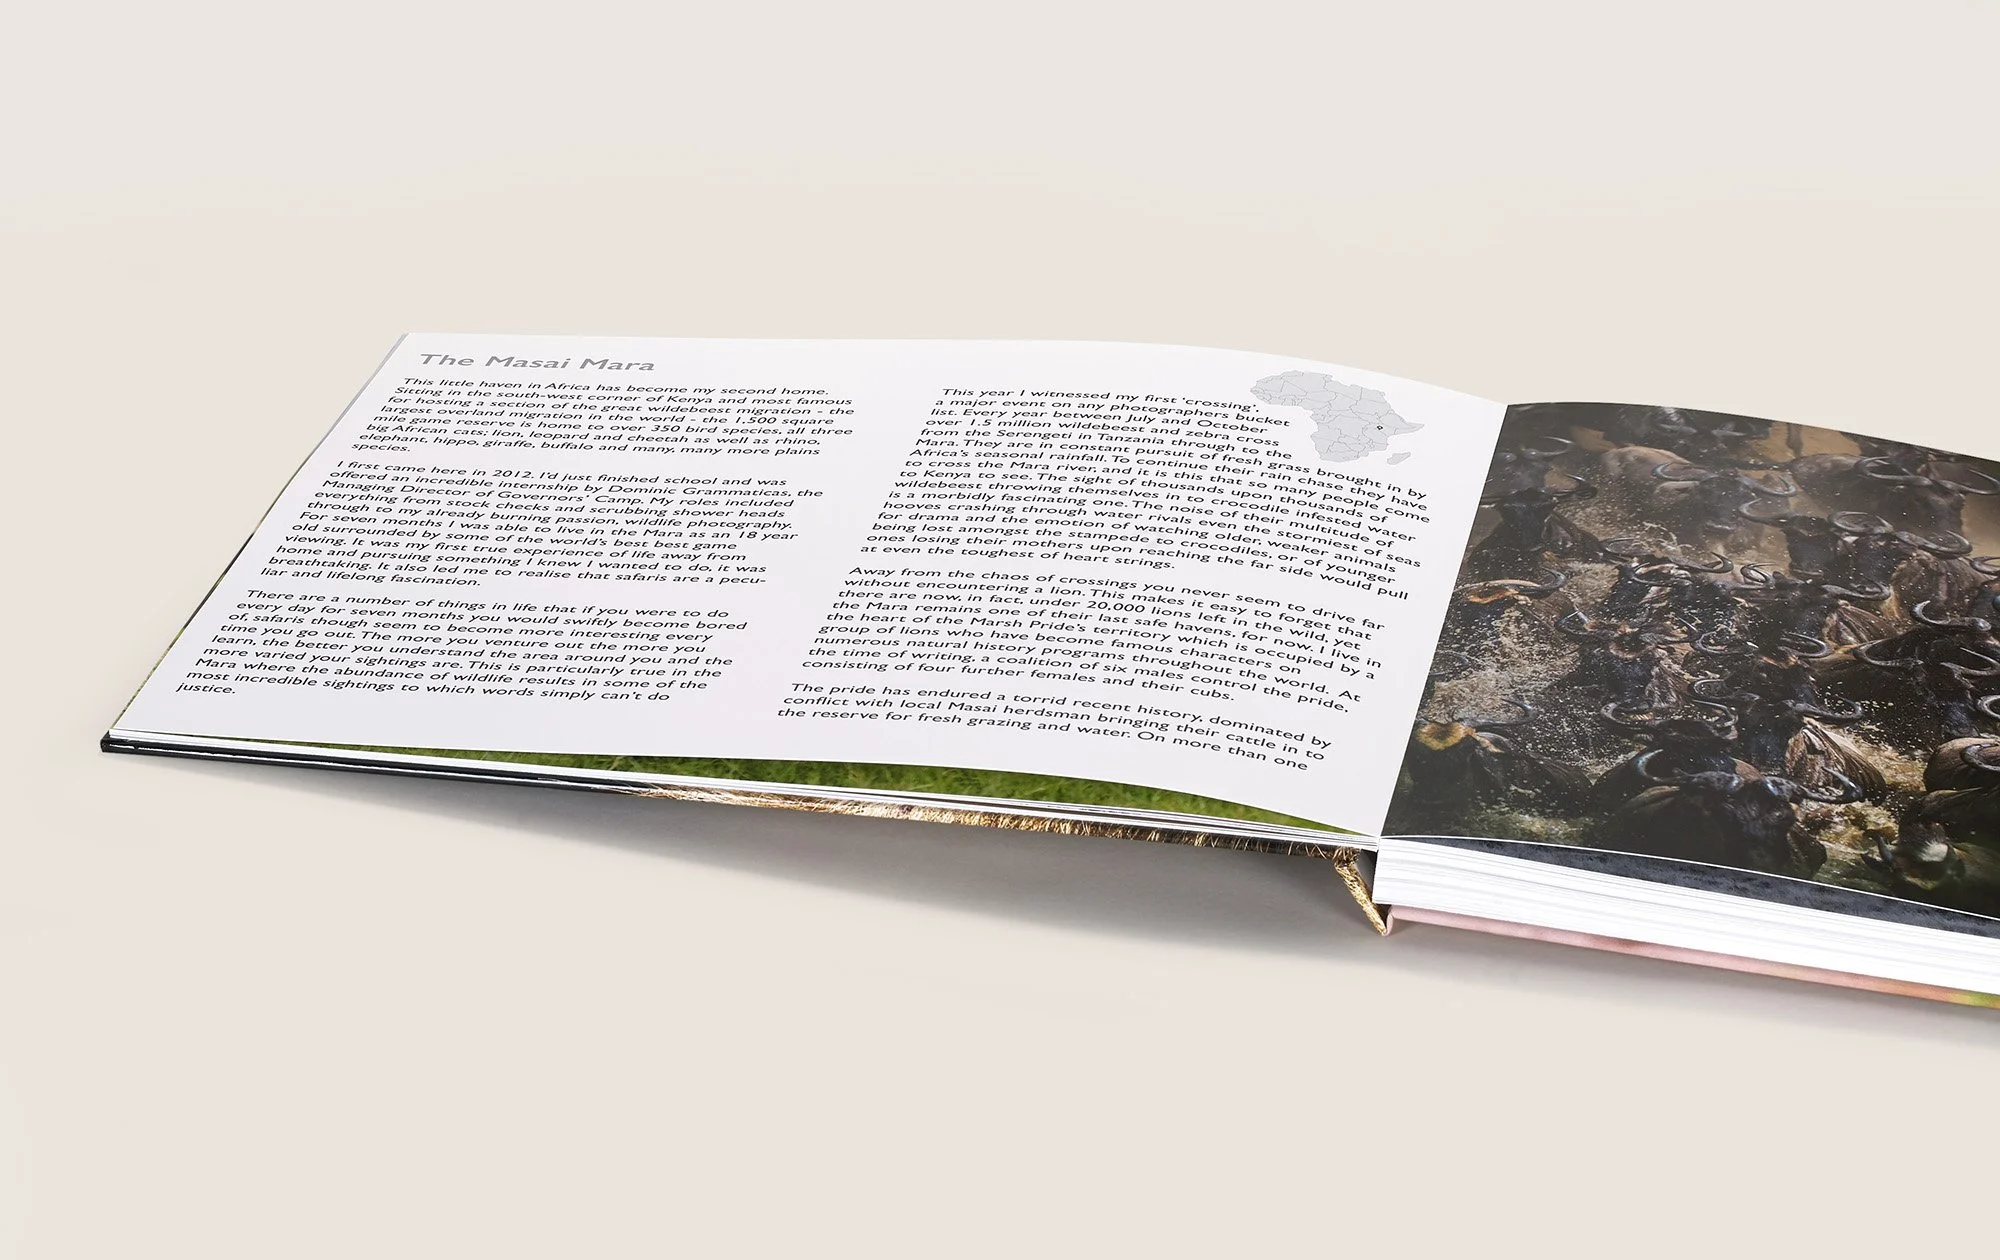
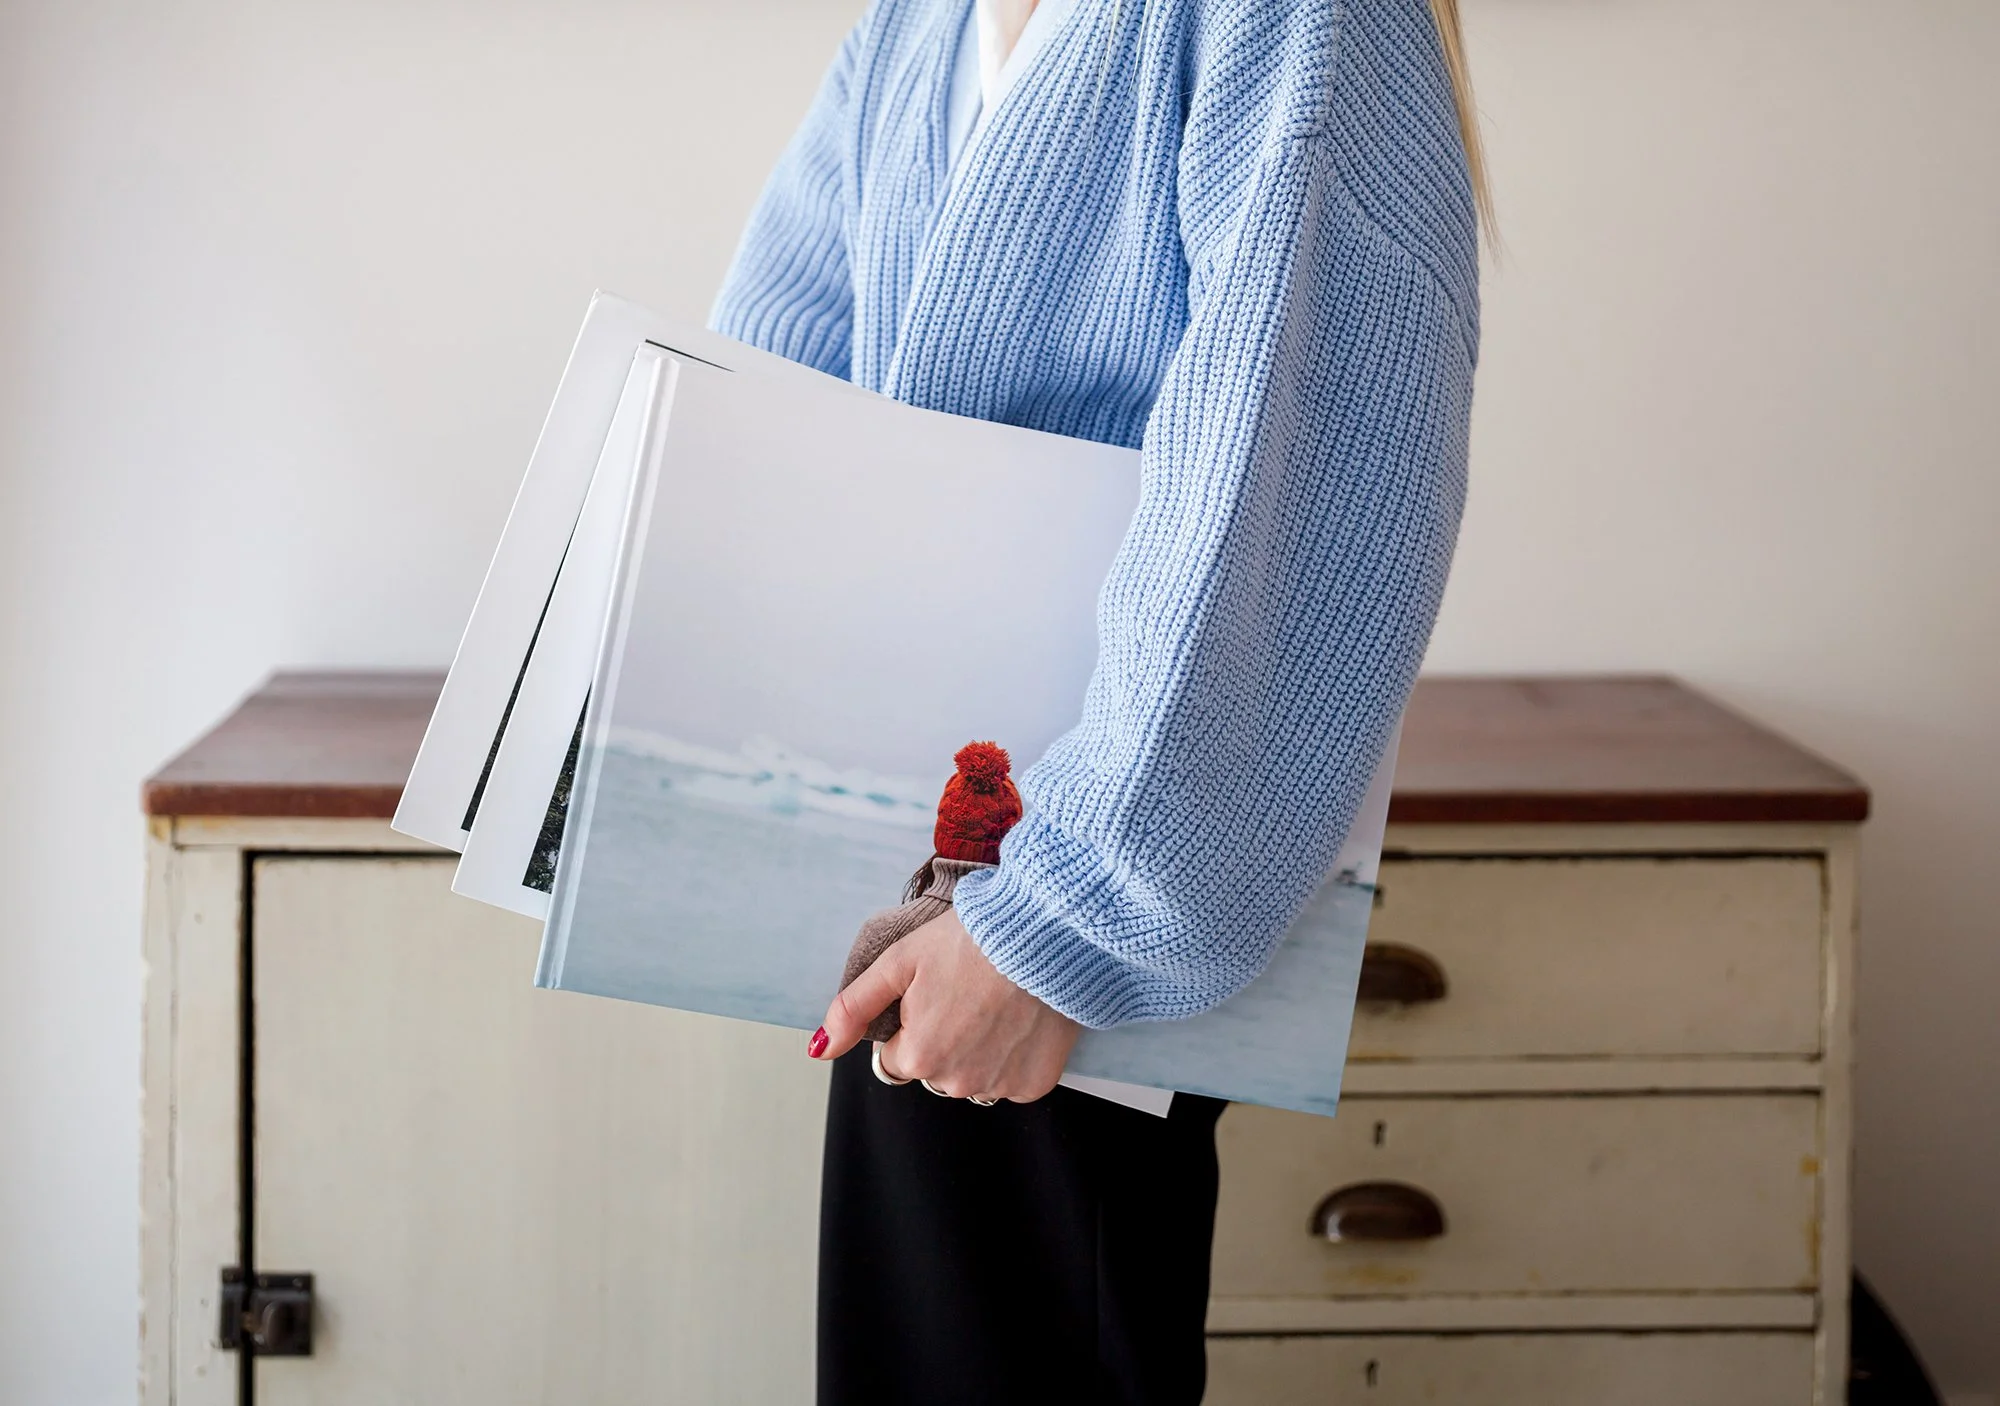
A physical photography book is a great way to present your images.
Viewers can connect more with a physical photography book they can flick through.
There are several reasons to present your projects in a photo book:
A physical photography book allows you to showcase your work in a physical format. Unlike digital images on your social feed, a book offers a curated presentation of your best work.
Holding a physical photography book provides a sensory experience that cannot be replaced by scrolling through your socials. It's a way for viewers to connect more intimately with your photographs, whilst being more accessible than wall art. They can hold it in their hands, flick through it, and keep it on their coffee table to pick up and look at later.
You have a great opportunity to control the order and how people see and interpret your photography.
You can add subsidiary writing with it or choose specific layouts to add emphasis to certain photographs rather than others and tell a story with your photography.
Get access to ALL our online courses - 1000’s of videos, worksheets, critiques of students work, personalised support and much more with our monthly membership.
Choosing the images for your photography book
Selecting the right images to go in your photography book is the most important step. Aim for a theme or narrative that ties the images together so that the book flows nicely as you flick through the pages. You can link your pages by balancing colour and tone and linking the emotional impact each image conveys.
You don’t want to spend hours deciding the order of your images only for them to be pixelated when you get your photography book back, so be sure to choose high-resolution images that print well. It’s best to make sure that your images have a resolution of at least 300 dpi so that you don’t lose any detail in the printing. Some printers may have different requirements, so it’s best to double-check before sending anything off!
Define a theme or narrative:
Start by defining a clear theme or narrative for your photography book. A well-defined theme will guide your image choices. Consider if certain images have more impact when next to others and which images compliment or juxtapose each other.
In your photography book, how will one image transition to the next? Aim for a natural progression that keeps the viewer engaged. If the images are part of an overarching project, do they need to be in a certain order? It’s best to plan this out before you start drafting.
Quality over quantity:
This is the time to curate your images and see how they work together in the photography book, and which photographs flow and add to the overall book or don’t really need to be there. You’ll want to select images for your photo book that are technically strong and well-composed. Create a shortlist of potential images before finalizing your selection for your photography book, so you can review and refine your choices. Once you’re happy with your final selection and image order, it’s time to create your document for print.
How to create your photography book
Creating a photography book can be done in many design software programs. Popular ones would be Adobe InDesign, Lightroom, Adobe Acrobat Pro and even in Microsoft PowerPoint and Word. Most publishers will require your design to be saved as a PDF and all of the aforementioned programs can export your design to high-res pdf’s.
You will need to check with your publishing company for specifics and many will even have a template that you can use for free.
Here's a breakdown of the process:
Step 1 - Set up the document:
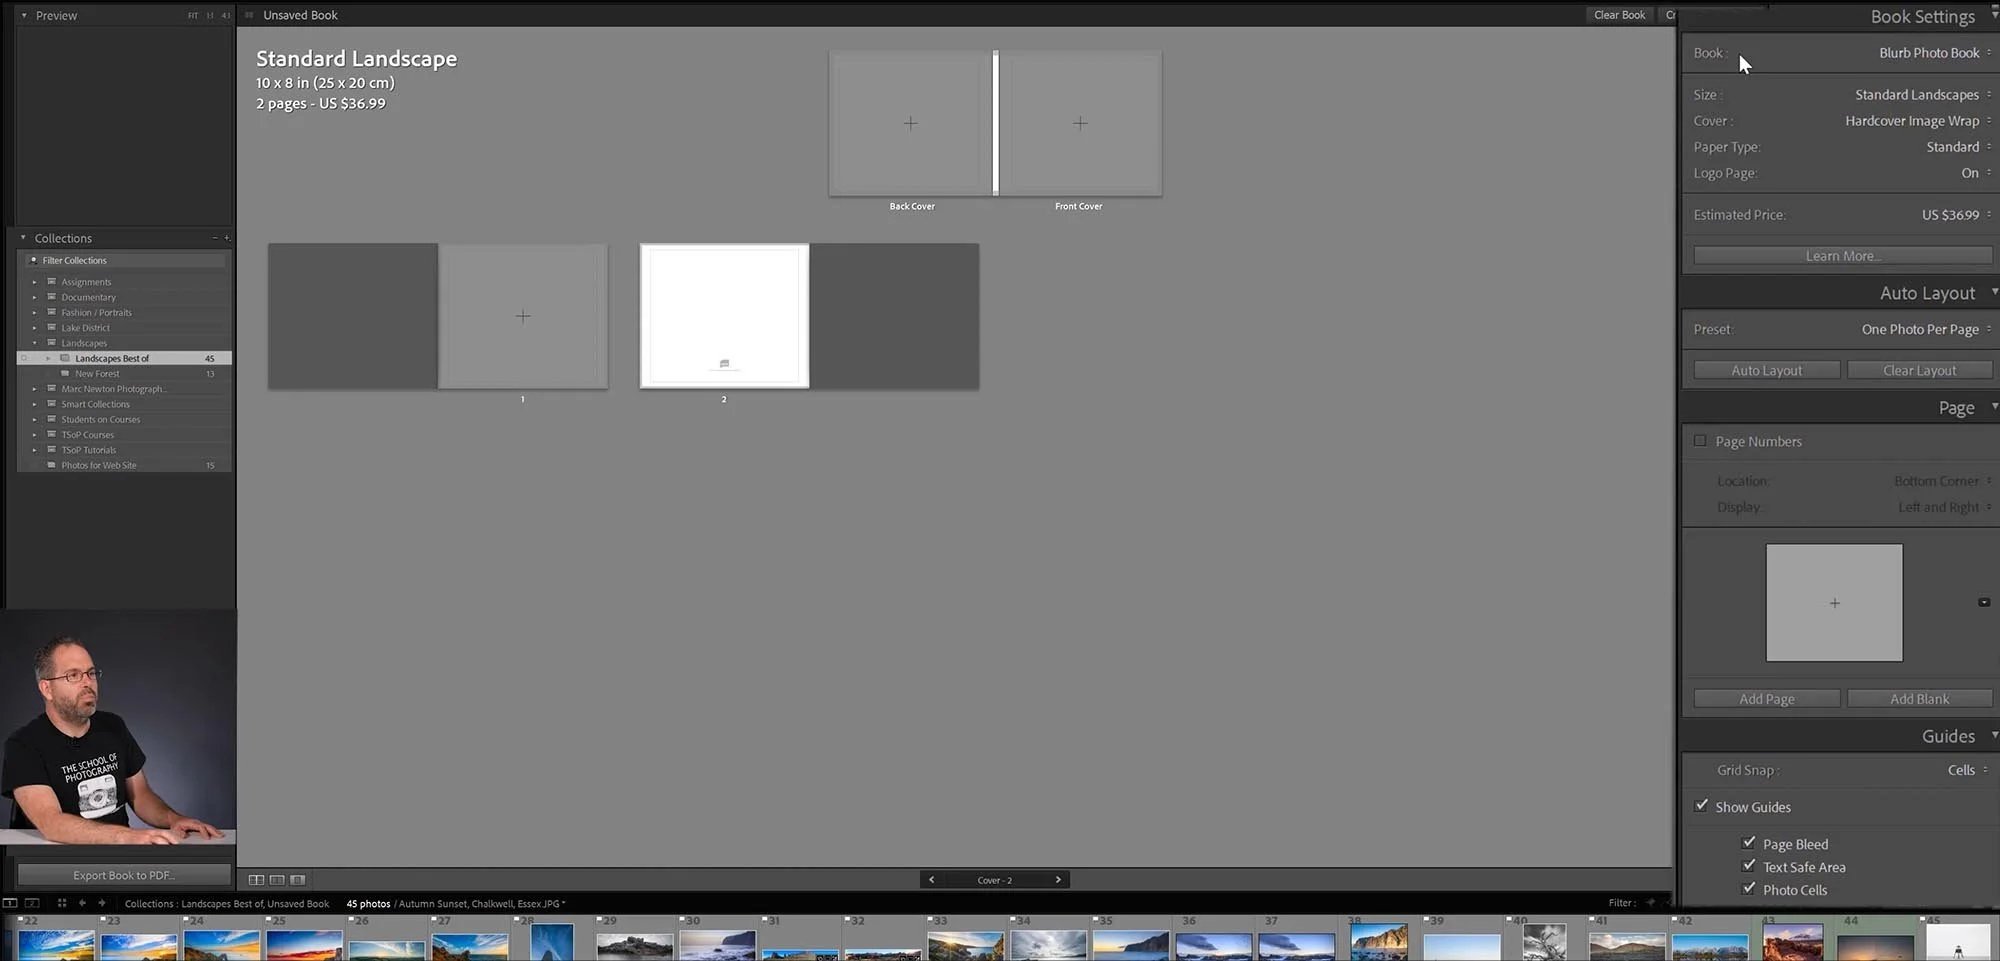
Setting up the document for your photography book in Lightroom
Set the document size to match your desired book dimensions. Common book sizes include 8.5 x 11 inches or 6 x 9 inches. Consider factors like trim size, bleed, and margins. These specifics should be provided by the printing company you choose.
Specify the number of pages. Keep in mind that a book typically has pages in multiples of four and considering double-sided printing. Also take note that most print companies charge on the number of pages you have in your book. The more pages you have, the more it will cost!
Be mindful of colour profiles, ensuring that document you create has a colour profile suitable for print production. The printing company you decide to go with will have let you know the requirements for what colour profile they prefer. In general, it will be a CYMK colour profile but always check with them first.
Learn how to create your photography book in Lightroom in our Lightroom course!
Step 2 - Work with master pages:
Most programs you use will have something called the Master Page. Master pages are used to maintain consistency across your photography book. Design elements like page numbers, headers, and footers can be applied universally. E.g. here you will specify if the page numbers will be visible or not, if so will they be displayed in the bottom right or bottom centre of the page etc.
Step 3 - Import images & text:
Make sure that the images in your photography book are the right resolution for printing!
When preparing for this step, it’s best to pre-organise your image files in one space so that you know where they are. Before starting this stage, we recommend you export all the images you want to use and the highest resolution possible and place them in a separate folder which you can easily access later. This process can be easily achieved in Lightroom.
Learn how to export his res images in Lightroom here.
To place your images on the pages. In some programs you will need to draw a frame where you’d like each image to be placed then you place your selected high-resolution images into the page. You can then adjust the size and position of images on the page as you see fit.
To add text, create a textbox where you want on the page. You’ll be able to experiment with font and paragraph styles with the menus of the program.
Step 4 - Experiment with Layouts:
Now’s the graphic design bit – this is where you experiment with different layout options and designs. Do you want every image to be full bleed (reach past the edges of the page) or half a page? Do you want your text (if any) all on one page? Think about how you want the images on each page to look.
Here are some tips for layout design:
Establish a grid or guide system:
A grid system will provide structure to your layout and will help you stay consistent. You can set up a simple grid/guide design that helps align elements on the page in the master page section of your document. Don’t worry, the guides are only for your reference when creating your book – it won’t be printed in the final photography book!
Balance and rhythm:
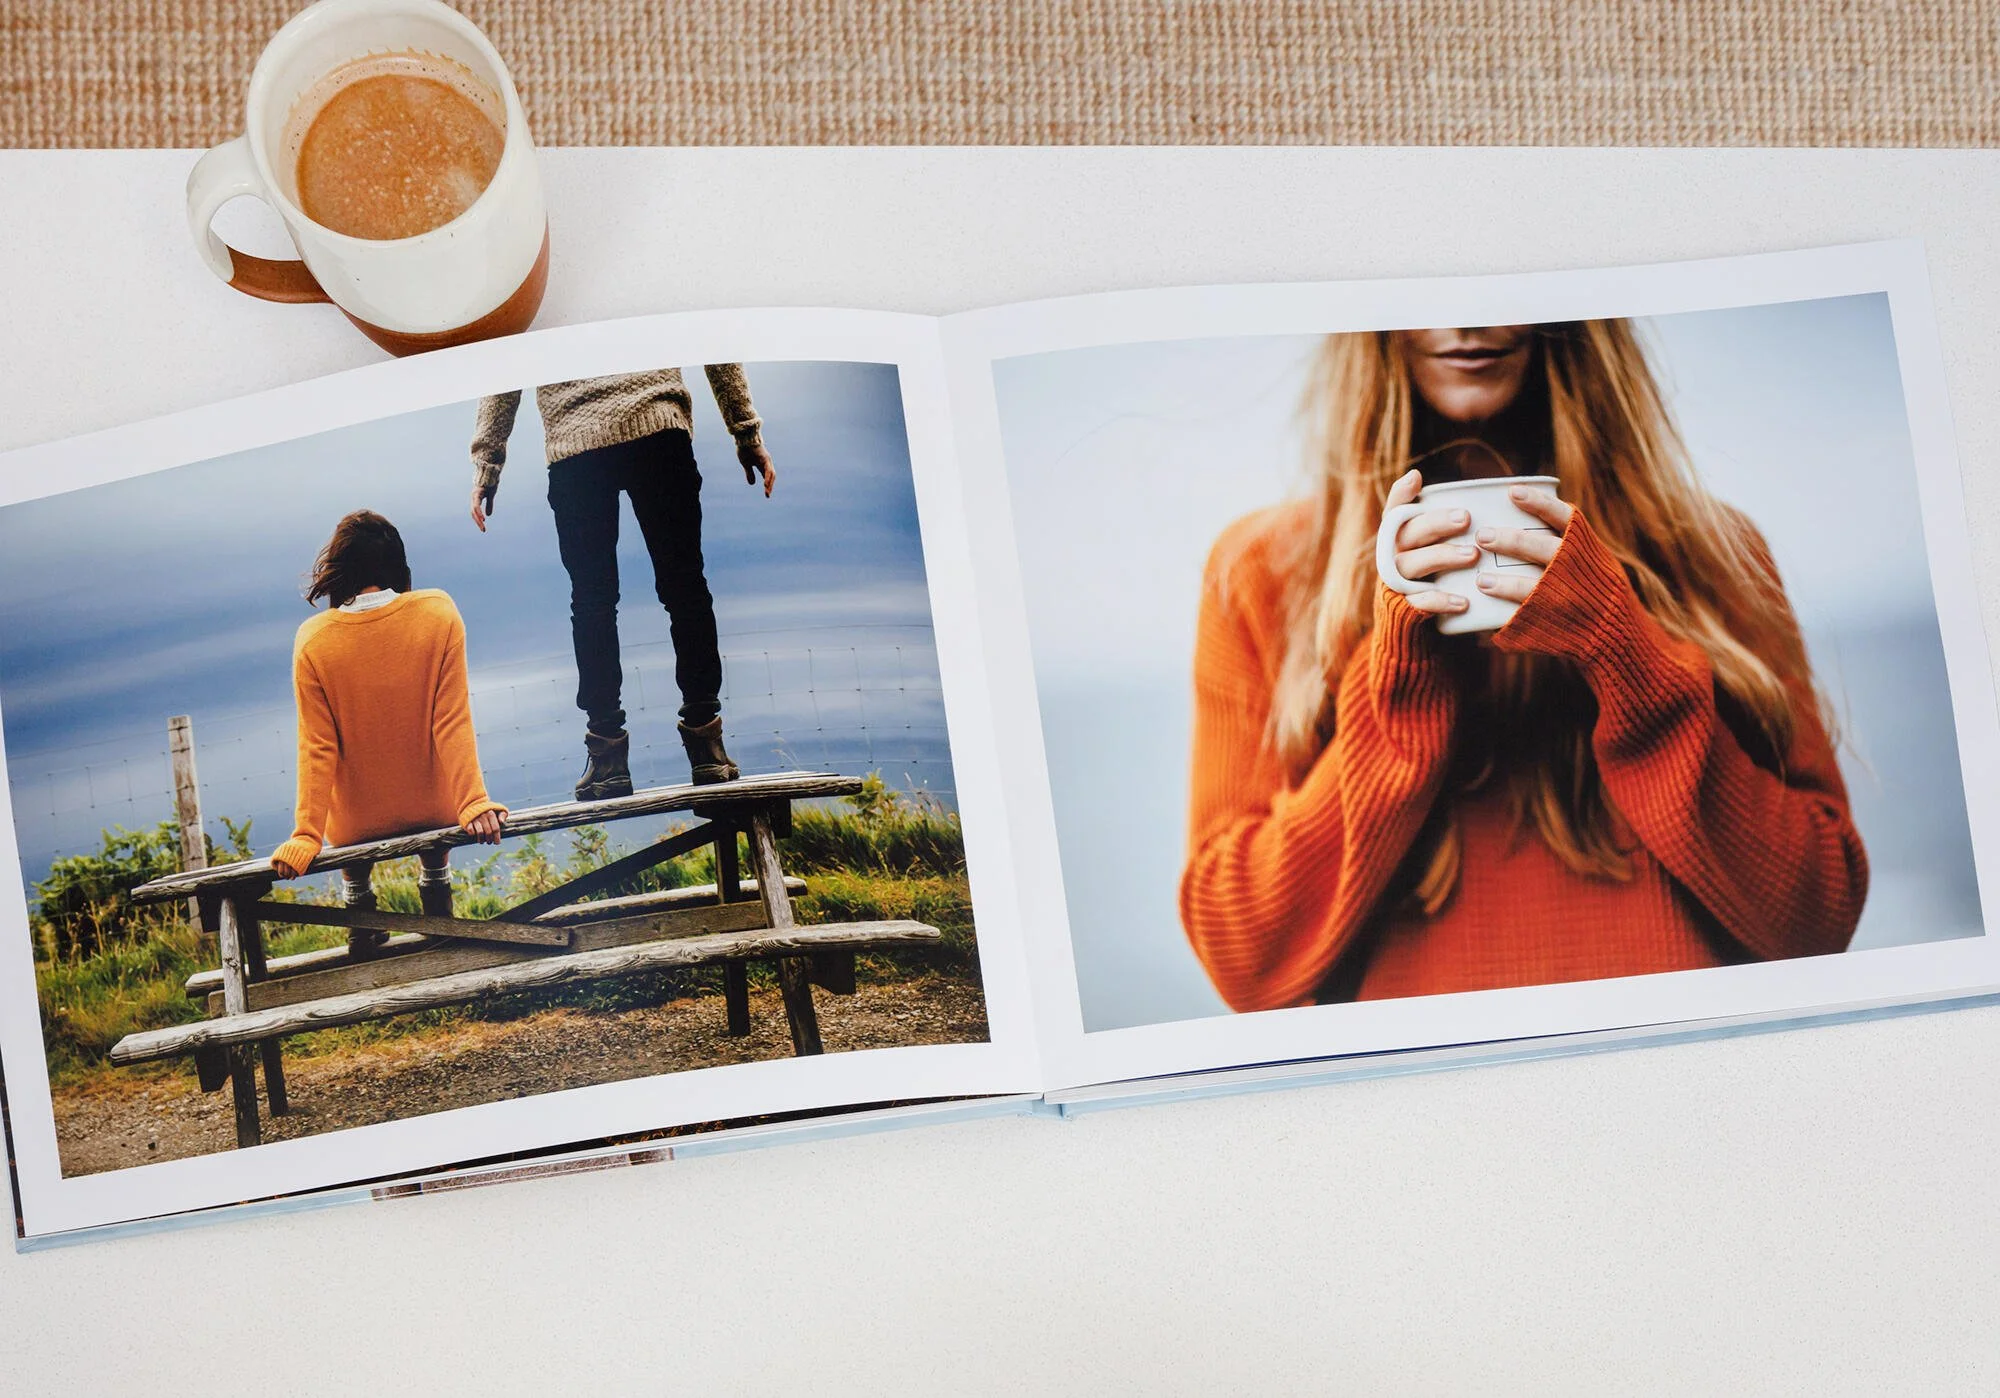
Balance your pages by placing your elements evenly across pages. This includes images, text, and negative space. Create rhythm by varying the size and placement of images. Alternating between full-page spreads and smaller images can make a page look more interesting.
White space:
Avoid clutter by using white space. White space, or negative space, provides visual breathing room and guides the viewer's focus in your photo book.
Experiment with bleed and margins:
Extend images and design elements beyond the page edges (bleed) to create a more immersive experience or set appropriate margins to frame your content and maintain a professional look.
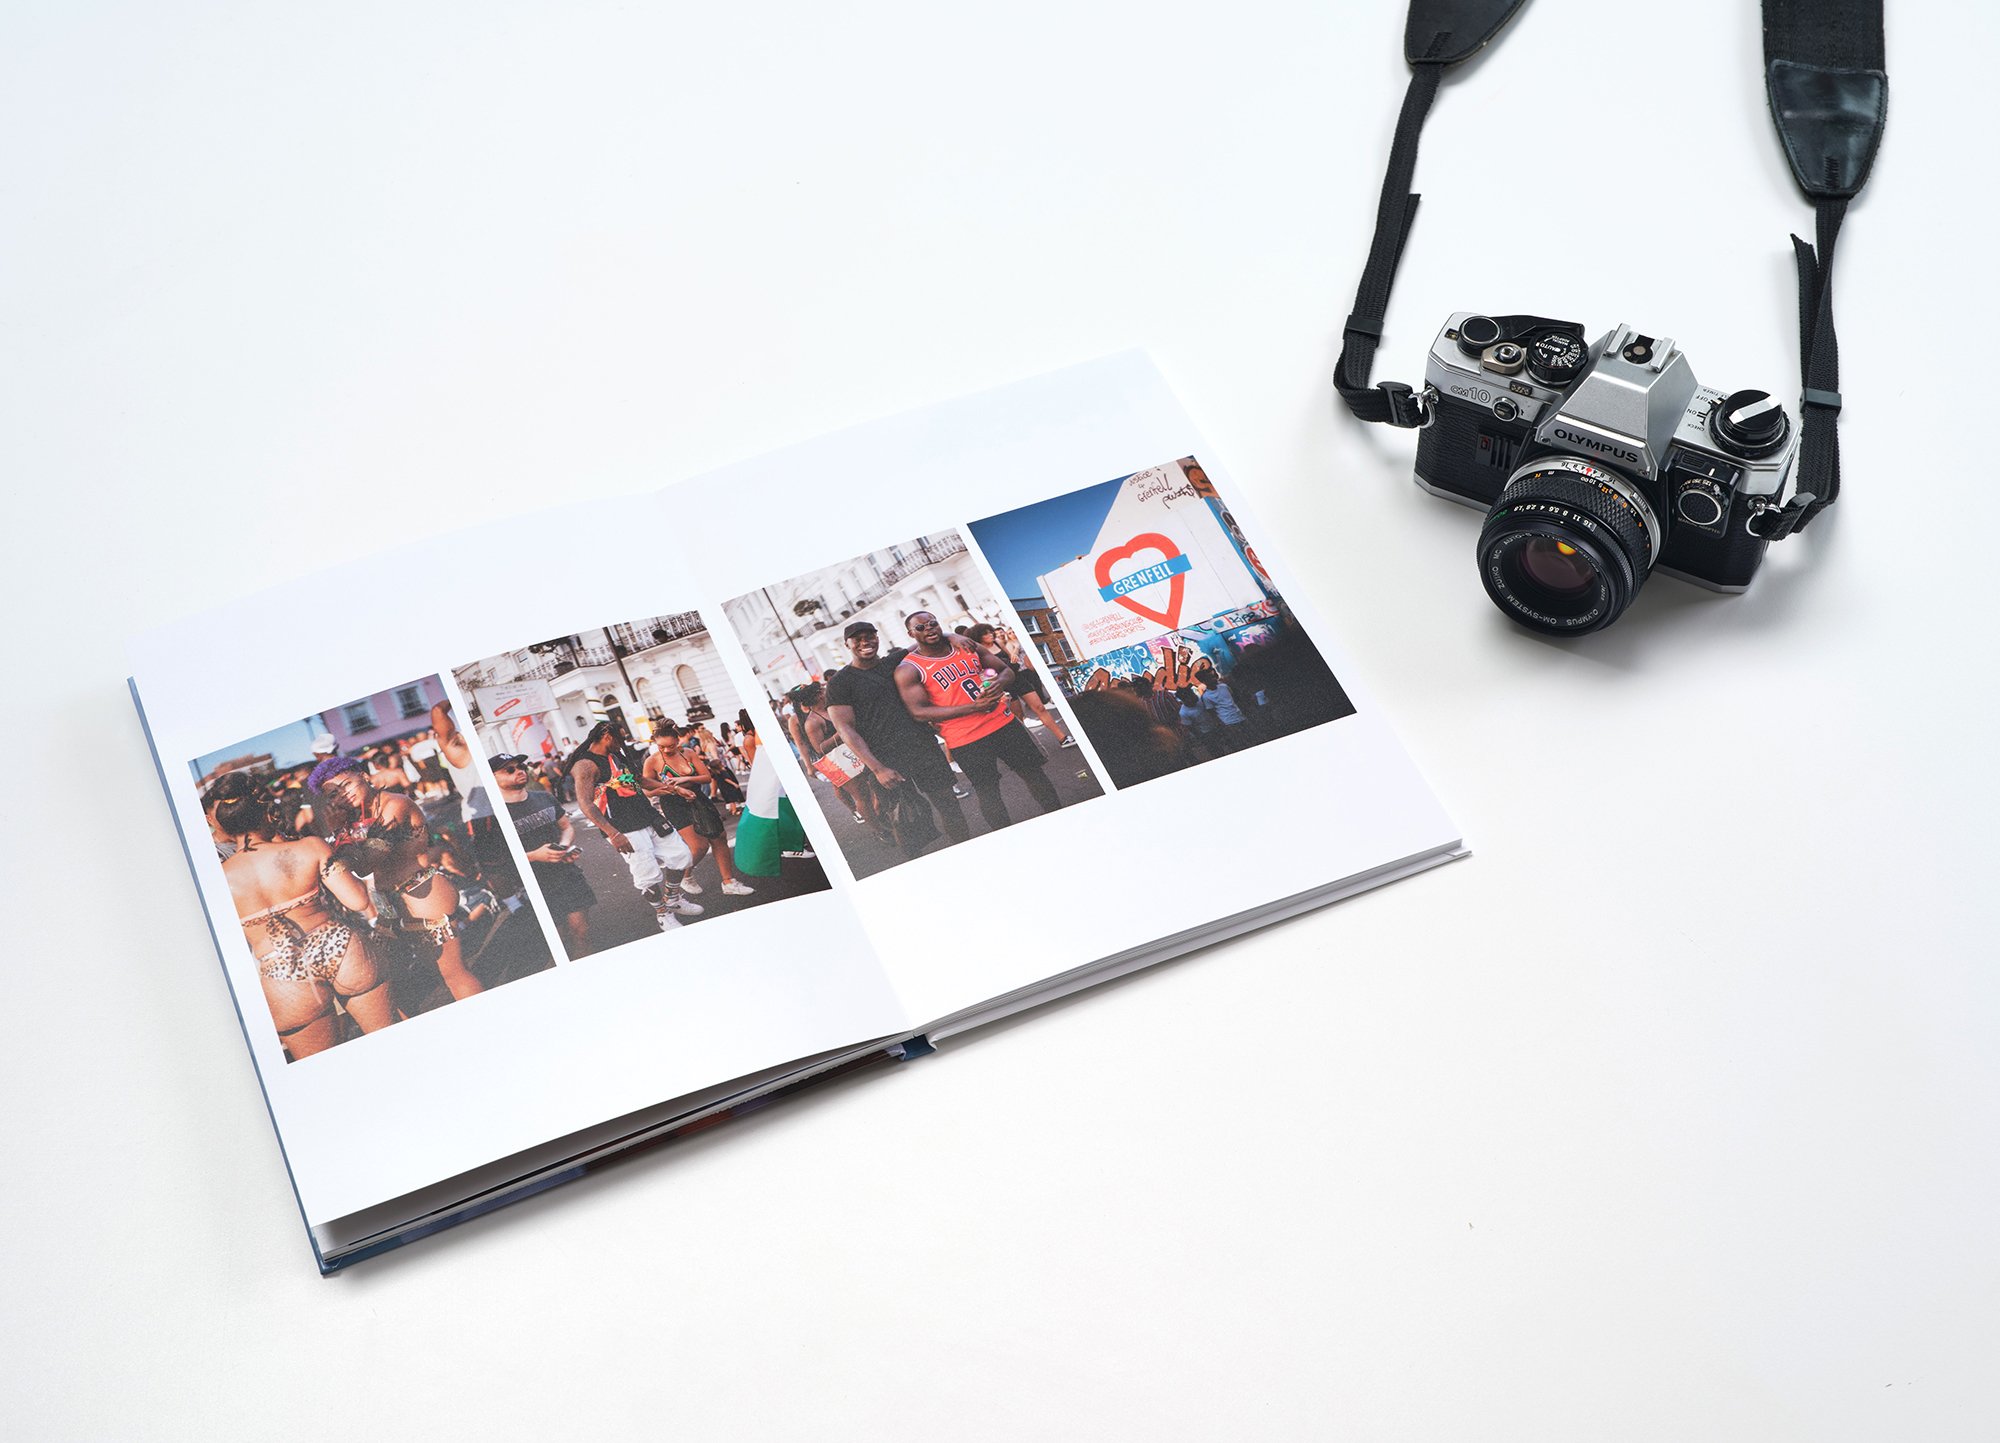
Why not try multiple images in a spread to tell a story of an event?
Make certain images stand out more than others by dedicating more space to them.
Experiment with placing images of different orientations next to each-other in your photobook.
Step 5 - Typography and styling:
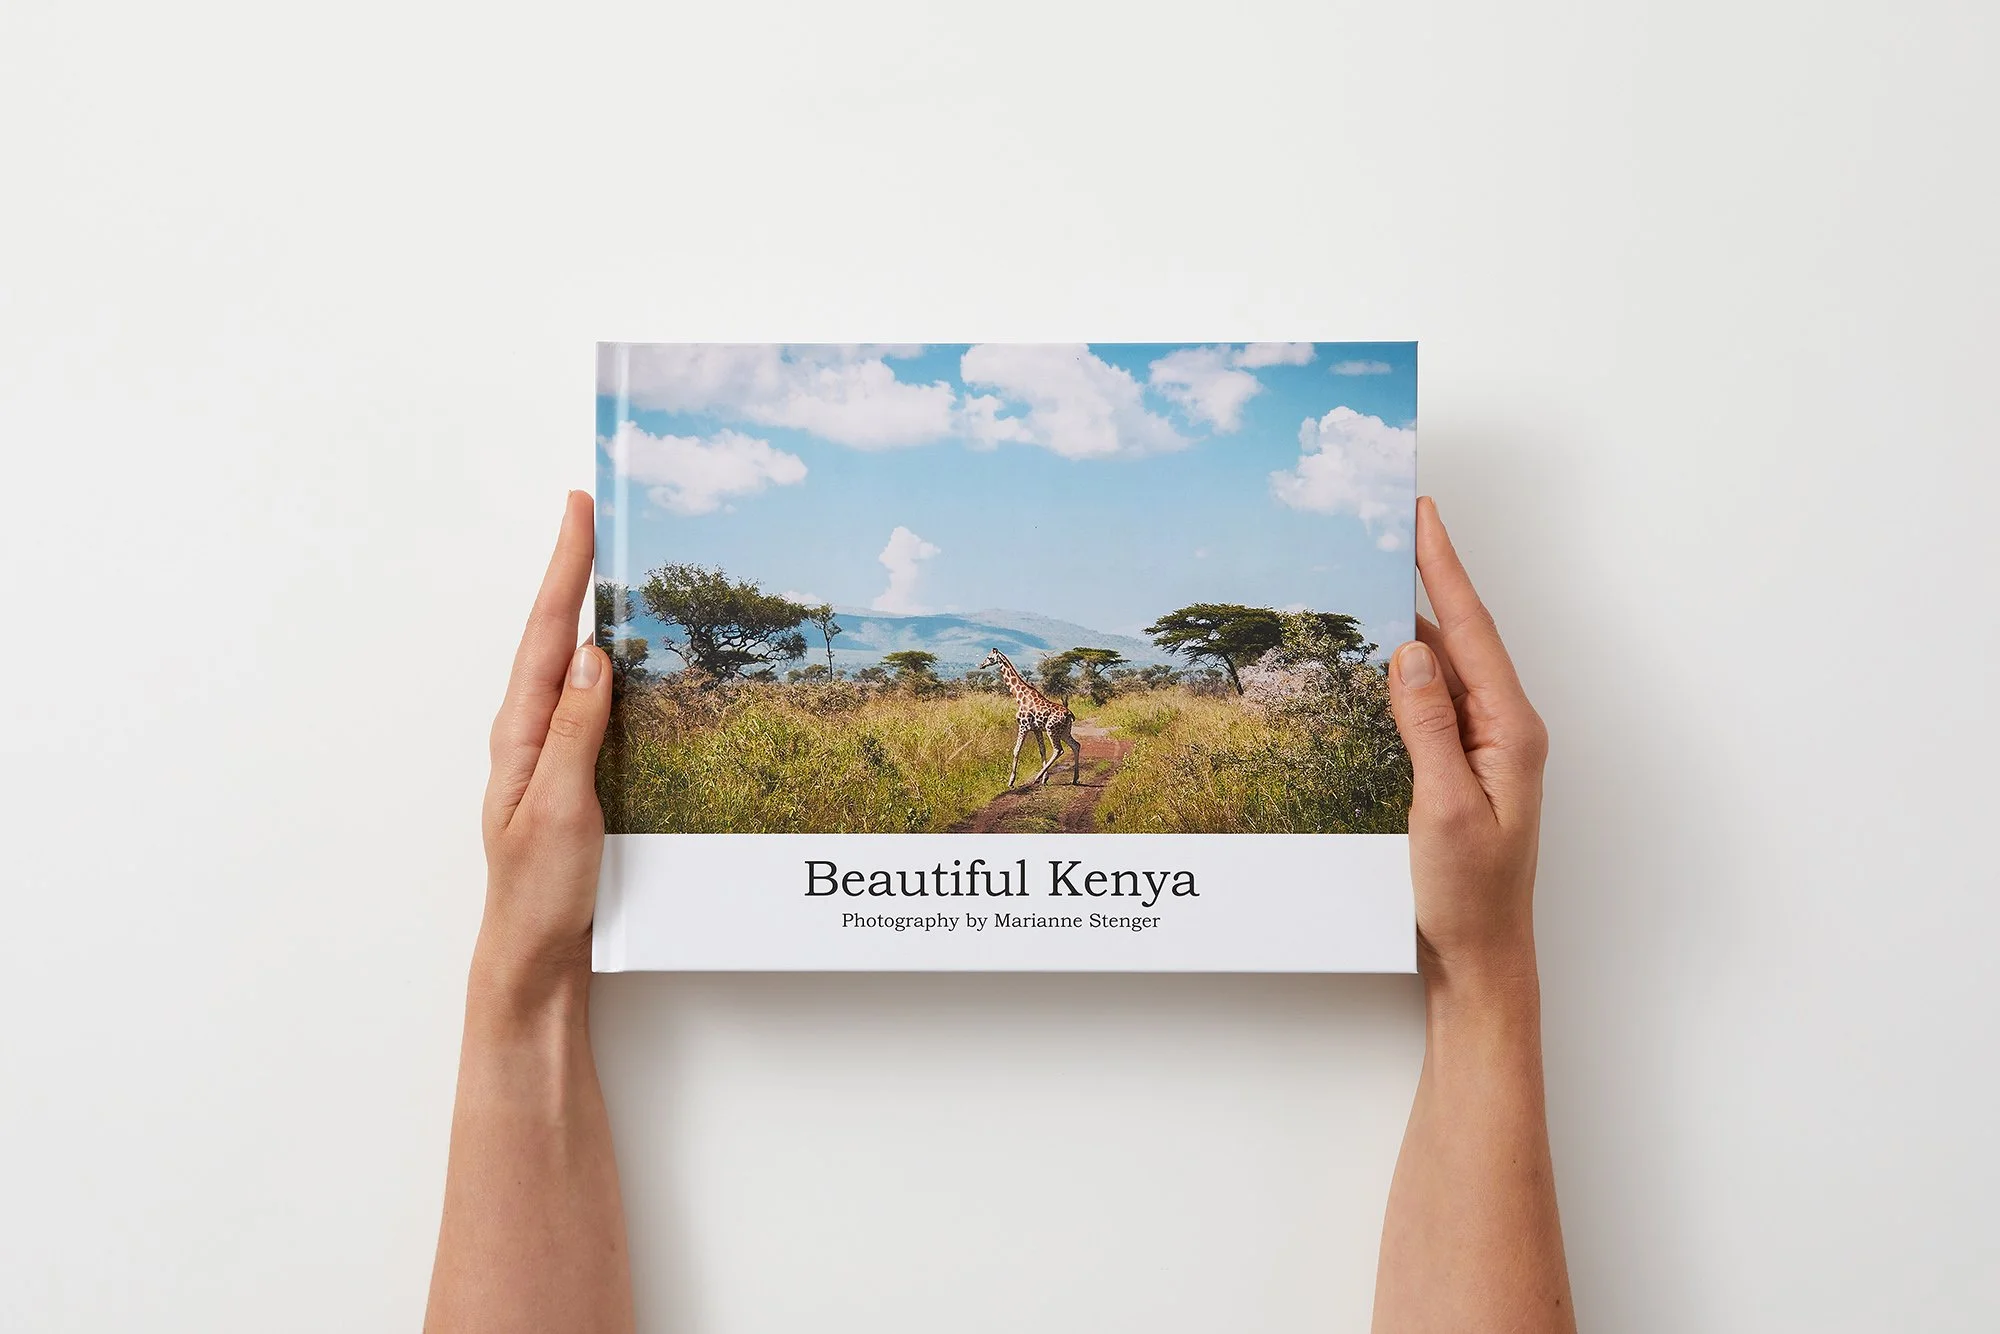
Keep your typography consistent from cover to cover - it makes for a professional finish.
Choose a readable font and size for your text and maintain consistency throughout as it will give a professional look to your photography book.
Experiment with font sizes and styles to distinguish between headings, captions, and body text. As a rule, you’ll want to stick to two fonts maximum (one for your cover or heading 1 text and another for your text body) and two or three font sizes. Keep these consistent throughout the whole photo book.
Step 7 - Add an introduction page for your photography book:
Design an introduction page for the entire photo book. Include a title, your name, and a brief overview of the photography book and the project(s) featured in it. This is also a great place for a dedication or acknowledgments.
Introductions are a great opportunity to tell readers about your photography project or portfolio.
Step 8 - Create chapter introductions:
If your photography book has chapters or sections, consider creating chapter introduction pages to better explain your work or give background information. These can include titles, subtitles, and brief text to introduce each section.
Step 9 - Proofread and review:
Review your whole photography book so you know how it’s going to print.
Proofread your text and review your layouts. Make sure you use a spell checker to avoid any spelling errors. Ensure that the flow of images and text makes sense, and it looks good to flick through!
Then send it to at least two other people to proofread. You’ll be surprised what you’ve missed!!
Step 10 –Printing your photography book
Once you’re completely happy with your photography book, it’s time to look to printing a physical copy. It’s always a good idea to print a test copy first before sending off to the printer (trust us, it will save you a lot of time, money, and headaches!). This will give you a good idea of what to expect when you get the final printed photography book back. Most companies will send you a ‘proof copy’ first before they send it for print run.
To print your photography book, you need to export your document to a print-ready format. This will usually be a pdf. Go to File > Export, choose Adobe PDF (Print) as the format, and adjust settings such as compression, colour profiles, resolution and anything else as instructed by your print company.
Once you’ve sent off your photography book pdf, you’ll get back the final article to treasure forever.
To print your book, we recommend a company called Bob Books. They have many options to meet your needs and have clear instructions on how to send your book off to them for print.
Bob Books PDF-to-Book Software, available for both MAC and Windows, is an excellent option for photographers familiar with design software such as InDesign. Once you’re happy with your photo book’s design, all you have to do is upload the PDF-ready files to Bob Books’ platform and choose from an extensive range of premium photographic papers, formats and sizes.
Alternatively, if you’d like to save time and use readymade templates and layouts for your photo book, you can opt to download their free Bob Designer Software.
Visit the Bob Books website to see their range of options and pricing. You can also take advantage of the exclusive discount we have that's available for The School of Photography members. Become a member and get our exclusive discount here.
Conclusion:
Creating your own photography book is a rewarding experience that allows you present your photographs in a stylish and timeless way. At the end of the process, you'll hold in your hands a physical copy of your hard work that you can treasure forever and show off to everyone!
Images curtesy of Bob Books.
Like this? - Check out more free tutorials below
I hope you liked this tutorial on how to make a photography book. If you did, please leave us a comment and support us by sharing it with your friends and subscribe to our newsletter at the bottom of this page for more.
We also have an excellent learning community on social media so please join us there as well.
Thanks for watching and remember – Learn more at The School of Photography.

