Steel Wool Photography – The Ultimate Guide!
Here you’ll learn how to create steel wool photography in an easy way with little equipment. We’ll look at best practices, what camera settings to use and how to get those creative fire spinning effects using steel wool, a camera, the knowledge of photography, a castle and an umbrella!
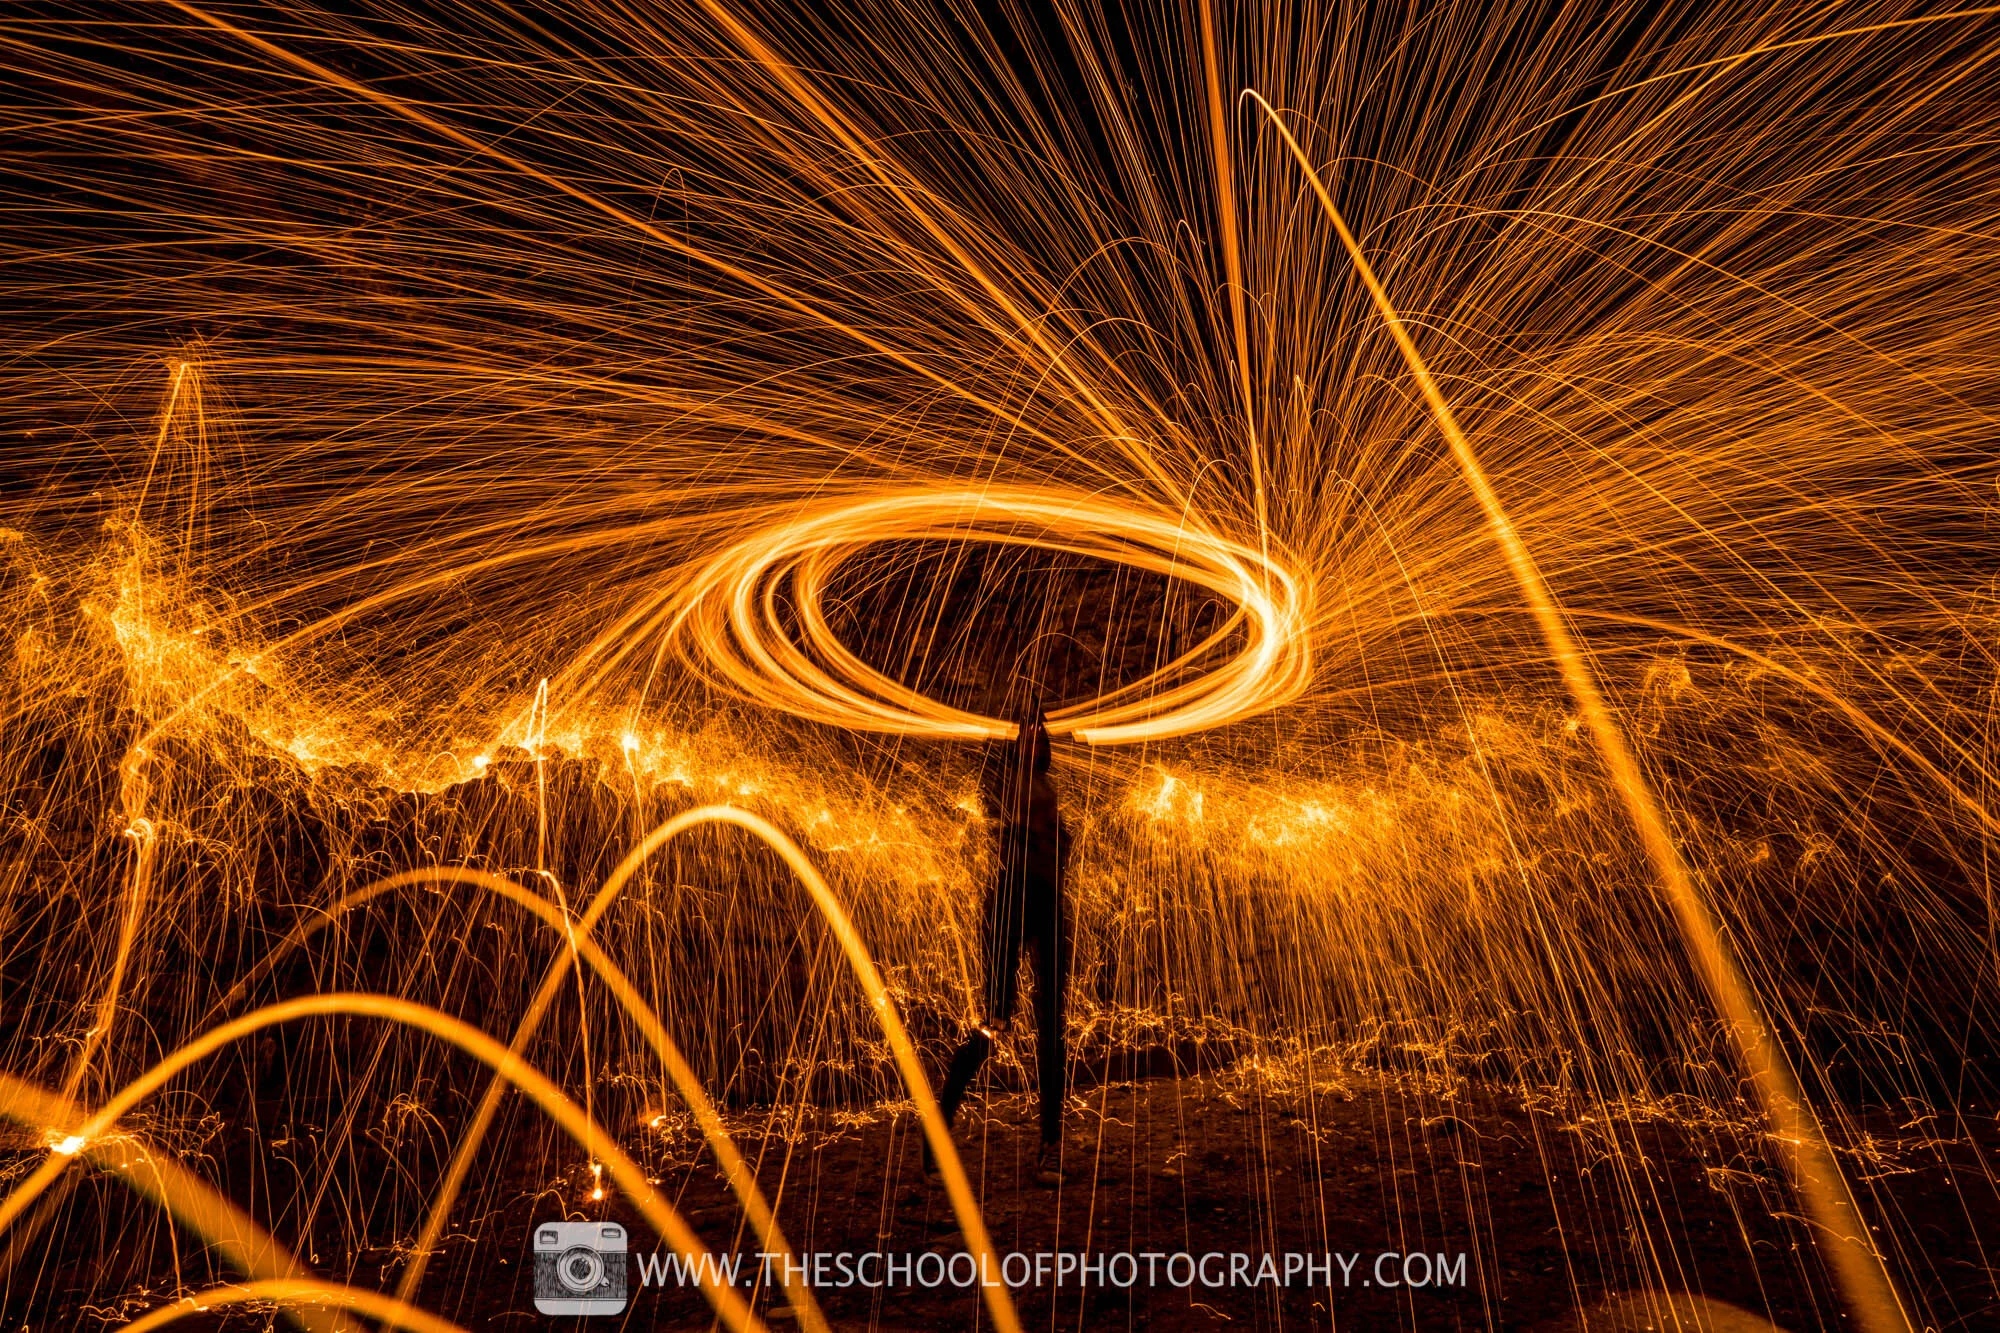
This is a really fun task to do and is created using what’s called long exposures. The steel wool is lit then spun in the air. This causes oxygen to mix with the wool which in turn makes the steel spark and glow generating these lovely light trails which is the main look of steel wool photography.
We’ve also made a free downloadable guide to steel wool photography which you can take with you your shoot. Grab this at the bottom of this page.
Get access to ALL our online courses - 1000’s of videos, worksheets, critiques of members work, personalised support and much more with our monthly membership.
Equipment needed for Steel Wool Photography
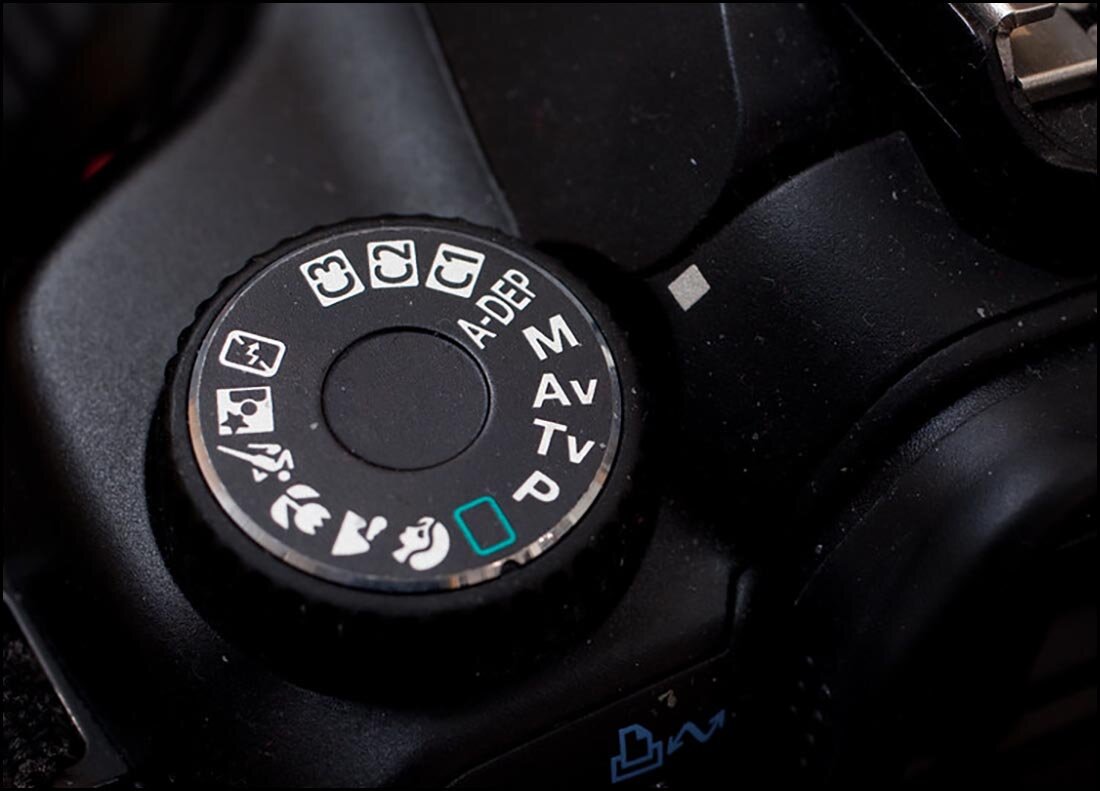
This is no normal photography, so you’ll need a camera that goes into fully manual mode which will enable you to take full control over the camera settings. An easy way to check if your camera has this is to look at the top of the camera and see if it has a dial with the letter M (for manual) on it. If yours has this, it will be fine for photographing steel wool.
A standard zoom lens is fine for this type of photography and if you have one, an ultra-wide-angle lens will enable you to get close and allow the sparks to flow over the camera.
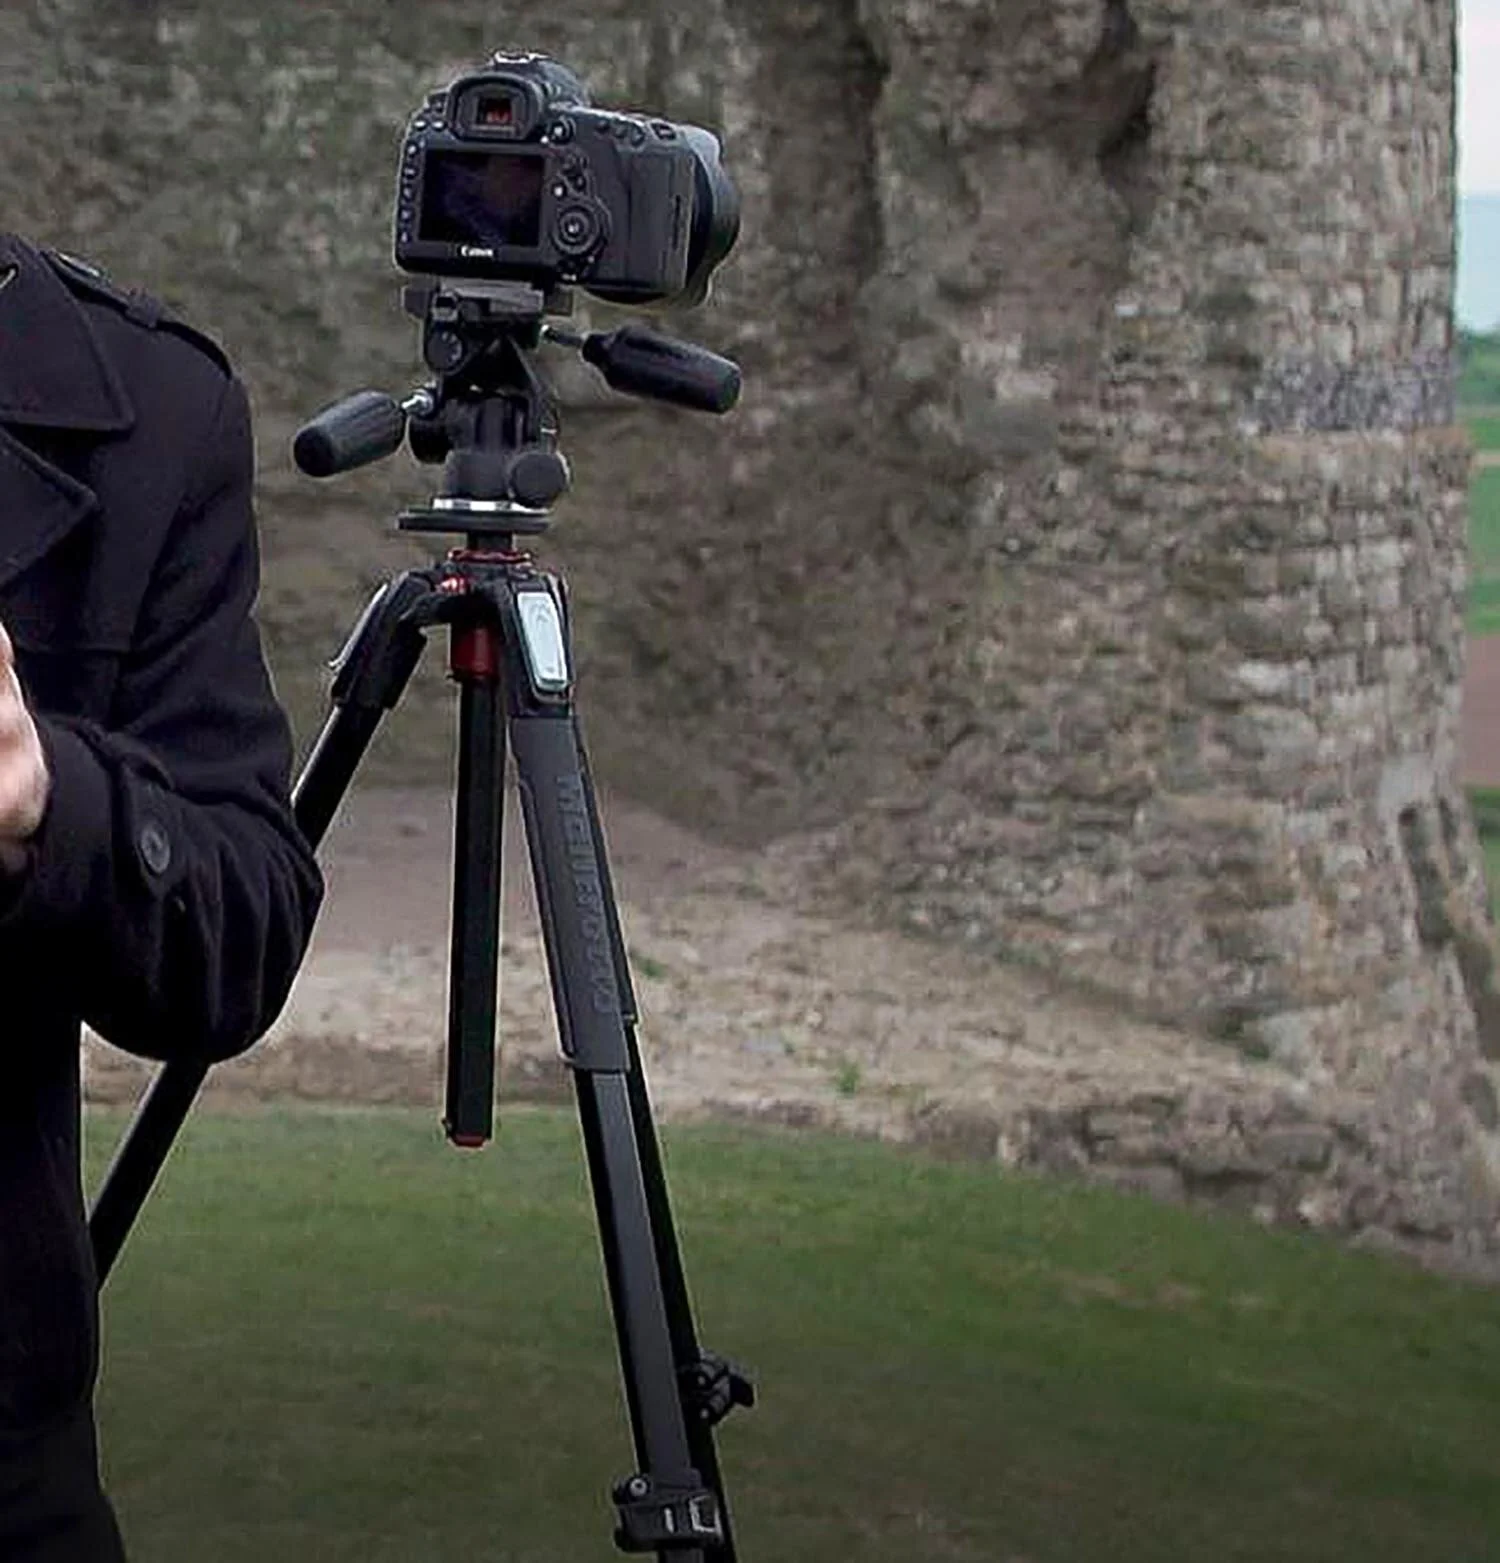
The next thing you will need is a tripod. You will be creating long exposures which means your camera needs to stay still during the shot. Try to use a strong sturdy tripod that can take the weight of your camera. The general rule is, the bigger the camera, the bigger the tripod needed. To learn more about specific camera equipment for photography, click here.
Camera Settings - f 16 - 25 Seconds - ISO 100 - 16mm focal length
Camera that goes into full manual mode

Wide Angle Lens

Tripod
Then of course you need the stuff to create the steel wool effect. And this is the following:
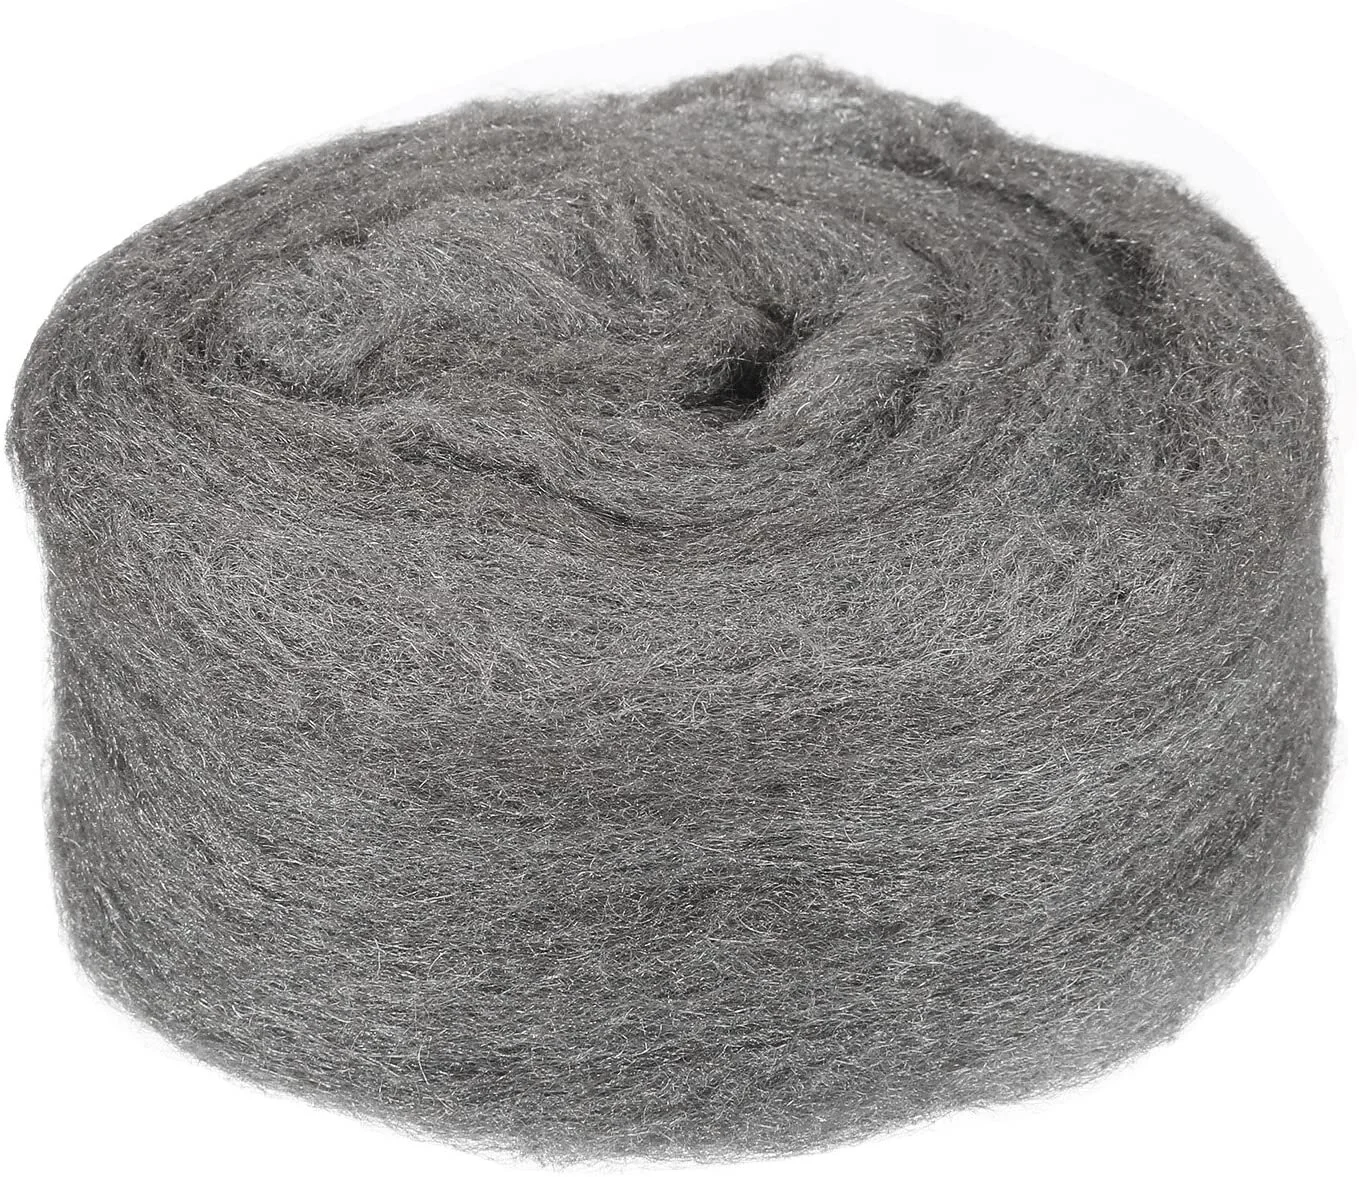
Steel wool – Medium and fine grade

A lighter

A kitchen whisk

A torch

Dog Chain
Safety
Doing steel wool photography can be dangerous and you need to take safety seriously. Make sure you wear clothing that is not easily flammable, make sure you wear safety goggles and heat resistant gloves. Also, make sure you don’t do this in an area that can catch fire easily and that you have fire extinguishers and water to hand in case any sparks start to spread. Wait around for 20 minutes after the shoot to make sure nothing is left smouldering and if you are under 18 please do this under adult supervision.

Heat Resistant Gloves
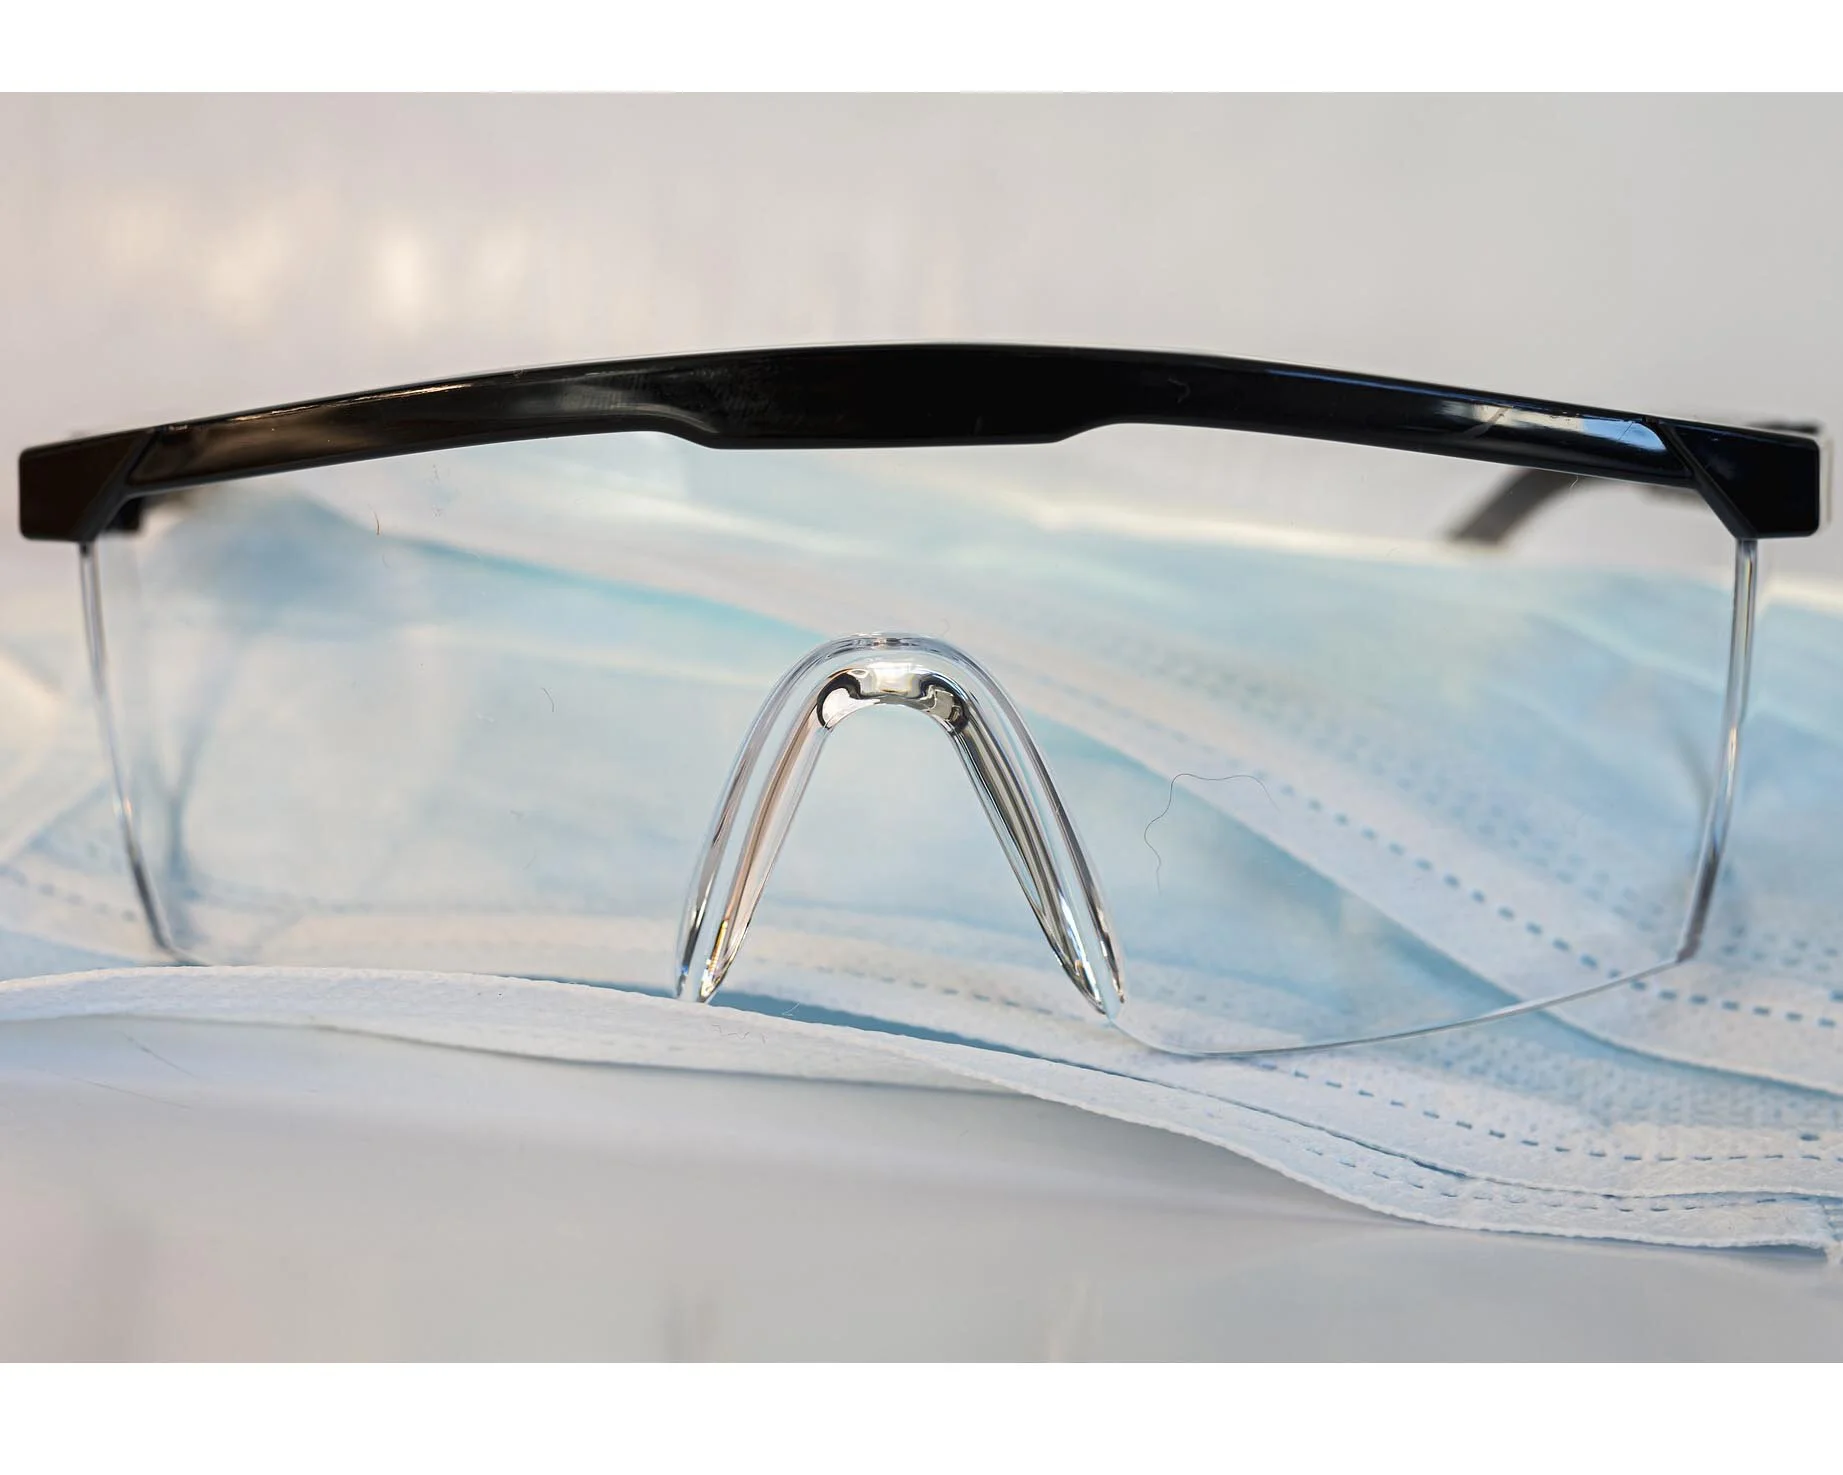
Safety Goggles

Fire Extinguishers
Want 10% off your first course? Click here
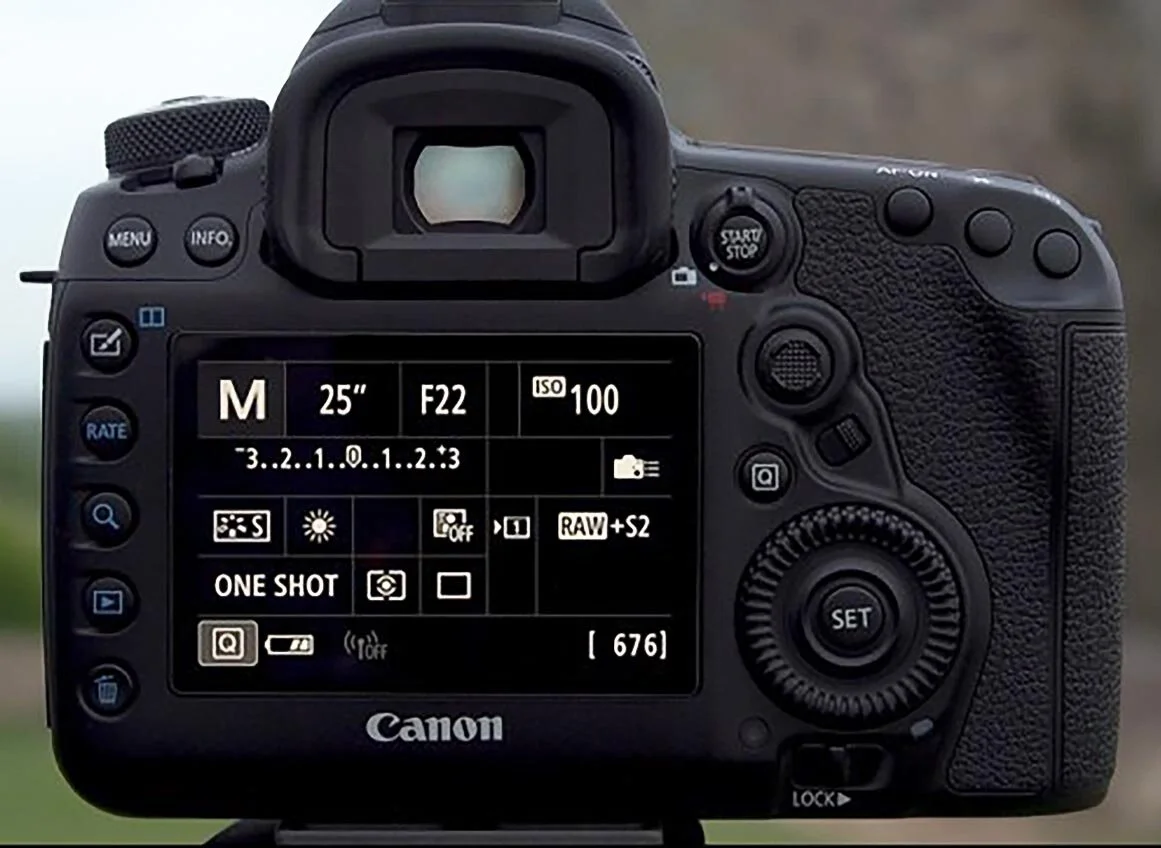
Camera settings for Steel Wool Photography
Camera settings for Steel Wool Photography
As mentioned previously, you have to go fully manual for this type of photography but don’t let that put you off as it’s a simple set up that will pretty much work every time. Below is the settings to use:
M – Manual mode
Shutter Speed – 25 seconds. You need a long exposure time to allow enough time to spin the steel wool and get the sparks flowing through the frame.
Aperture – f22 or f16. This is to create a long depth of field and allow you to capture light over a longer period of time.
ISO – 100. This is to reduce noise and allow you to capture light over a longer period of time.
Set White Balance to Daylight. This will capture the colours as they are. If your camera is left on Auto WB it will try to change the orange glow of burning steel wool back to white.
Manual Focus. As it is going to be dark, your camera will not see anything to focus onto. Light model with torch first, focus, then switch lens to manual focus.
Shoot in Raw - Shooting in Raw will give you much more scope when, or if, you post-process the shot. Further details below.
If the camera settings here have confused you, please click here to learn more.
Technique
Firstly, you need to be in a dark place, the darker the better. Set your camera up on a tripod and compose the shot to give enough room to allow the sparks to spread out. With a torch-light up the person who will be spinning the wool and focus on them. Then switch your camera to manual focus to fix the focus point.
Fill the whisk with medium grade steel wool but leave some space at the bottom and fill this space with the fine grade wool. Make sure you fluff up the steel wool as best as you can before putting it into the whisk to allow air to flow through it. The reason you add the fine grade at the bottom is because it’s easier to light. Once lit it spreads to the medium grade wool which burns for longer.
Attach the whisk to the dog chain, light the fine grade wool and spin the dog chain above your head. Again, make sure adhere to the safety instructions above. The oxygen in the air will mix with the lit steel wool and glow and create sparks.
Put the camera settings in as above and do a few test shots. Adjust composition to get the look you want.
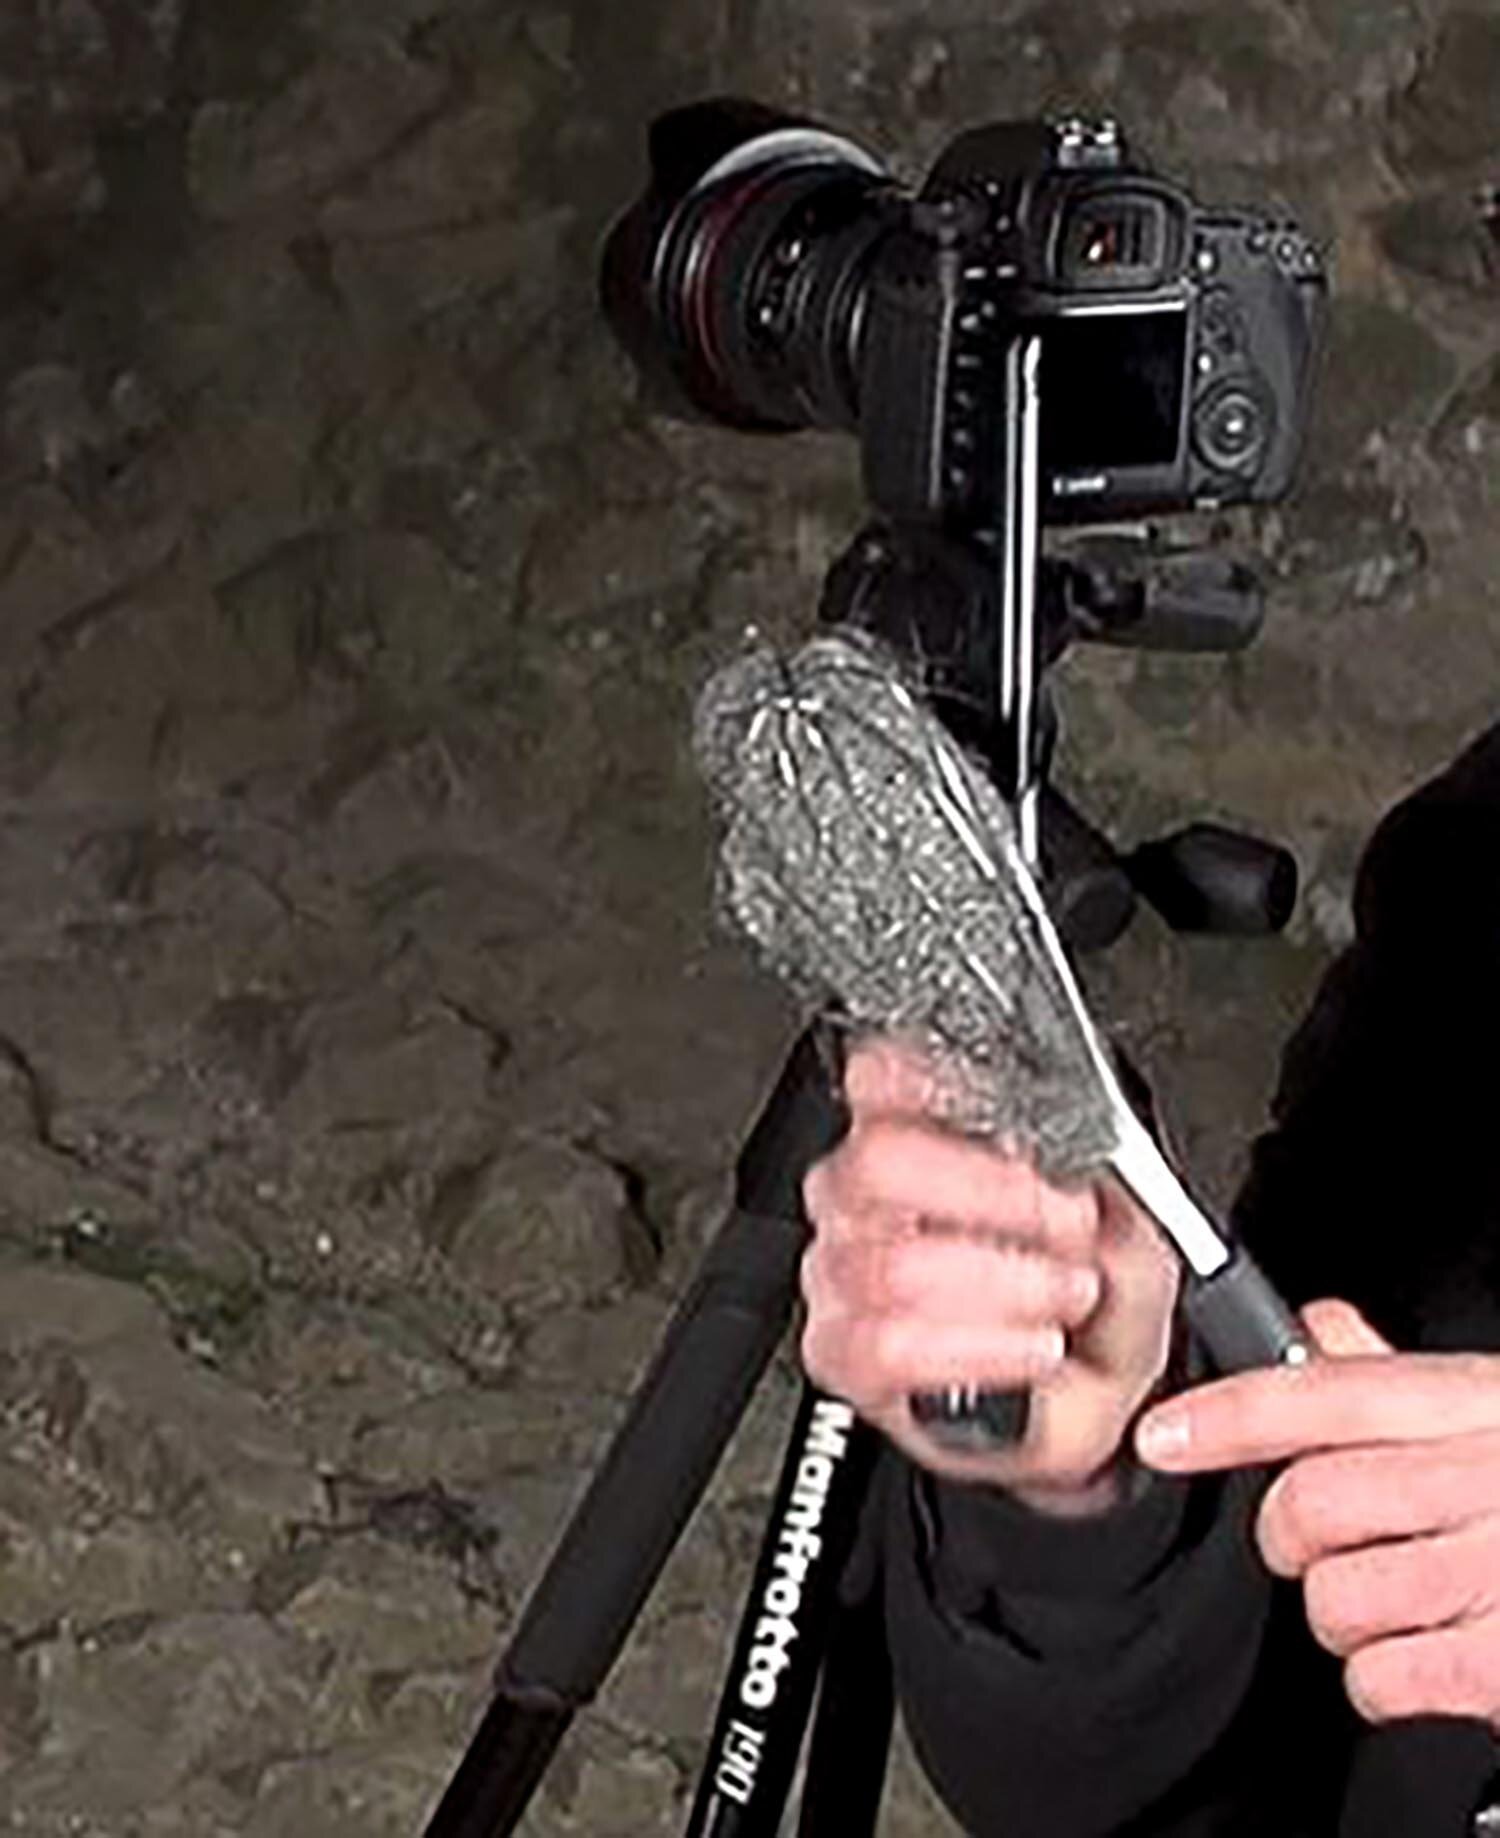
Whisk filled with steel wool
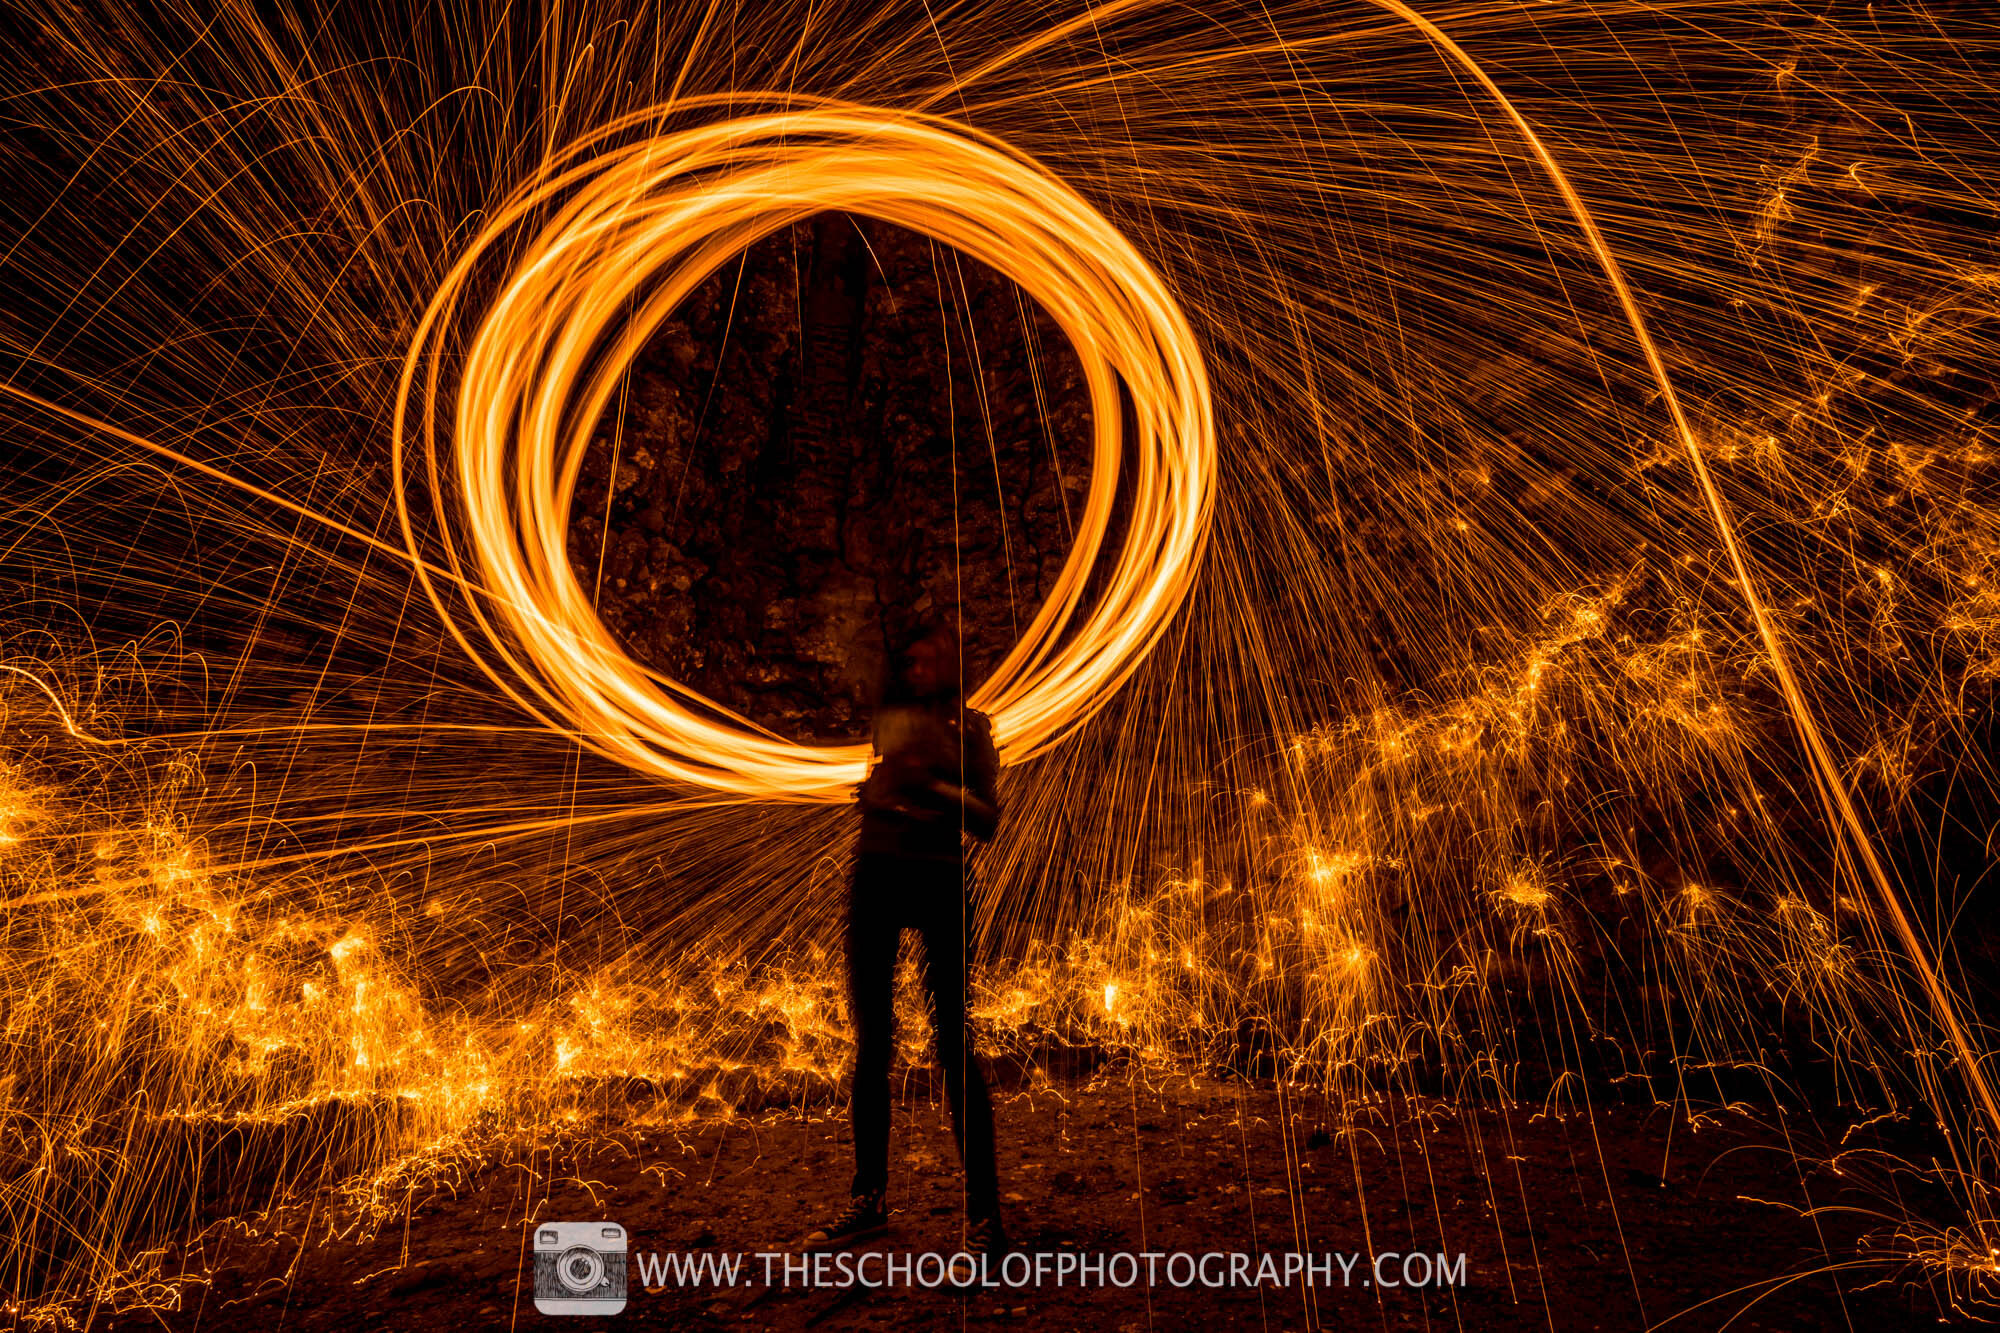
For a steel wool photography umbrella shot you will need to have your model under the umbrella with the person spinning the wool hidden behind them. To light the model, simply add a burst of flash during the exposure.
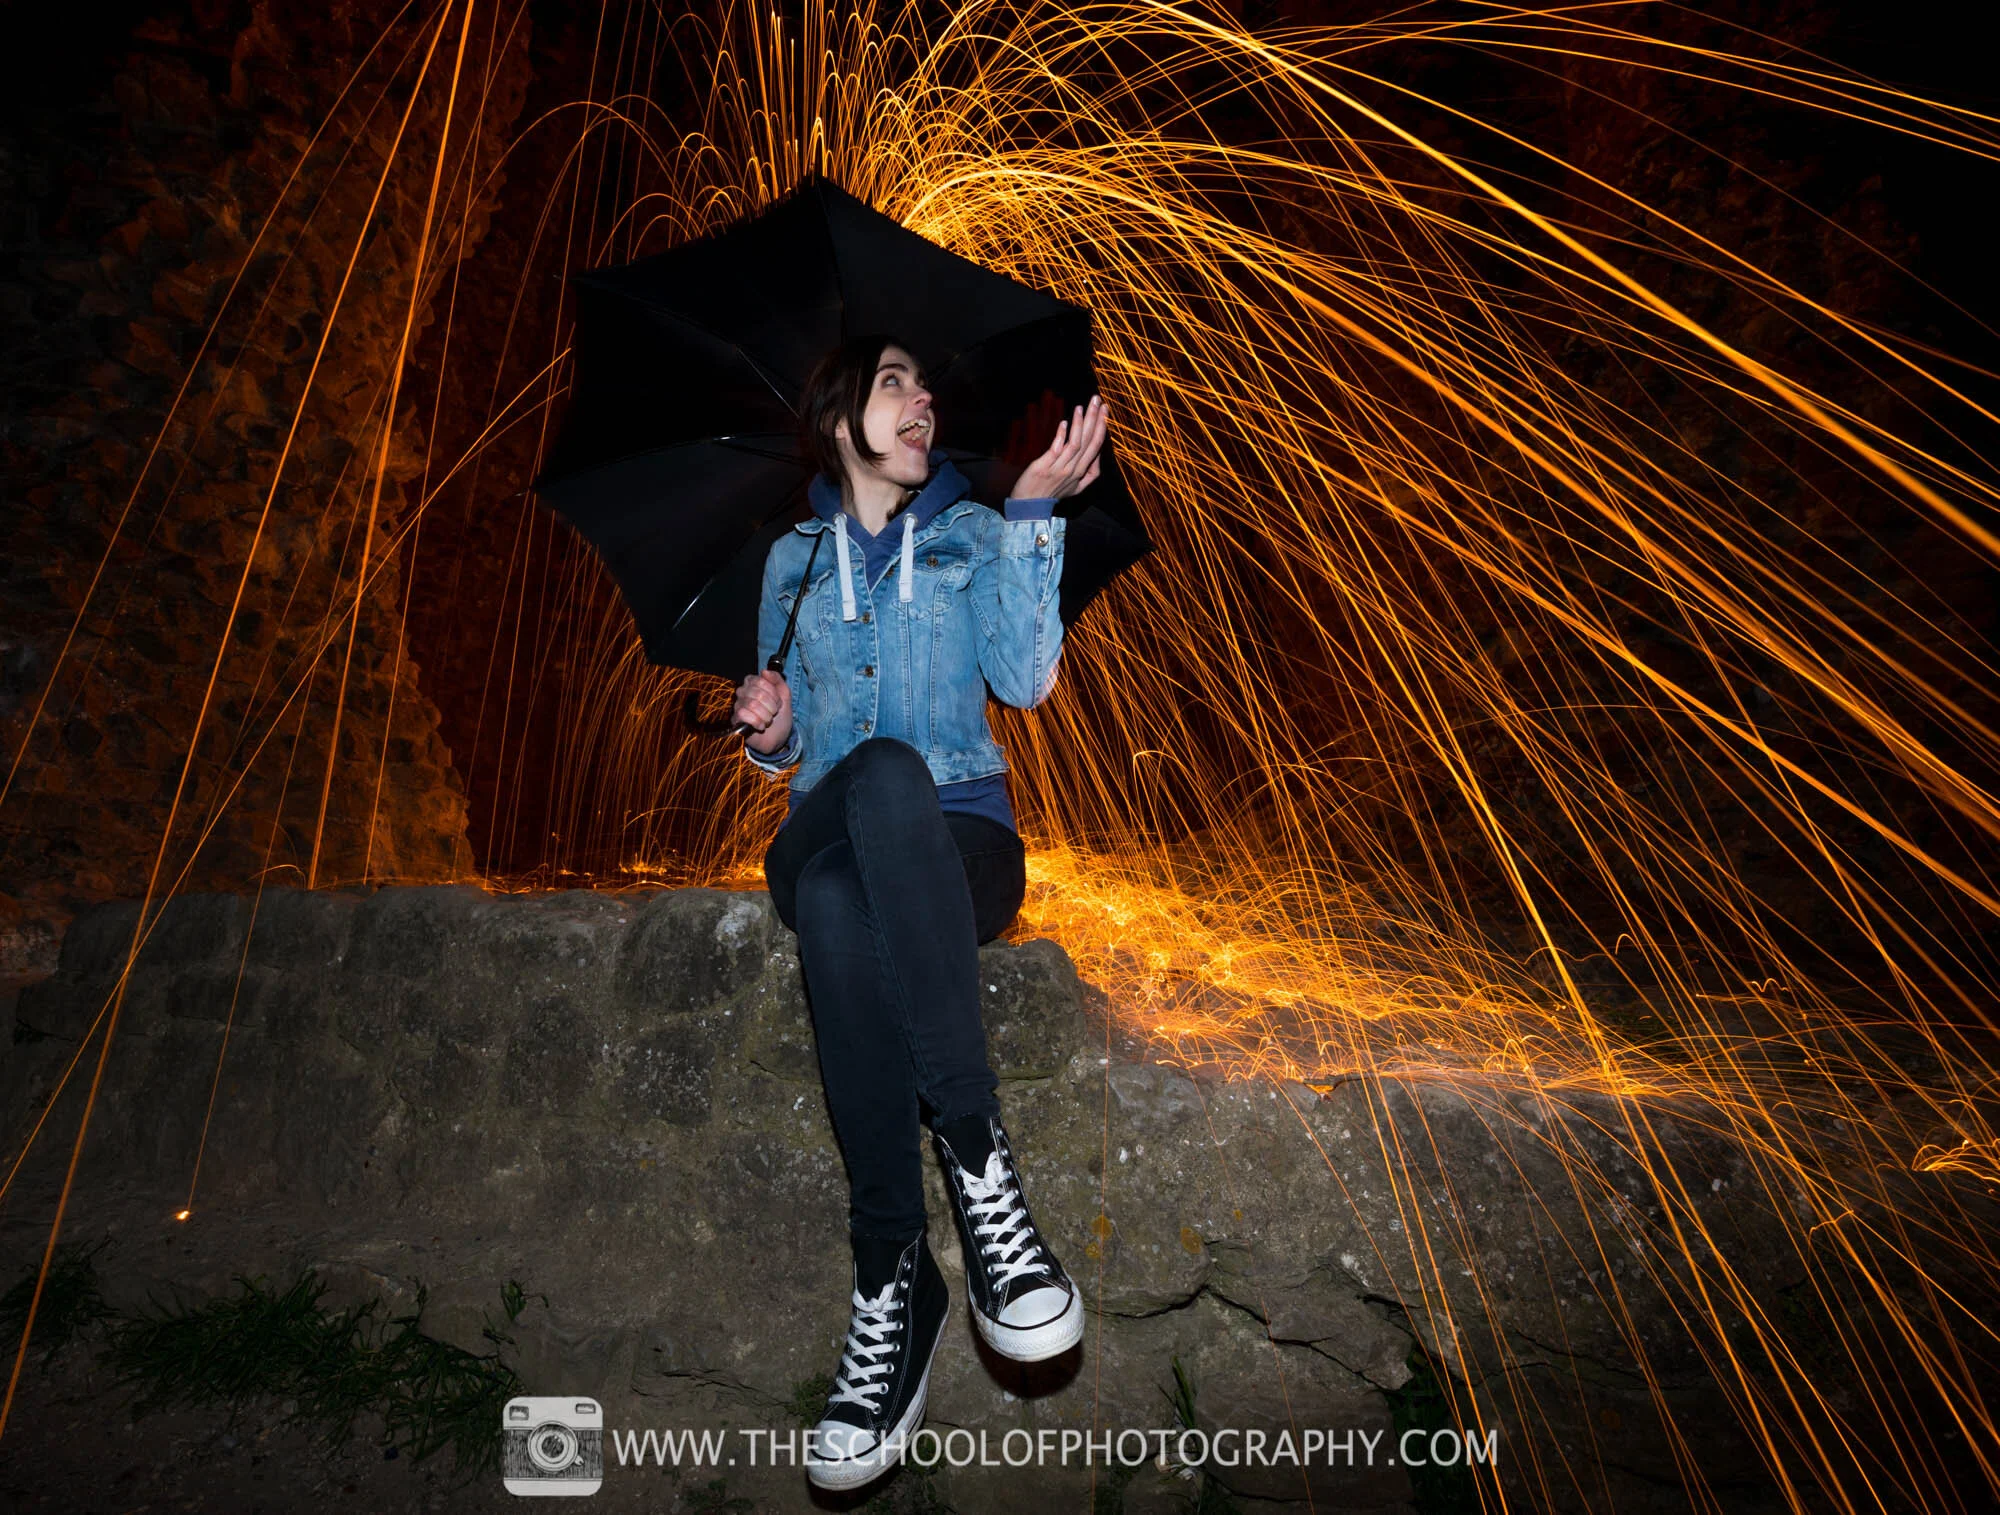
Camera Settings - f 16 - 25 Seconds - ISO 100 - 16mm focal length
It’s highly recommended to shoot in Raw and post-process the shots in programs like Lightroom or Photoshop. There will be a lot of contrast in the photography due to the glowing sparks against the dark sky. Shooting in Raw will give you much more play to lift shadows and deepen highlights within the scene and this in turn, will create a more balanced exposure.
To learn how to process steel wool photography properly, click here

Raw image straight out of camera - Camera Settings - f 16 - 25 Seconds - ISO 100 - 16mm focal length
Processed shot using Lightroom
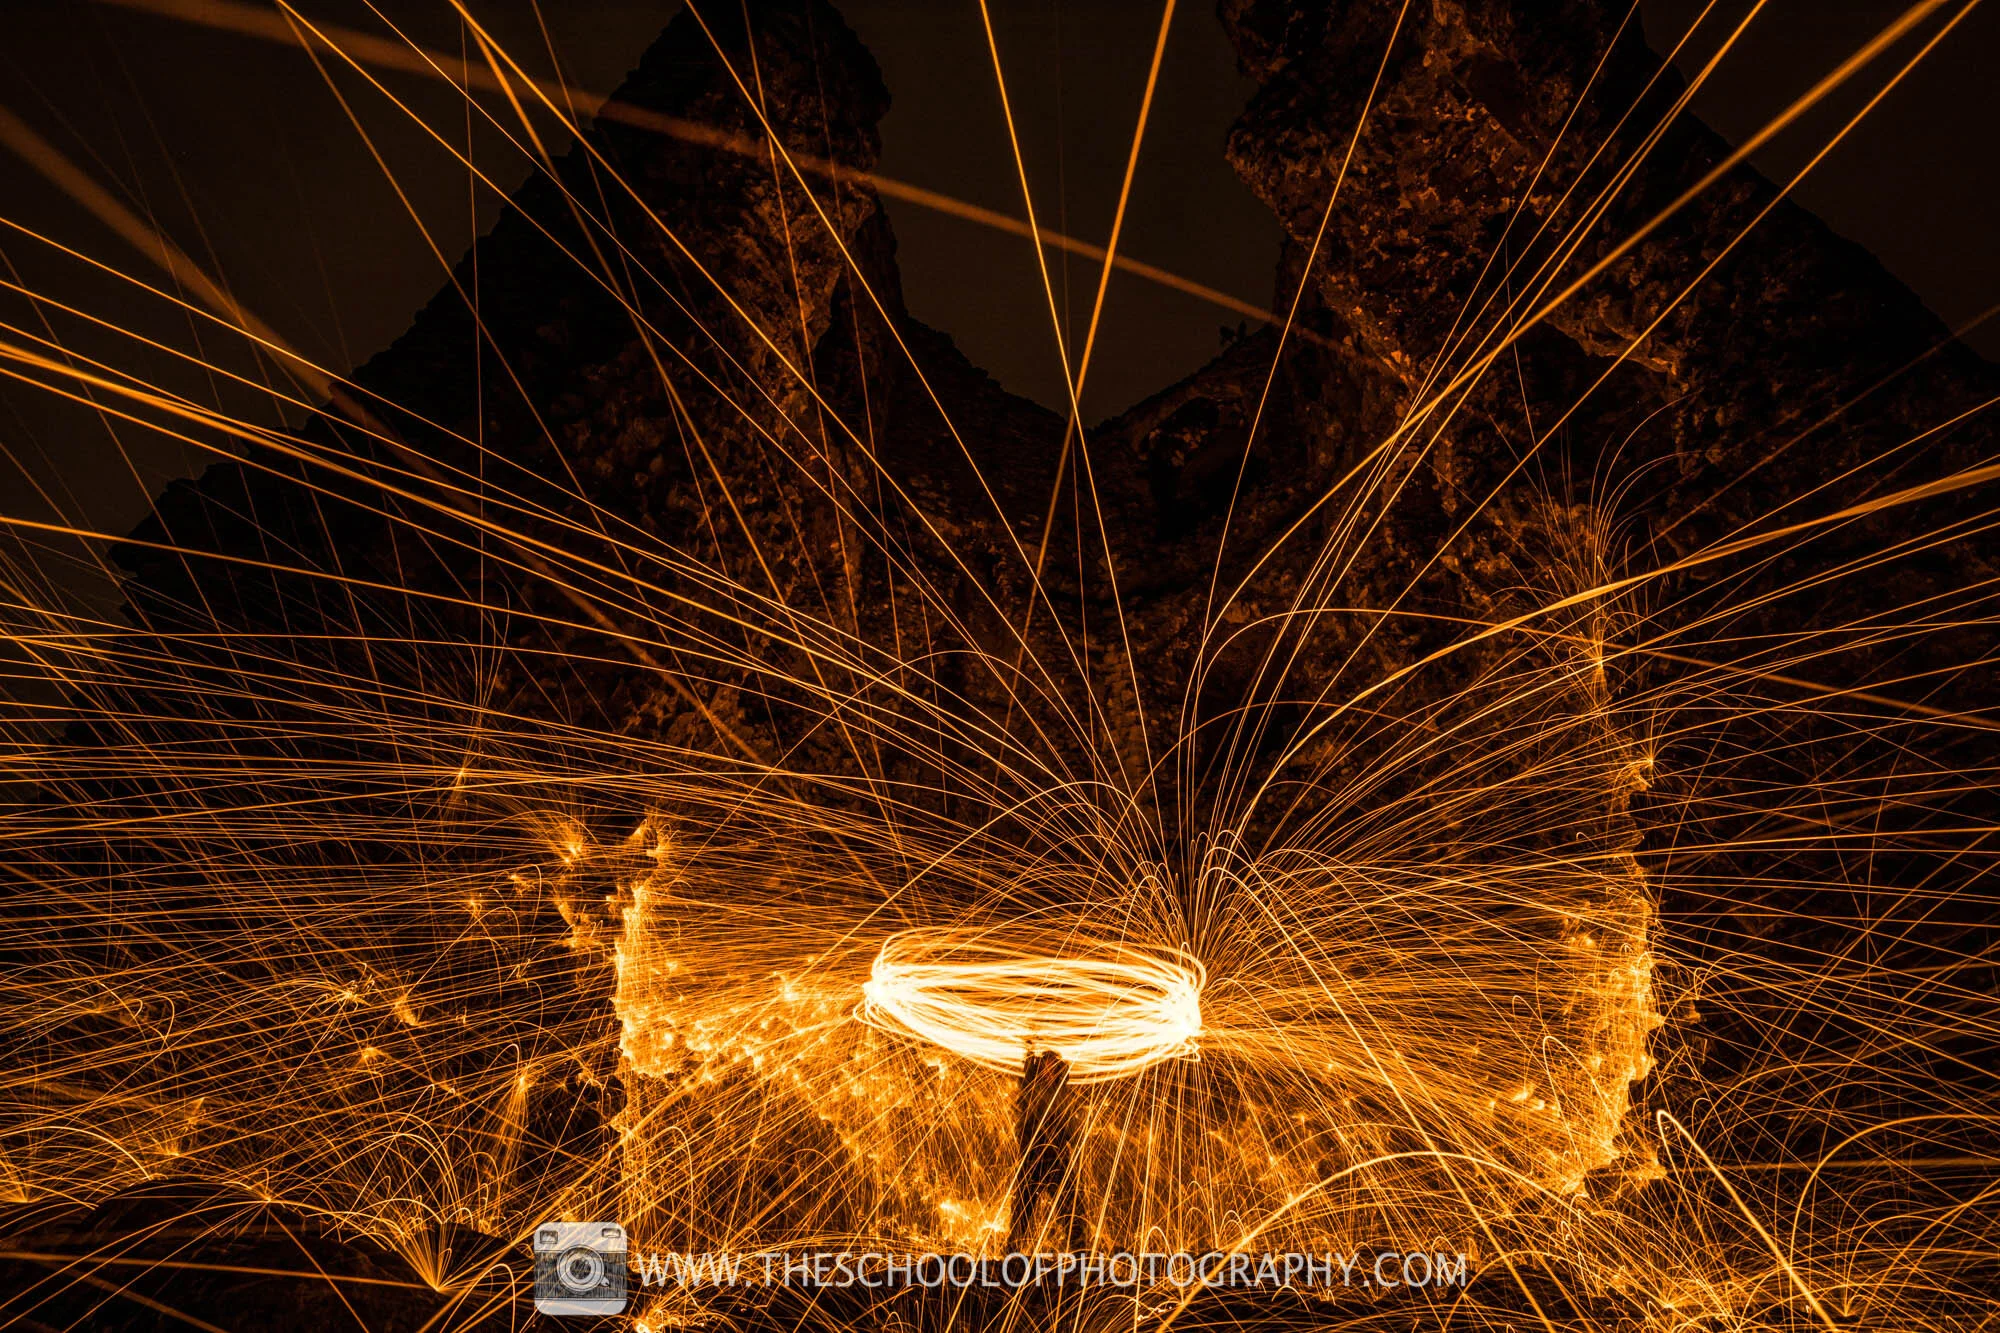
More Examples of Steel Wool Photography
Camera Settings - f 16 - 25 Seconds - ISO 100 - 16mm focal length

Camera Settings - f 16 - 25 Seconds - ISO 100 - 20mm focal length
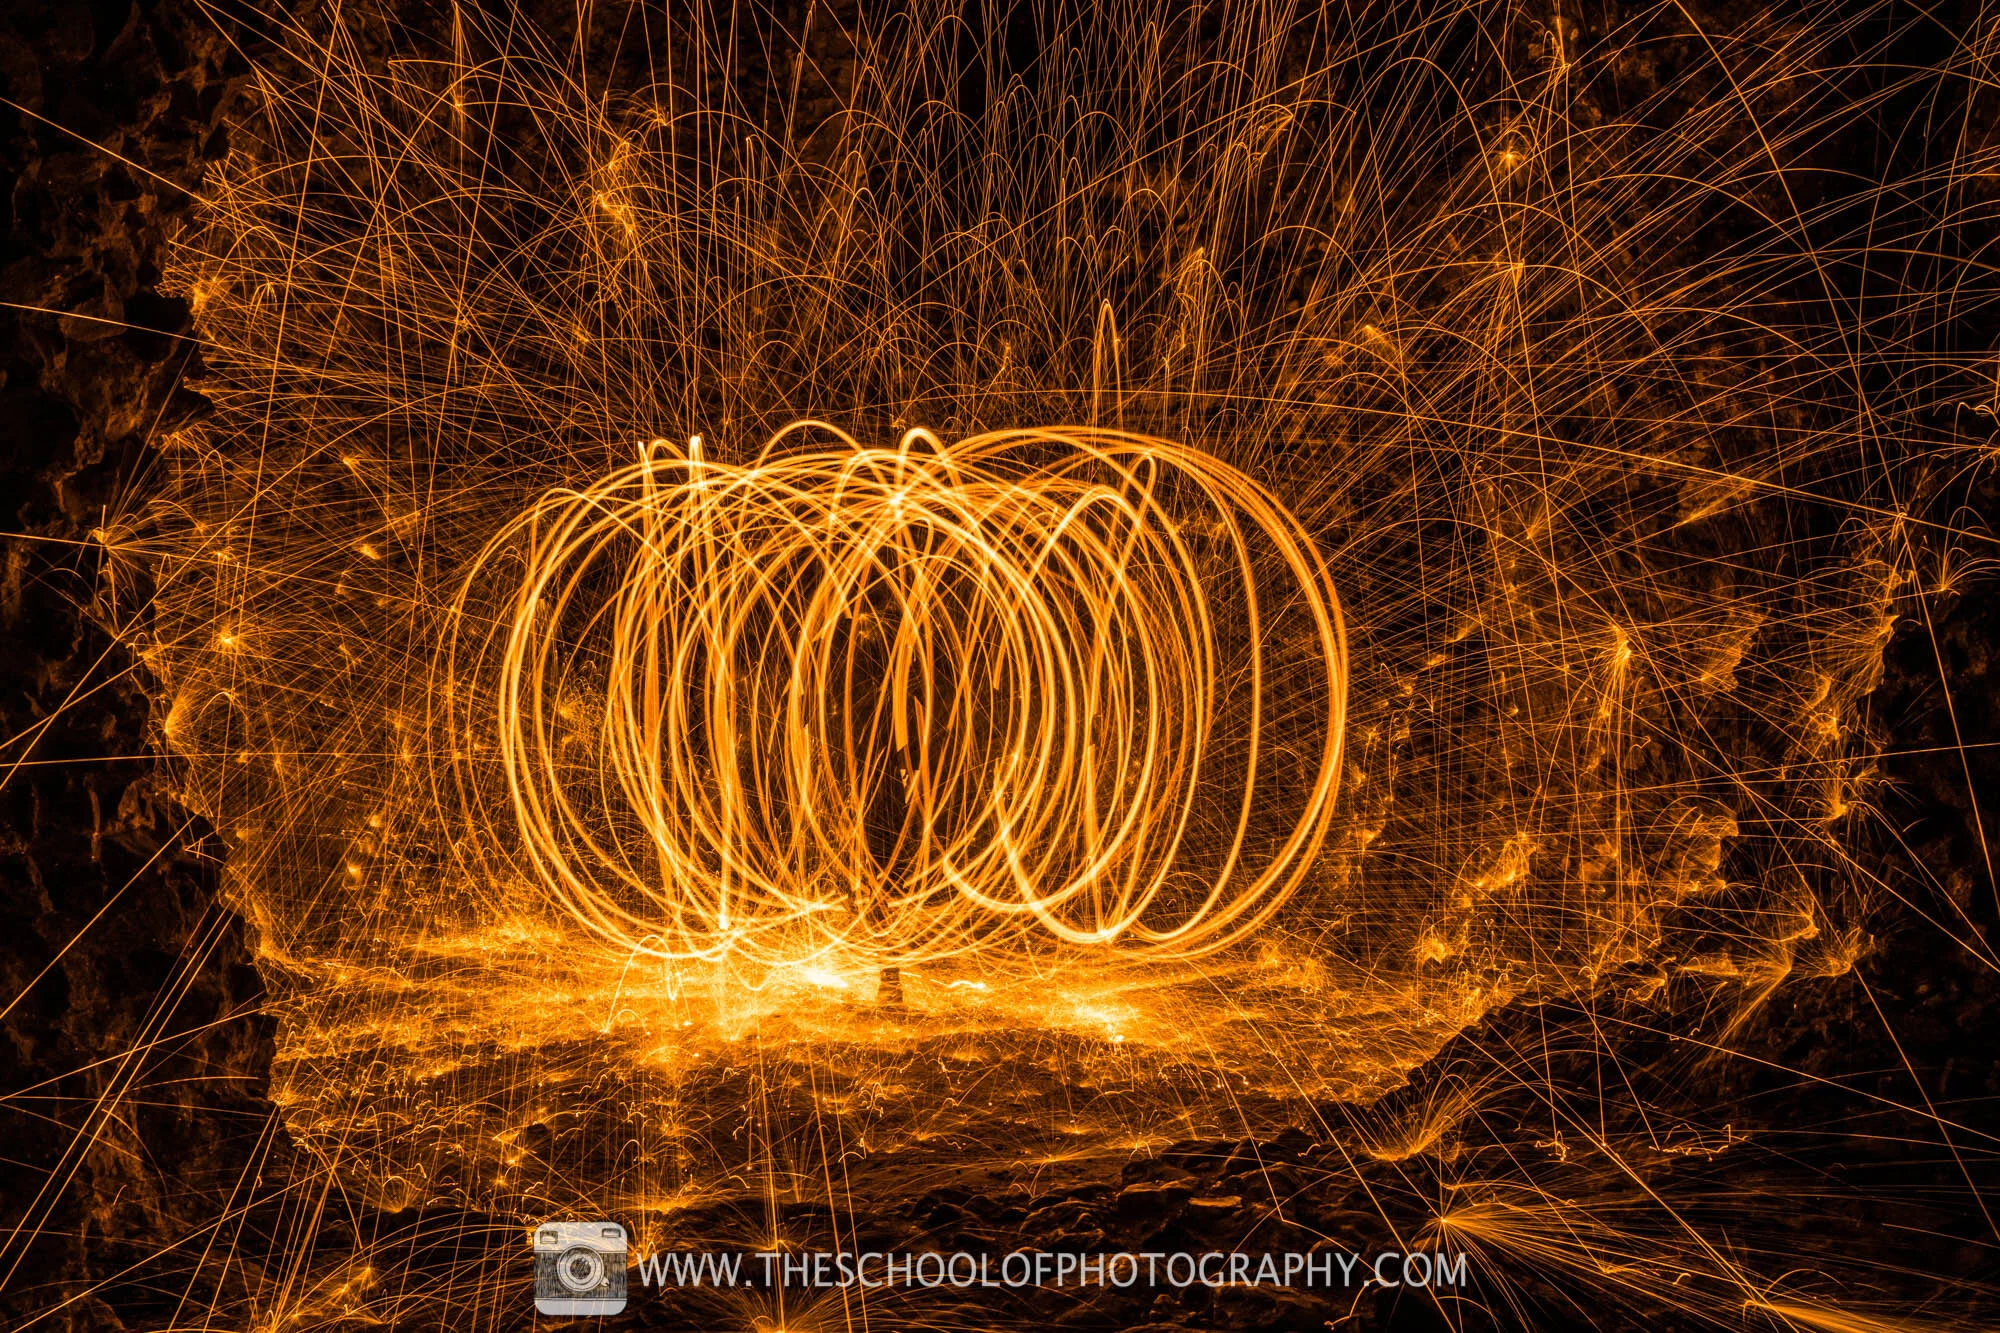
Camera Settings - f 16 - 25 Seconds - ISO 100 - 24mm focal length
Take your photography to the next level by becoming a member of TSOP
Like this? - Check out similar tutorials below

I hope you liked this steel wool photography tutorial, please leave us a comment and support us by sharing it with your friends and subscribe to our newsletter at the bottom of this page for more.
We also have an excellent learning community on social media so please join us there as well.
Thanks for watching and remember – Learn more at The School of Photography.
